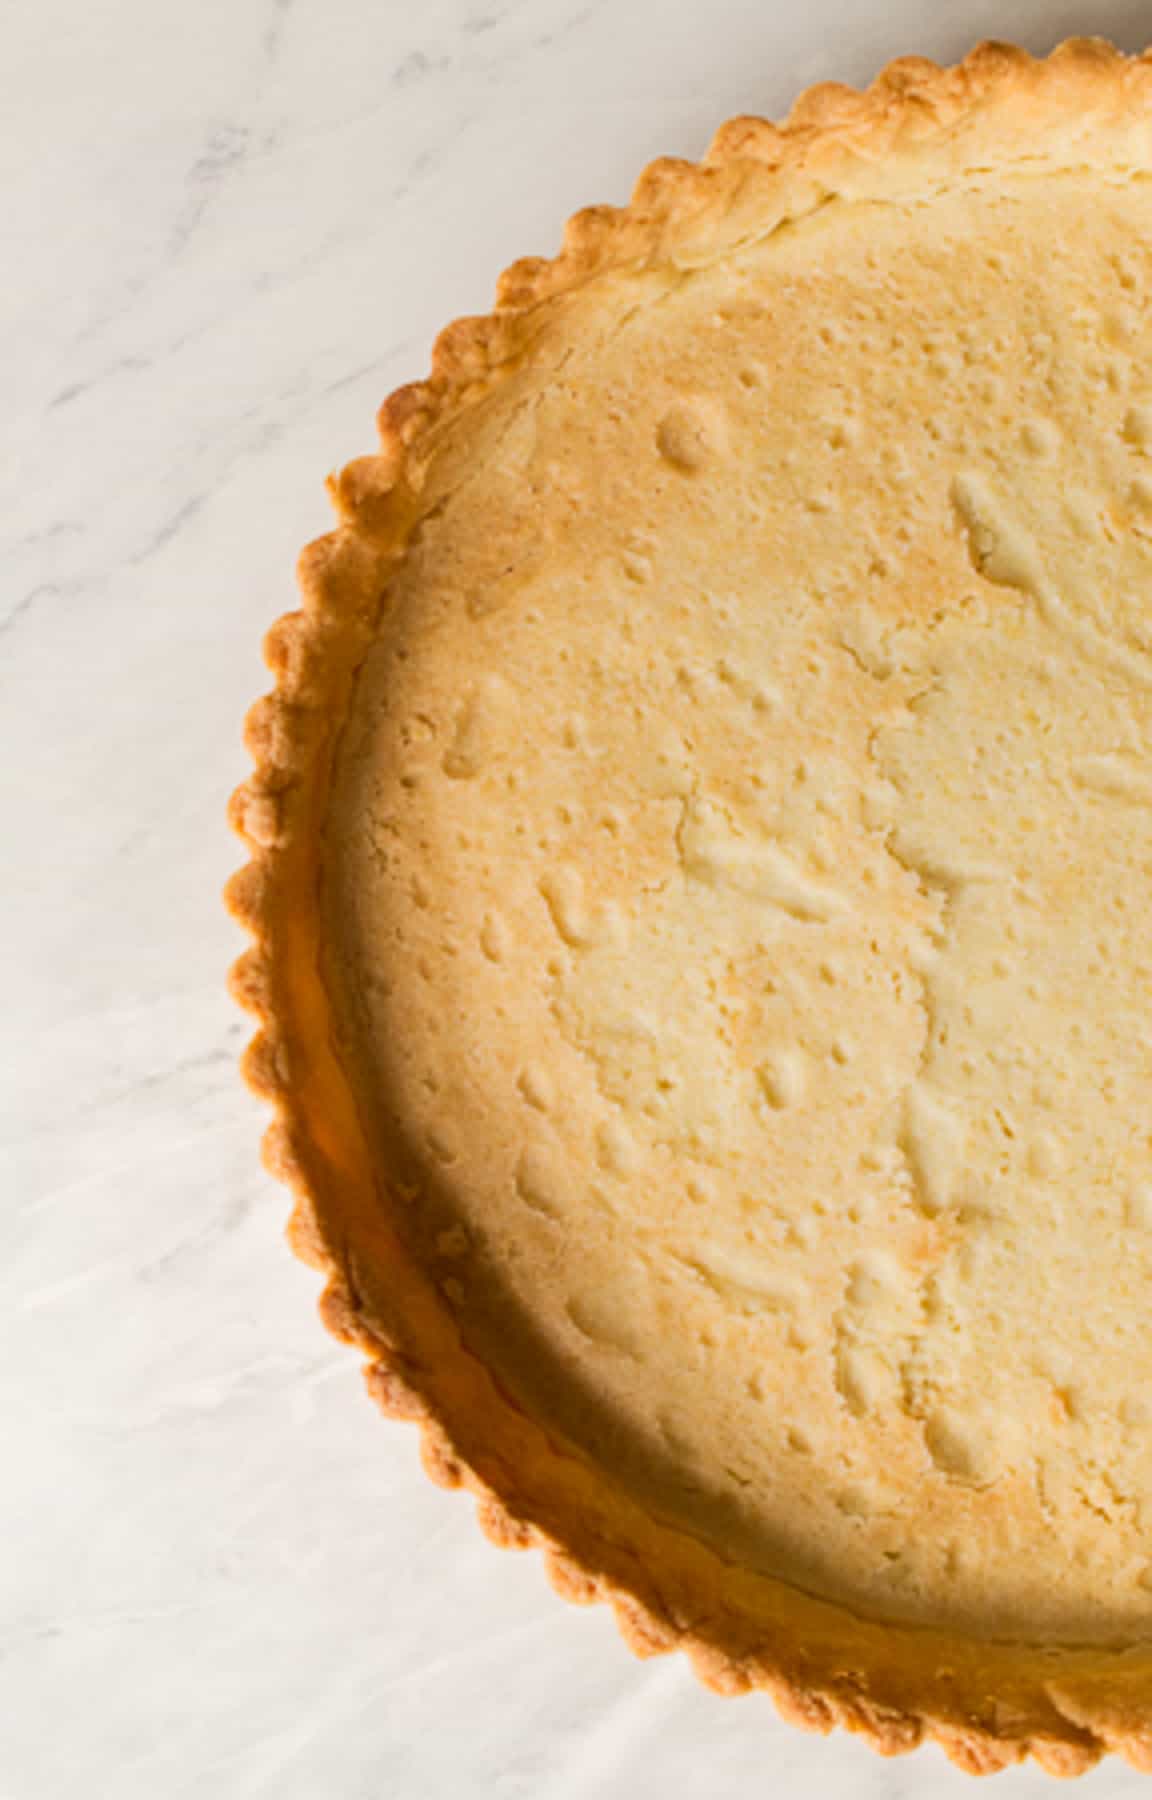
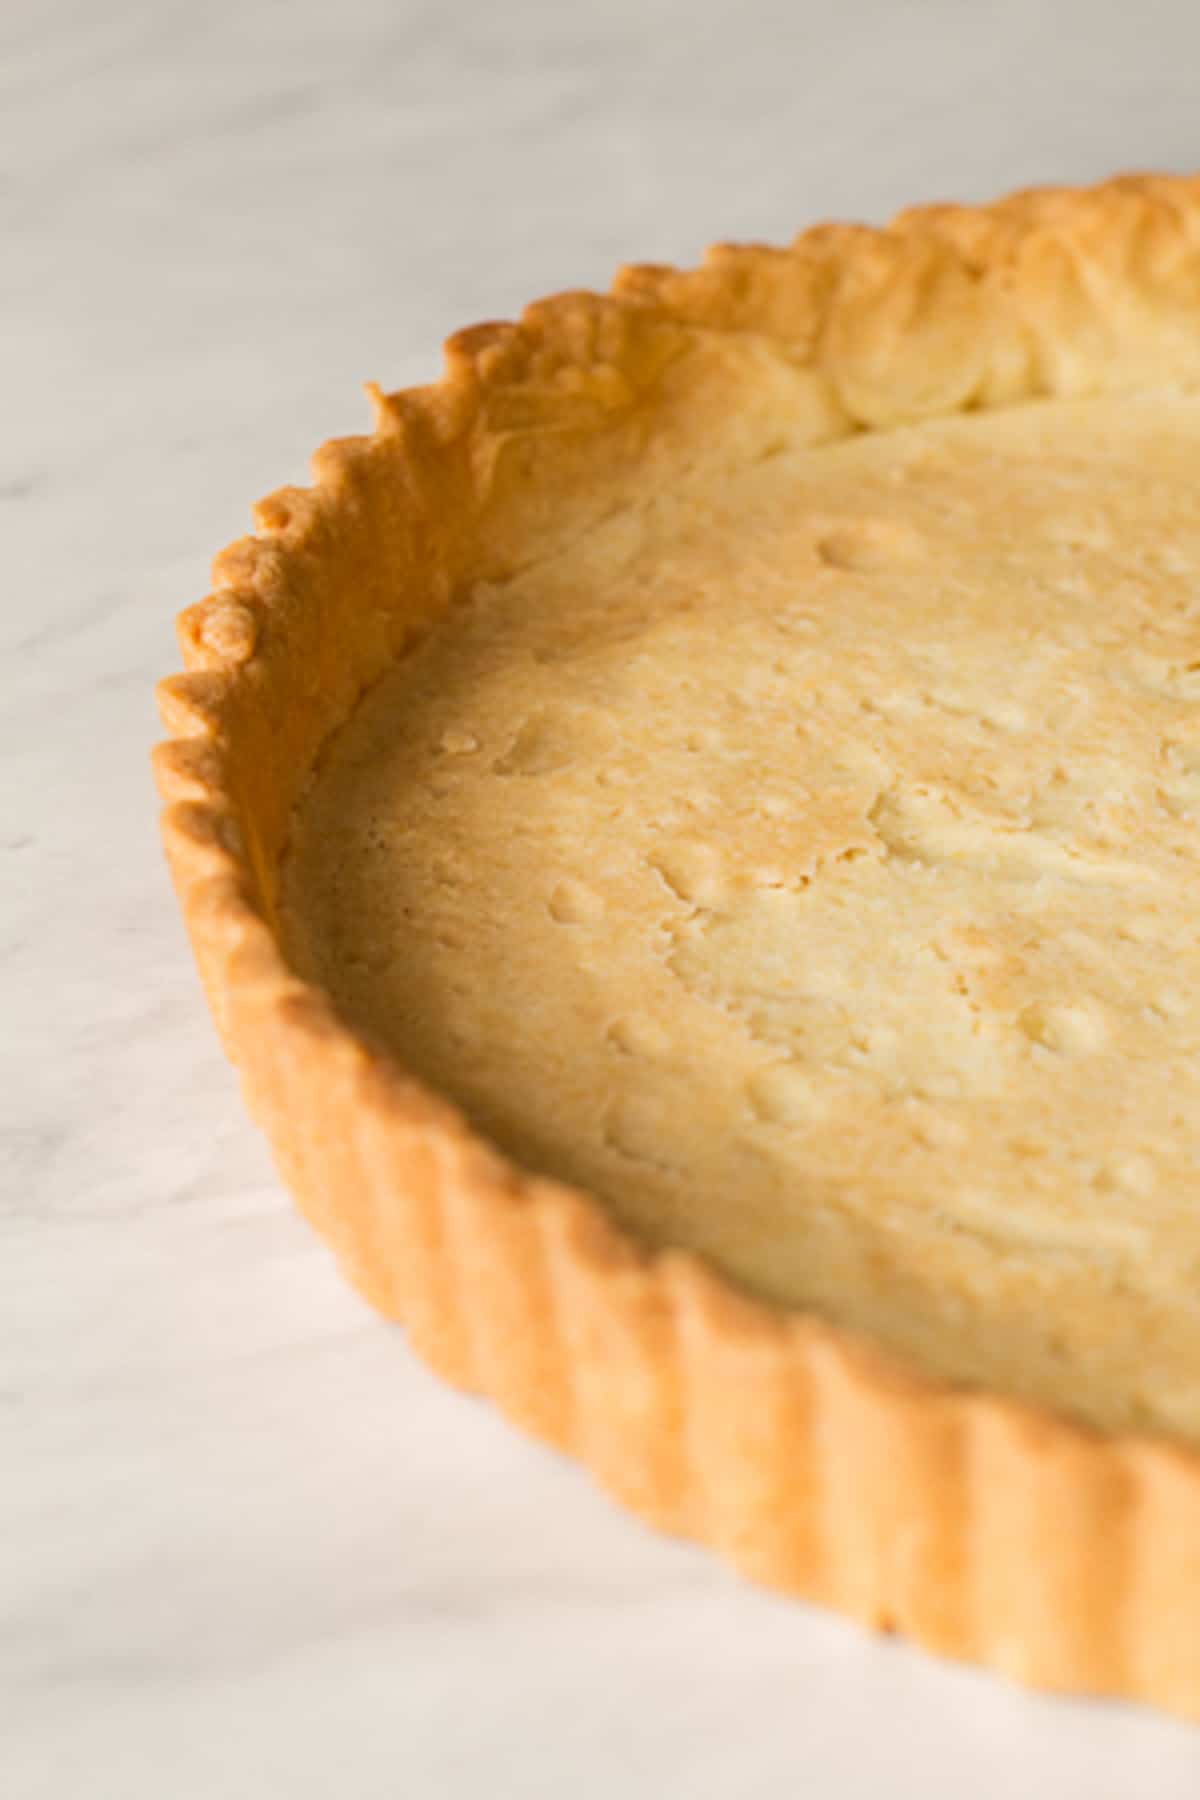
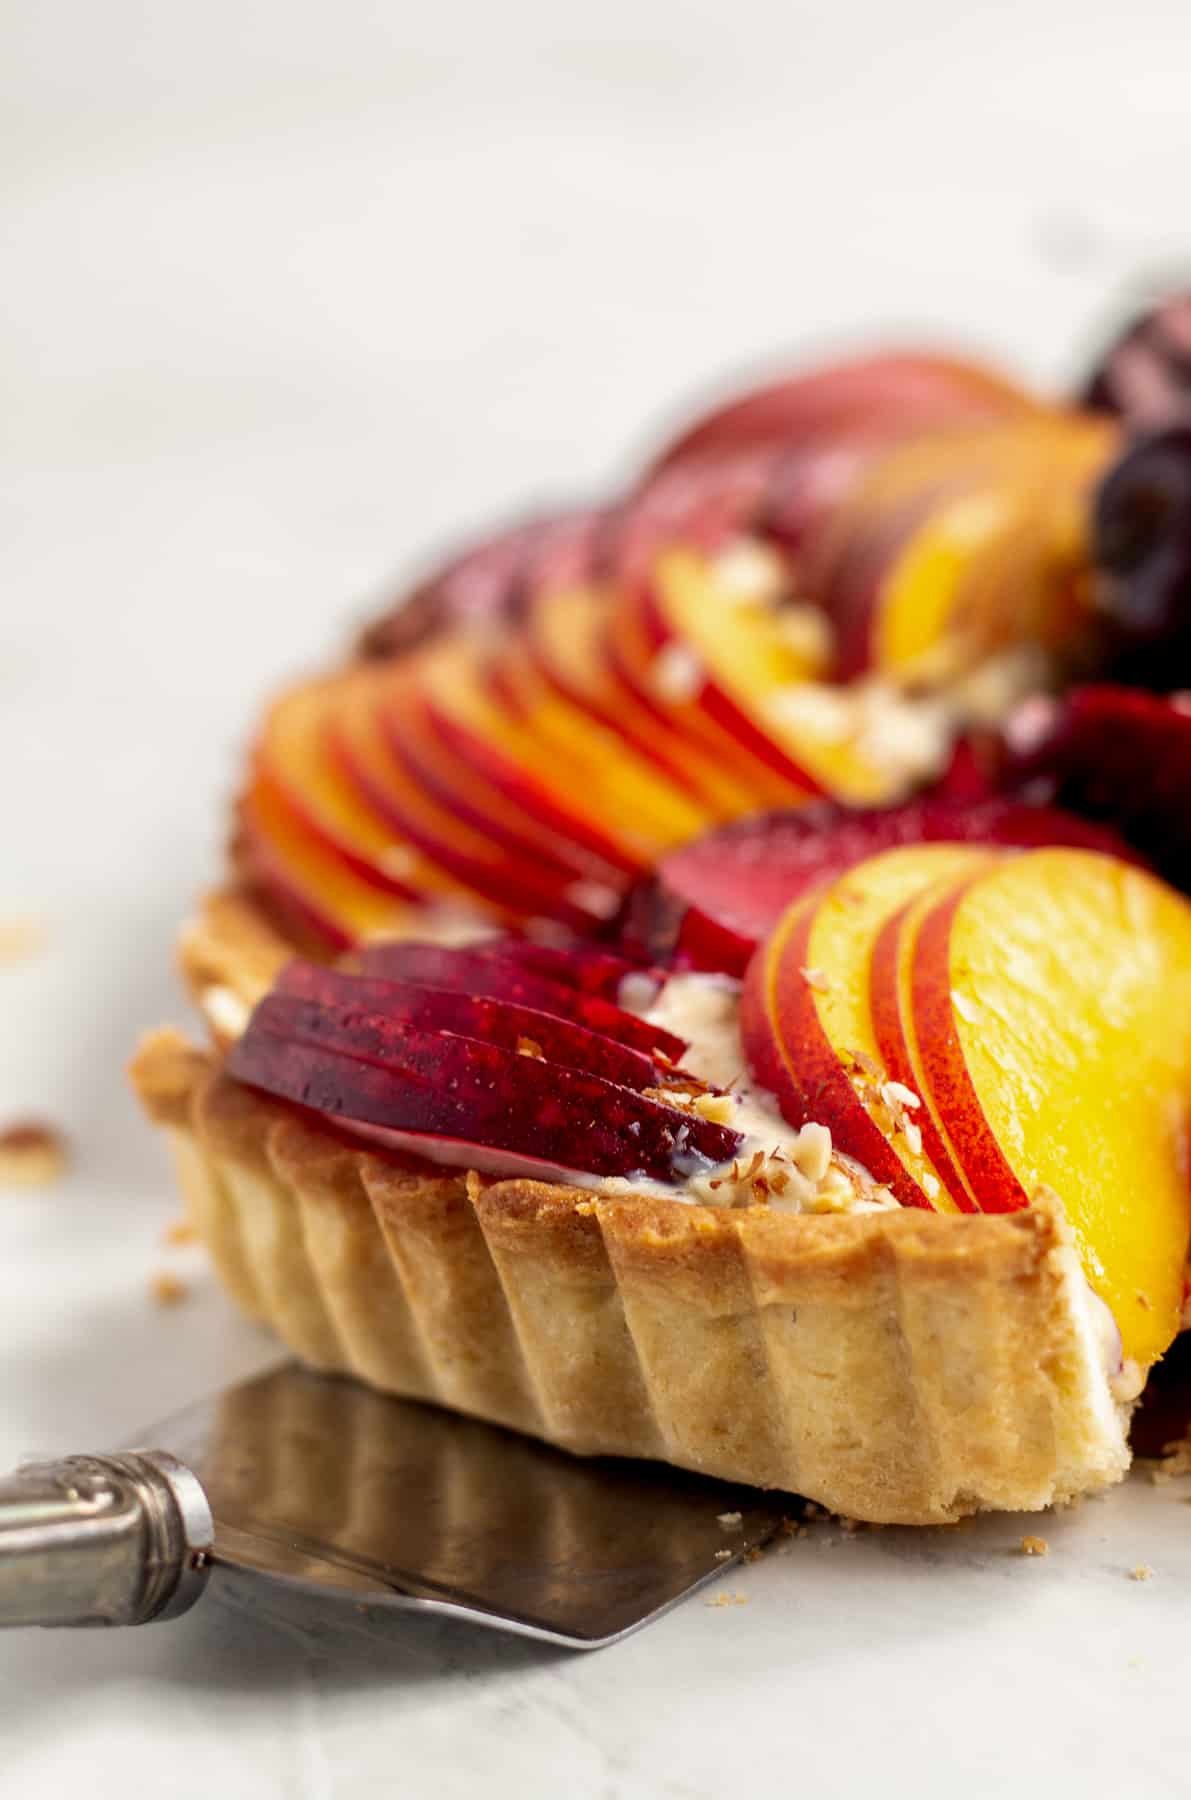
This pâte sucrée (sweet tart crust) is crisp, crumbly and tender, similar to a pie dough, but sweeter with more of a cookie-like flavor and texture. It serves as the perfect crust for a variety of fillings, and it's simple to make.
Pie Crust vs Pâte Sucrée
Pâte sucrée is a sweet pastry dough used to make tarts and pies. It is a shortcrust pastry, meaning it's lighter, sweeter and more tender, and a little flaky, a bit like a cookie. Pie dough and tart dough are very similar, using many of the same ingredients - flour, sugar, butter and salt, but with pâte sucrée containing an egg or egg yolk, a touch of cream and sugar.
Jump to:
Why You Will Love This Recipe
- Made in a food processor, making this recipe quick and simple.
- Perfect tart crust for creams, custards, curds, fruit fillings and more.
- Buttery, tender and sturdy for heavier fillings.
- Easy to customize - add spices, zests or extracts.
Recipe Ingredients
All purpose flour - Fluff up the flour in its storage container by giving it a few light stirs. Scoop the flour into a measuring cup, then level the flour with a straight edge utensil, like the back of a butter knife.
Confectioners' sugar (powdered sugar) - Confectioners' sugar has cornstarch in it which lends a tenderness to the dough. Since it is so finely ground, it makes for a smoother dough as well.
Fine sea salt - Salt enhances and balances flavors, especially in sweets and baked goods.
Egg yolk - An egg yolk is added for structure, and also contributes to browning.
Cream - Cream is used to help bind the dough together and allow the dough roll out easier.
Vanilla extract - for flavor
Recipe Instructions
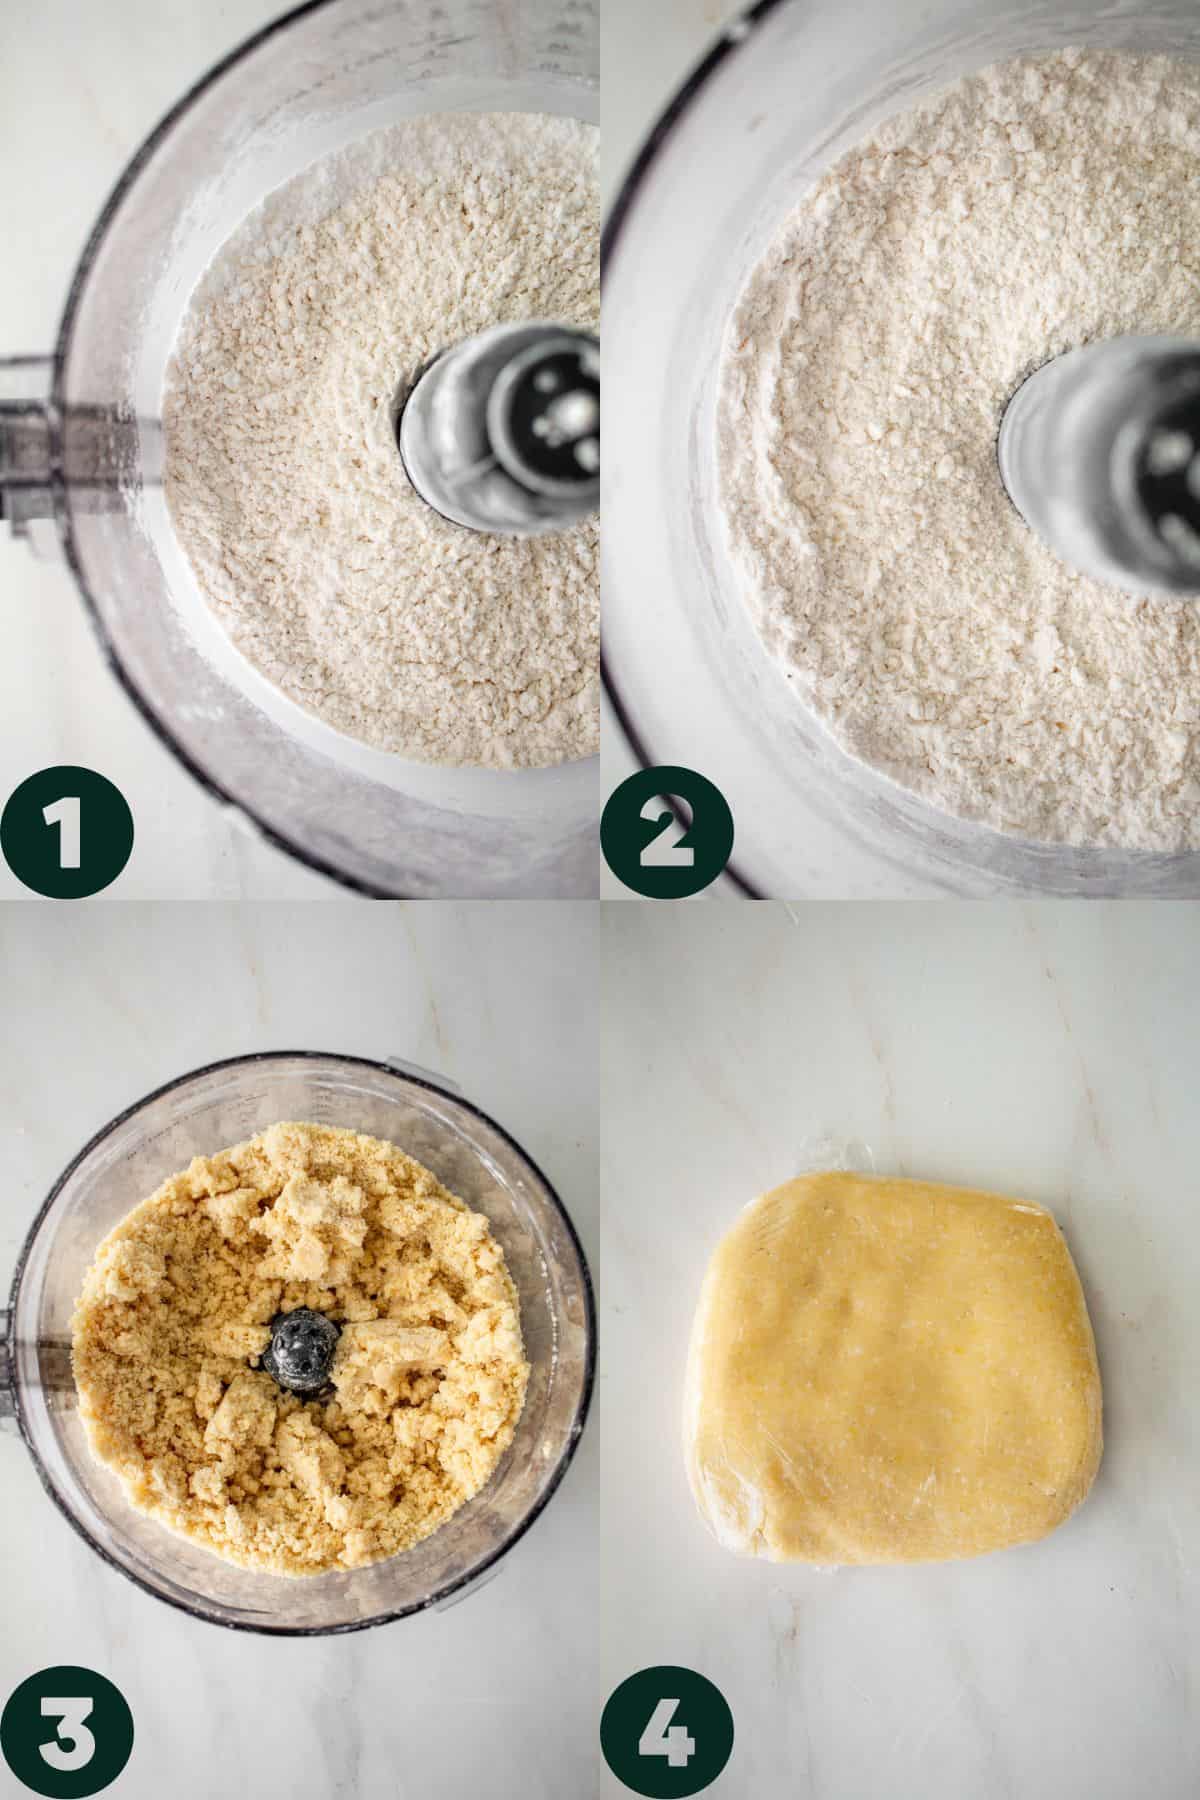
- Combine the flour, confectioners' sugar and salt in the bowl of a food processor.
- Sprinkle the grated butter over the flour mixture and pulse. The mixture should look like coarse meal.
- Whisk together the egg yolk, cream and vanilla. Add the egg yolk mixture to the flour while pulsing. Pulse the mixture until it starts sticking together, forming large clumps and the dough is no longer dry, about 15 seconds.
- Turn the mixture out onto your work surface and form the dough into a ball. Flatten dough into a disc and wrap in plastic wrap. Refrigerate for an hour.
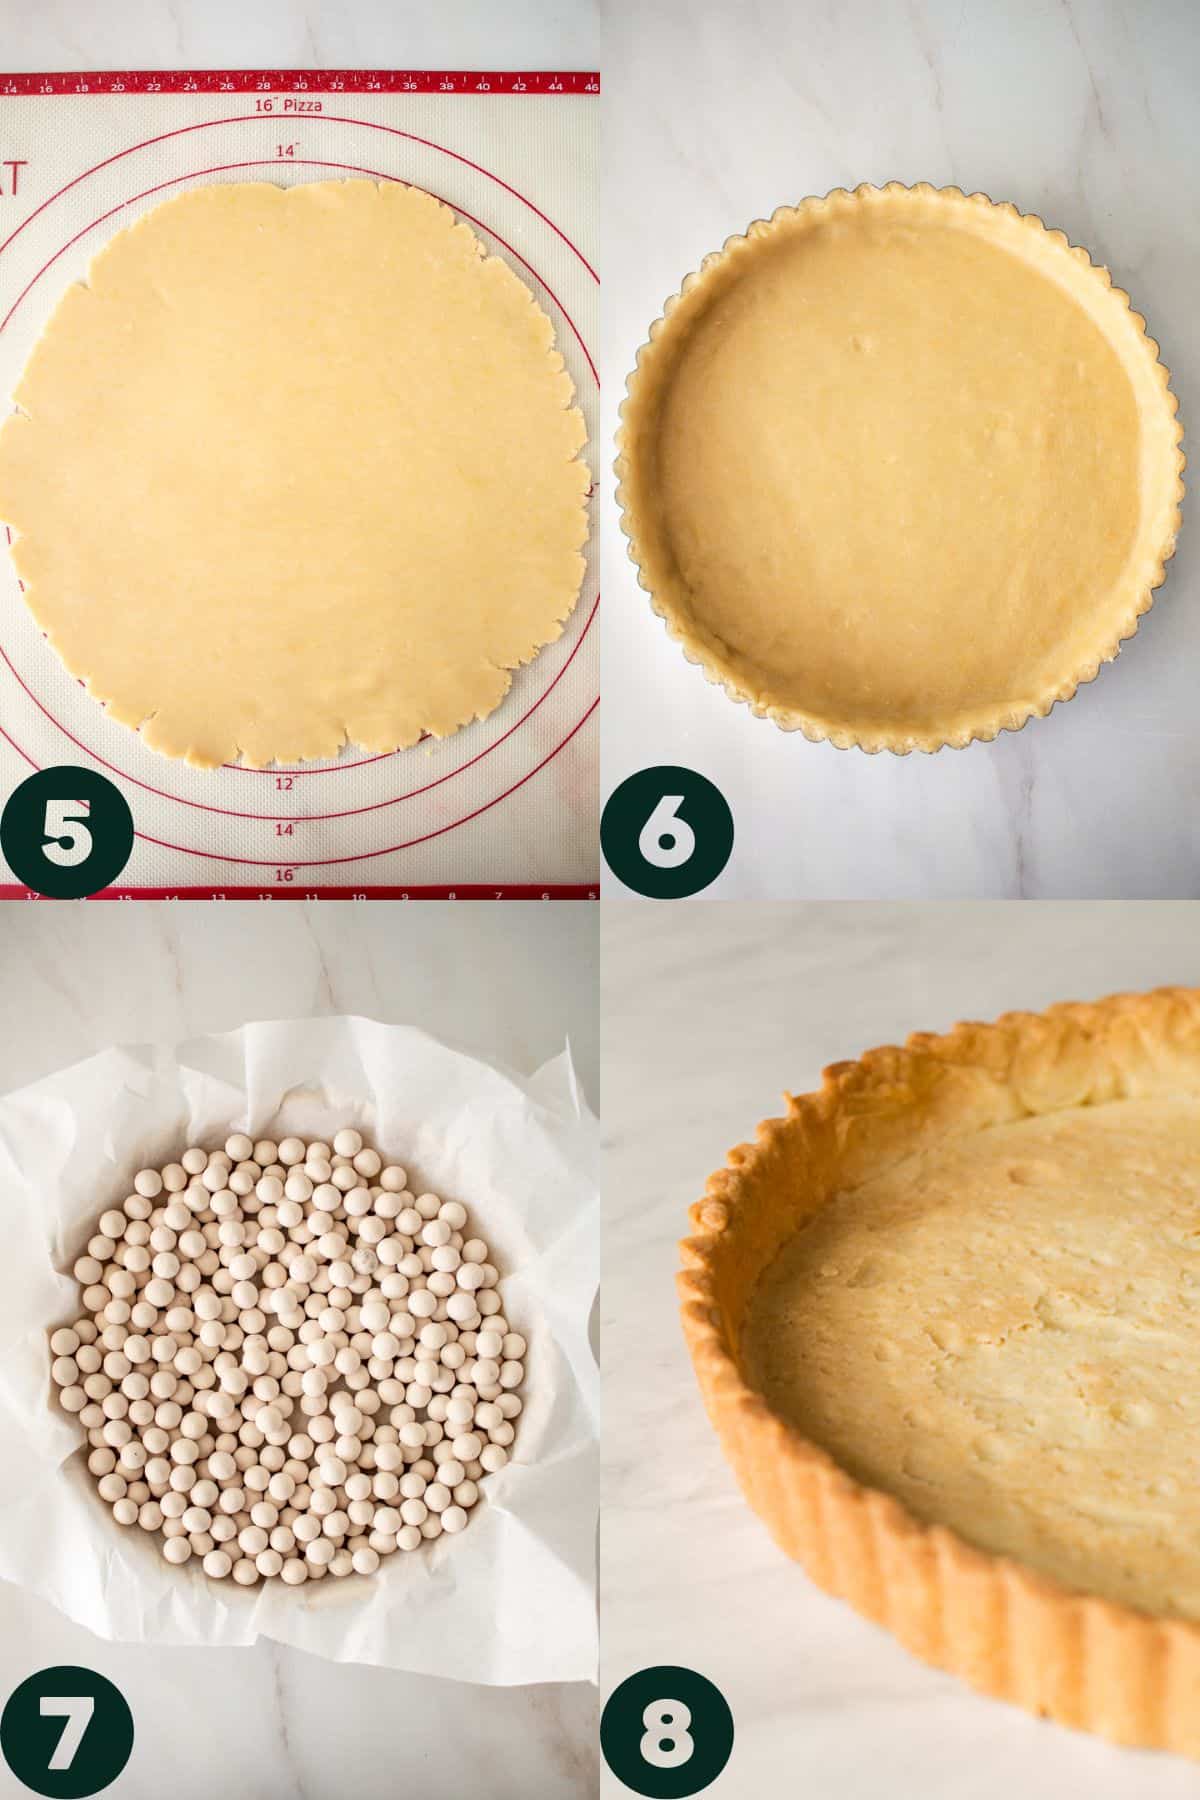
- Remove the dough from the fridge and let it sit a few minutes so that it is pliable enough to roll. Roll the dough out on a lightly floured surface. If you would like, you can also roll out the dough between two pieces of parchment. Roll the pastry out to a 11" round.
- Place the rolled dough into the 9.5" removable bottom tart pan. I use this traditional fluted tart pan. I find that the best way to do this is to take the removable bottom from the tart pan and slide it under the dough. Center the dough over the pan bottom, pick up and place into the tart pan. Ease the dough into the pan, taking care not to stretch the dough and making sure the dough is flush to the pan. Trim off the excess and freeze for 30 minutes. While freezing preheat the oven to 400F.
- Lightly spray a piece of parchment paper with cooking spray. Press the parchment into the cold tart shell, covering the edges. Fill the shell with pie weights.
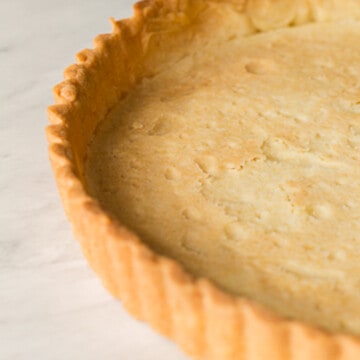
- Bake the tart for 22-25 minutes. Carefully remove the parchment and pie weights. For a par-baked crust, place back in the oven for an additional 5 minutes. For a fully baked tart, bake for 10 minutes or until golden brown.
Recipe Tips
- Cold ingredients are key to a good pastry dough. Grating super cold butter on the large grates of a box grater before adding it to the dry ingredients ensures that the butter is uniform and evenly distributed in the flour mixture.
- Chill the dough. Allow the dough to chill in the refrigerator before rolling out. This relaxes the dough and makes it easier to roll. Freezing the pastry after it has been rolled out in the tart shell will help prevent the tart shell from shrinking while baking.
- While I prefer rolling the dough out to fit into the tart pan, it can also be pressed into the pan. Press the dough into the pan starting with the sides first. Make sure the tart crust is even by going over it with the bottom of a measuring cup or glass.
Blind Baking (Par Baking)
Blind baking is pre baking the crust, before adding any fillings. Blind baking requires lining the unbaked crust with parchment or foil and weighed down with pie weights to set and partially bake the crust. Blind baking bakes the crust so it doesn't get soggy when fillings are added. For a partially baked shell, for tarts that will be baked further with their fillings, only a few more minutes of baking are required to dry out the pastry a bit more before filling and baking. For a fully baked tart shell, bake until golden brown, cool and then fill with fillings. Fully baked tart crust is generally required for fillings that don't need to be baked, like chocolate cream pie.
Storage and Freezing
Pâte sucrée can also be made in advance. It be refrigerated for up to 3 days, wrapped tightly in plastic wrap. It can also be frozen for up to two months. Just thaw the dough overnight in the refrigerator before using. It can also be baked, cooled and stored at room temperature in a ziptop bag for up to two days.
FAQs
You can purchase pie weights online, but you can also used dried beans or dry rice. The idea is to mimic the weight of pie weights with something that is also oven and food safe. Dried beans are my favorite alternative to pie weights.
This is to allow the tart to cook weighed down to prevent the crust from puffing up and distorting while baking.
If the dough is sticking, you can roll it out between two pieces of parchment paper or wax paper.
If you make this pâte sucrée (sweet tart crust), let me know! Drop a comment or tag me on Instagram. I love seeing your bakes and creations.
Enjoy!
Ash xx
Recipes to Make with Pâte Sucrée
Mango Passionfruit Coconut Panna Cotta Tart
Brown Butter French Fruit Tart with Stone Fruit
Blackberry White Chocolate Tart
Meyer Lemon Tart with Toasted Honey Meringue
Recipe
Pâte Sucrée (Sweet Tart Crust)
Equipment
Ingredients
- 1 ½ cups all purpose flour
- ½ cup confectioner's sugar
- ½ teaspoon fine sea salt
- ½ cup unsalted butter, grated and very cold
- 1 large egg yolk
- 2 teaspoons heavy cream
- ½ teaspoon pure vanilla extract
Instructions
- Process flour, confectioners sugar, and salt in a food processor for a few seconds until combined. If you don’t have a food processor, you can do this by using a pastry cutter.1 ½ cups all purpose flour, ½ cup confectioner's sugar, ½ teaspoon fine sea salt
- Add the grated butter to the flour and pulse until the mixture starts to stick together, and resembles coarse meal with some pea sized bits of butter scattered throughout.½ cup unsalted butter, grated and very cold
- Whisk together the egg yolk, cream and vanilla in a small bowl. Add the egg yolk mixture while pulsing. Pulse the mixture until it starts sticking together, forming large clumps and the dough is no longer dry, about 15 seconds. The dough should be quite crumbly with large clumps.1 large egg yolk, 2 teaspoons heavy cream, ½ teaspoon pure vanilla extract
- Turn the mixture out onto your work surface. With a light hand, form the dough into a ball. Flatten dough into a disc, about an inch thick and wrap in plastic wrap. Refrigerate for an hour.
- Place the chilled dough on a lightly floured surface. Let the dough sit for a 5-10 minutes until pliable. Roll out the dough into a 11" circle, about an ⅛ inch thick.
- Place the dough over your tart pan and quickly ease the dough into the pan. Avoid stretching the dough. Use the tips of your fingers to ensure the dough is flush with the bottom and sides of the pan.
- Trim the excess dough off the top of the pan. Take another look at your tart dough, checking for any tears, gaps or uneven edges. Use the excess dough to fill in those spots.
- Place the tart shell into the freezer for 30 minutes. Preheat the oven to 400F.
- Lightly spray a piece of parchment paper with cooking spray. Press the parchment into the cold tart shell, covering the edges. Fill the shell with pie weights.
- Place the tart shell into the oven and bake for 22-25 minutes. Carefully remove the parchment and pie weights.
- For partially baked shell, continue baking for 5 minutes more until golden brown. Proceed to your tart recipe for further instructions.
- For a fully baked shell, continue baking for 10 minutes longer or until golden brown. Be sure to keep an eye on the edges of the tart so they don't burn. Place on a wire wrack to cool completely.
Anna says
Worked very well! Easy to follow as someone who has never made anything like this before. I did have one problem though; the edges of my crust were burned before it had even baked 10 minutes with the pie weights. Any advice for preventing that? I followed the directions exactly, though my oven does tend to run a bit hot (not sure of that's the problem). Any advice welcome!
Ashley says
Hi Anna! Were the edges of the parchment covering the edges? If not, use a bit more parchment next time to cover the edges. You can also use a pie crust shield.
Viv says
Wow! I had doubts about the butter to flour ratio but you are so right! My first try at these and thanks to you they came out fantastic!!!
mark gillett says
First I have to say, I am not much of a baker, other than bread.
The dough was a bit fragile to work with but the end product was excellent I will continue to use it to learn how to better work with it.
Thanks
Mark
Ashley says
Hi Mark! I'm happy you liked it!