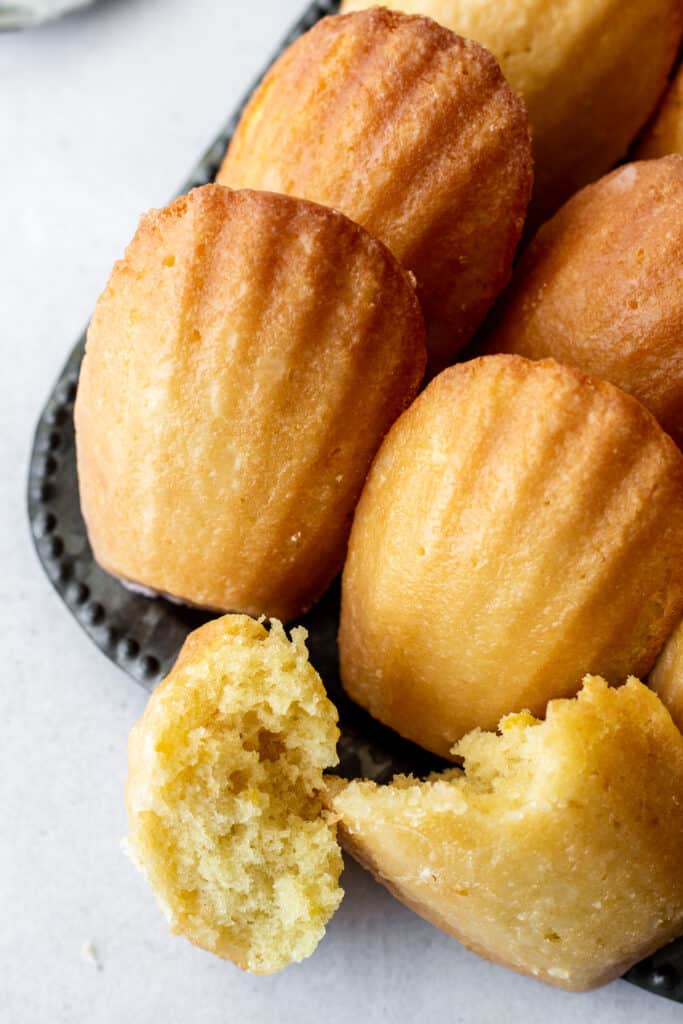
Today I am sharing with you one of my favorite French desserts - madeleines. More specifically, mimosa madeleines flavored with orange zest and coated with a champagne glaze. So, so good and so hard to eat just one.
What are madeleines?
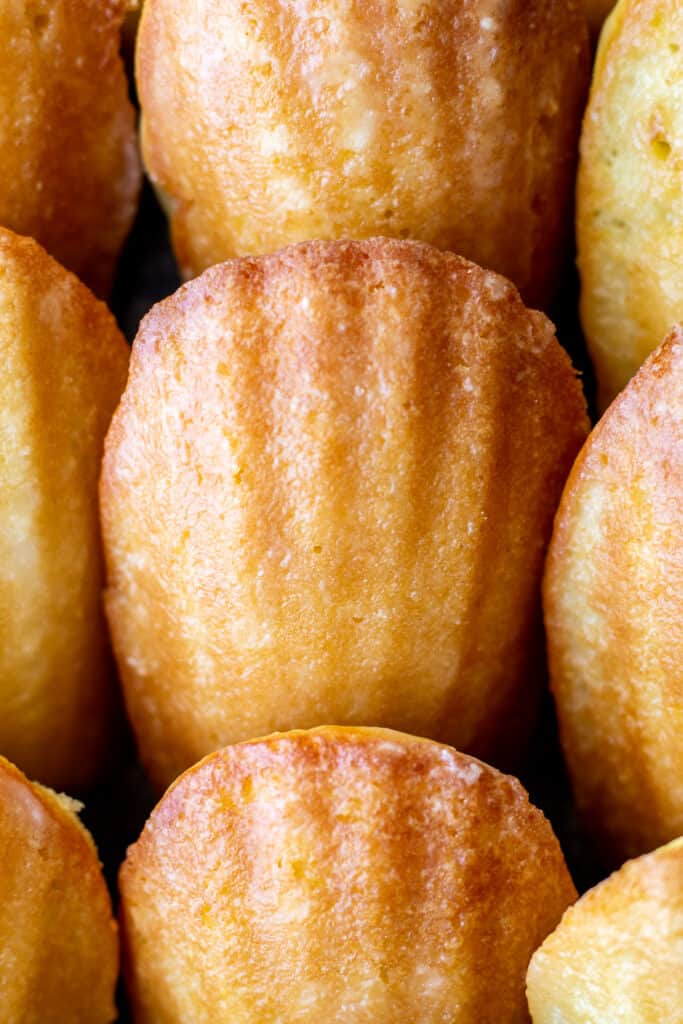
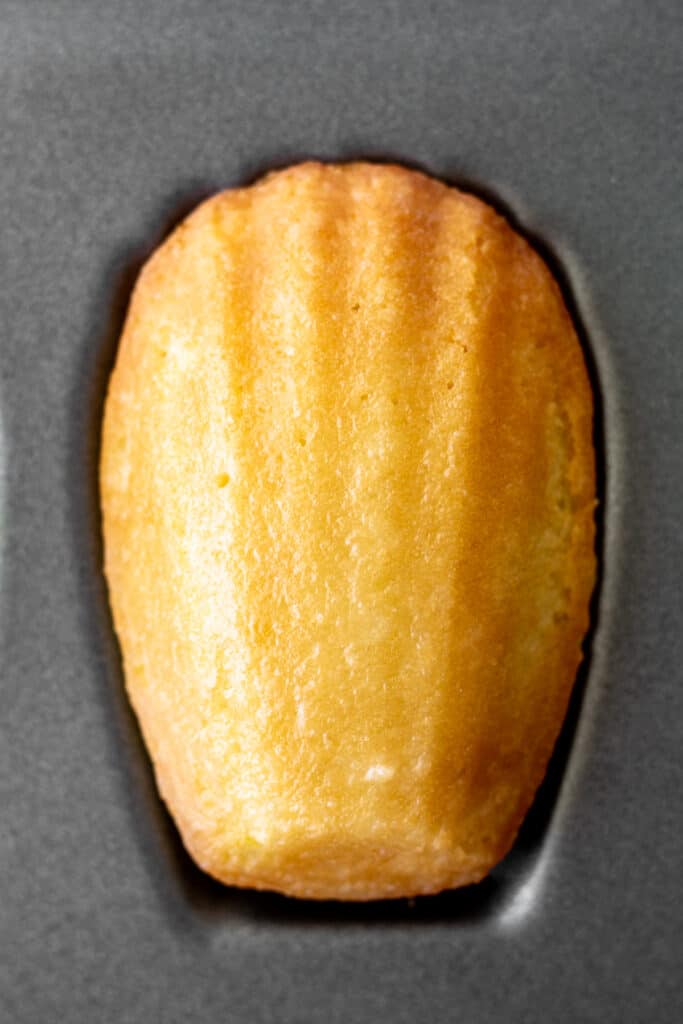
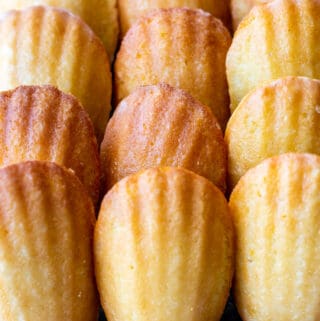
Known for their scalloped sea shell shape on one side and a pronounced hump on the other, madeleines are buttery, light, and spongey cakes that are typically glazed or dusted with confectioners' sugar. Oftentimes they are called cookies, mostly due to their size and shape, but they are tiny genoise cakes. I feel like they fall somewhere in between, so call them what you will.
Madeleines are baked in a unique scalloped pan made specifically for these cakes. Luckily madeleine pans are fairly inexpensive, and are worth the purchase if you like madeleines. Once you make these delicious little cakes, you will want to keep making them, in a variety of flavors. This is the pan I use.
Tips for madeleine success
- Eggs and milk must be room temperature. If these ingredients are too cold, the mixture will not emulsify, and likely split.
- Beating the eggs and sugar on high for 6-8 minutes help give the cakes their height and texture. The mixture will be thick and pale. Skimping on this step results in flat, dense cakes.
- The batter has to rest. I know, I know. Waiting is no fun. But, you can make the batter in advance and keep it refrigerated overnight. I like to make the batter the night before then bake them off in the morning.
- Buttering the pan ensures that the madeleines don't stick. You should prep the pan even if you have a non-stick pan. You can lightly flour the wells if you wish, but I don't find it necessary. You can also use non-stick baking spray.
- Fill the wells ¾ of the way full. It doesn't have to be exact, just eyeball it. Keep in mind that they will spread out and rise, so just plop the batter into the center of the well.
- Madeleines are best eaten the day they are made, and while they're slightly warm. They do start to loose their moisture over the day, so it's best to bake them off as you need them. If you must store them, store in an airtight container for up to 2 days.
The process of making mimosa madeleines
Melt the butter 8-10 minutes before you make your madeleines so that it has time to cool. Combine the room temperature eggs and sugar and whisk on high speed for 6-8 minutes, until the mixture is pale and thickened. When the whisk is raised, the mixture should ribbon back into the bowl.
Meanwhile, combine the orange zest, flour, salt and baking powder in a bowl and whisk to combine. Add the milk and vanilla to the cooled melted butter, and whisk into the egg mixture. Remove the bowl from the mixer and fold in half of the flour mixture, then fold in the remaining half. Cover the bowl and refrigerate for 1 hour or up to overnight. Resting the batter in the fridge results in fluffier madeleines.
When ready to bake, preheat the oven to 350F. Use a pastry brush to brush melted butter into the wells to keep the batter from sticking, but also to help give the madeleines their crisp and buttery edges. You can flour the wells as well if you are worried about sticking.
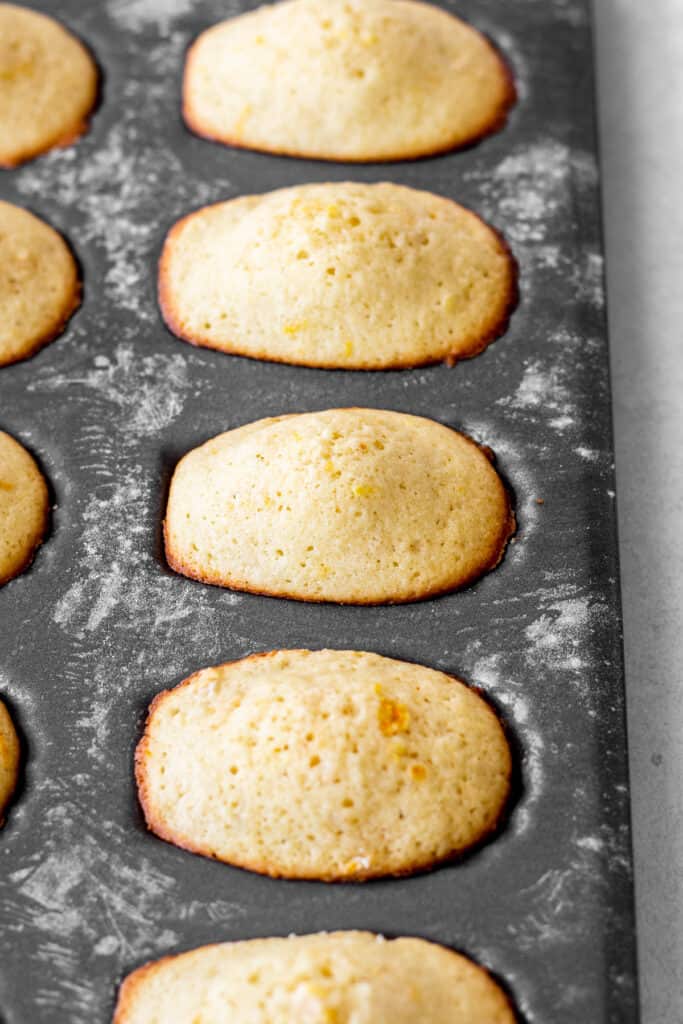
The chilled batter will be spongy and thickened. Do not deflate. Fill the wells about ¾ full, about a heaped tablespoon full, keeping in mind the madeleines will spread and rise. Bake 10-12 minutes or until a toothpick inserted comes out with few crumbs. Turn the madeleines out of the pan, tapping on the counter to release the cakes. Place them on a cooling rack.
Meanwhile, make the glaze by whisking the confectioners' sugar and champagne until smooth and thickened. As soon as the madeleines are cool enough to handle, dip the cakes into the glaze, both sides, scraping the excess off on the bowl. Rest the madeleines on a cooling rack to dry, scalloped side up. Enjoy your mimosa madeleines with a cup of Earl Grey or coffee.

If you make these mimosa madeleines, let me know! Drop a comment or tag me on Instagram. I love seeing your creations.
Enjoy!
Ash xx
For more citrus recipes, check out these posts:
Lavender Lemon Shortbread Bars
Meyer Lemon Ginger Tart with Toasted Honey Meringue
Recipe
Mimosa Madeleines
Equipment
Ingredients
- ¾ cup (150g) granulated sugar
- 3 large eggs, room temperature
- 14 tablespoons (200g) unsalted butter (plus 2 additional tablespoons for the pan)
- ¼ cup (60ml) whole milk, room temperature
- 1 teaspoon pure vanilla extract
- 1 ¼ cups (200g) all purpose flour
- ¼ teaspoon fine sea salt
- 1 teaspoon baking powder
- 2 teaspoons orange zest
- 1 cup (114g) confectioners sugar
- 2-3 tablespoons champagne
Instructions
- Melt the butter (14 tablespoons) and set aside to slightly cool as you prepare the rest of the batter.
- In a medium bowl, whisk together the flour, salt, baking powder and orange zest and set aside.
- In a stand mixer fitted with the whisk attachment, beat the eggs and sugar together on high speed for at least 8 minutes. The mixture will be thick, pale, and form ribbons when you lift the whisk.
- Whisk in the melted, cooled butter.
- Add the milk and vanilla extract.
- Remove the bowl from the stand mixer. Using a spatula or wooden spoon, gently fold the flour mixture into the egg mixture. Folding in half of the flour mixture, then fold in the other half.
- Cover the batter and chill in the refrigerator for at least an hour, or up overnight.
- During the last few minutes of chilling, preheat the oven to 350°F (177°C).
- Melt the remaining 2 tablespoons of butter. Using a pastry brush, lightly brush the pan with melted butter.
- The batter will be quite airy and spongey after resting. Don't deflate it. Fill each scalloped well with batter, about ¾ full. No need to spread it to the edges. These will rise. Just place the batter in the center. Cover and refrigerate remaining batter if you do not have 2 madeleine pans to bake the batter all at once.
- Bake for 10-12 minutes. The madeleines are done when the tops spring back after lightly pressed with your finger. Invert the pan onto the counter, tapping to release the madeleines. Transfer the madeleines to a wire rack to cool.
- While the madeleines are cooling, prepare the glaze. Combine the confectioners' sugar and champagne in a bowl. Whisk until smooth and thickened slightly.
- When the madeleines cool enough to handle, dip each cake in the glaze, turning them over to make sure both sides are coated and scrape off any excess on the side of the bowl. After dipping, rest each one back on the cooking rack, scalloped side up, until the cakes are cool and the glaze has firmed up.
Comments
No Comments