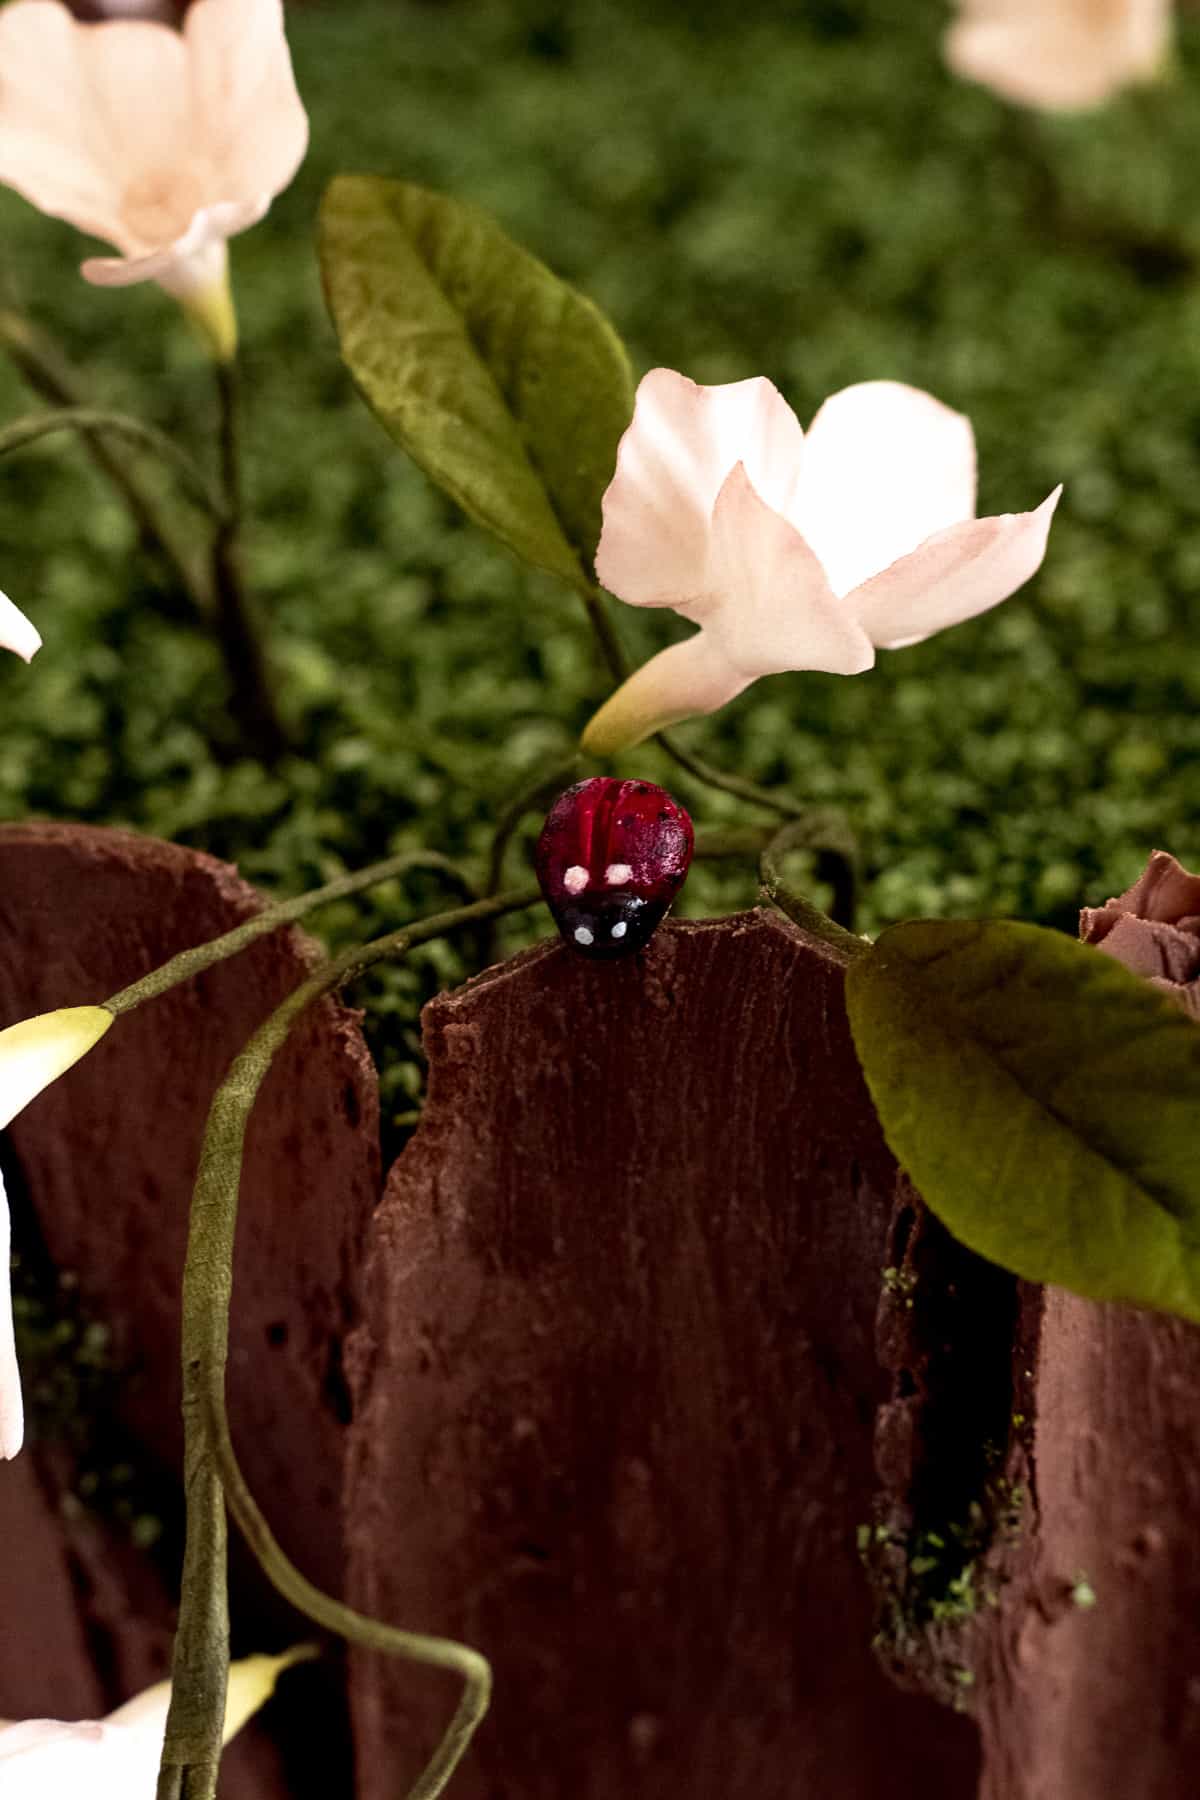
These gum paste ladybugs are super easy and fast to make, and they are a super cute addition to any spring time garden or woodland style cake. I like to pair them with other insects, like butterflies or bees, and they look amazing in sugar flower arrangements. You can tape them in with flower petals so they sit in a flower, or you could tape them on to branches and vines, like I did for this cake.
Supplies:
white gum paste, 26 gauge floral wire, small jewelry pliers, sugar glue, cornstarch, vegetable shortening, ladybug body mold (Optional, but I got mine here), edible paints in red, black and white, foam for drying, paintbrushes, dresden tool, confectioner's glaze
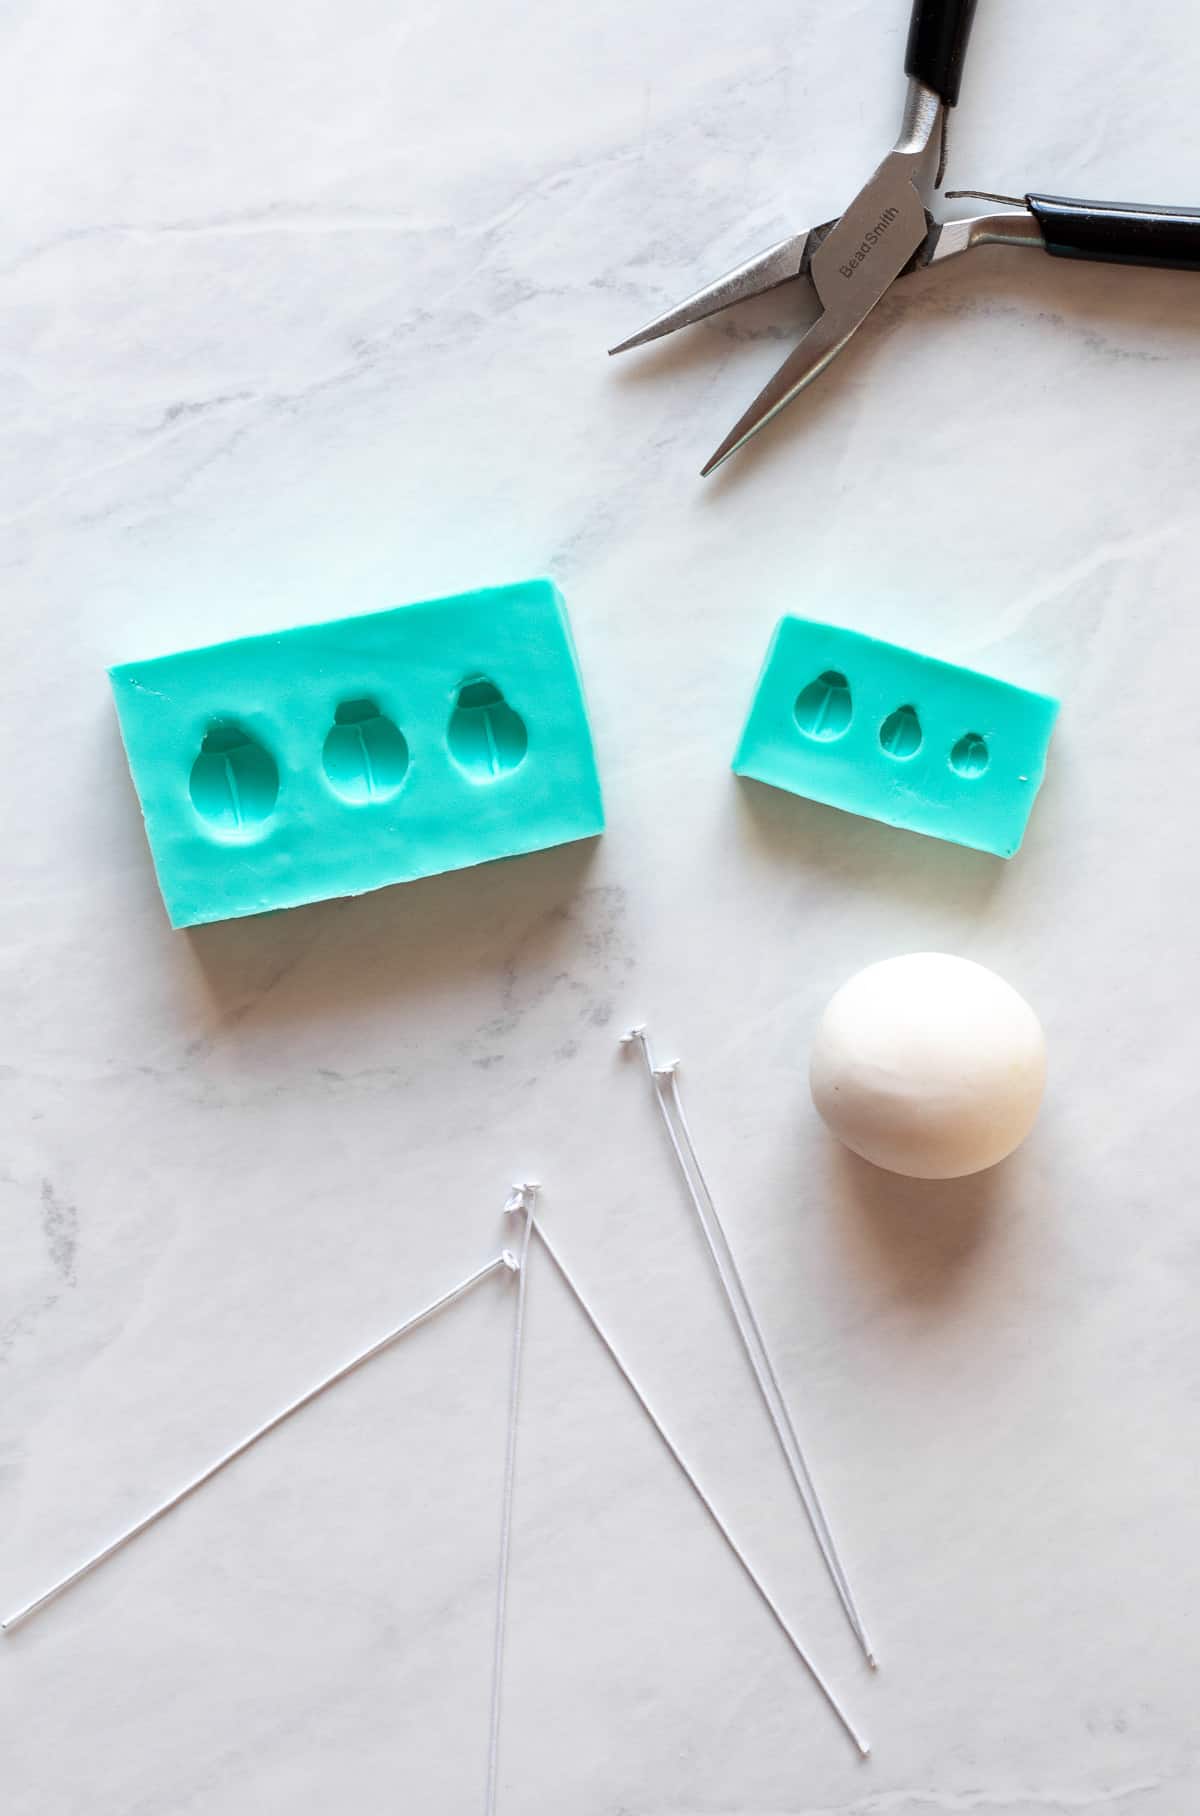
Step 1: Make a small circular hook at the end of a piece of 26-gauge wire with jewelry pliers. Bend the hook down so that it lays flat against the wire. Grip the top half of the circle hook and bend down so that the circle is perpendicular to the stem.
Step 2: Condition a small ball of white gum paste with just a little bit of vegetable shortening until the paste is no longer sticky. If you are using the ladybug mold, press the gum paste into the mold, firmly, to make sure that the paste completely fills the mold. Remove excess paste.
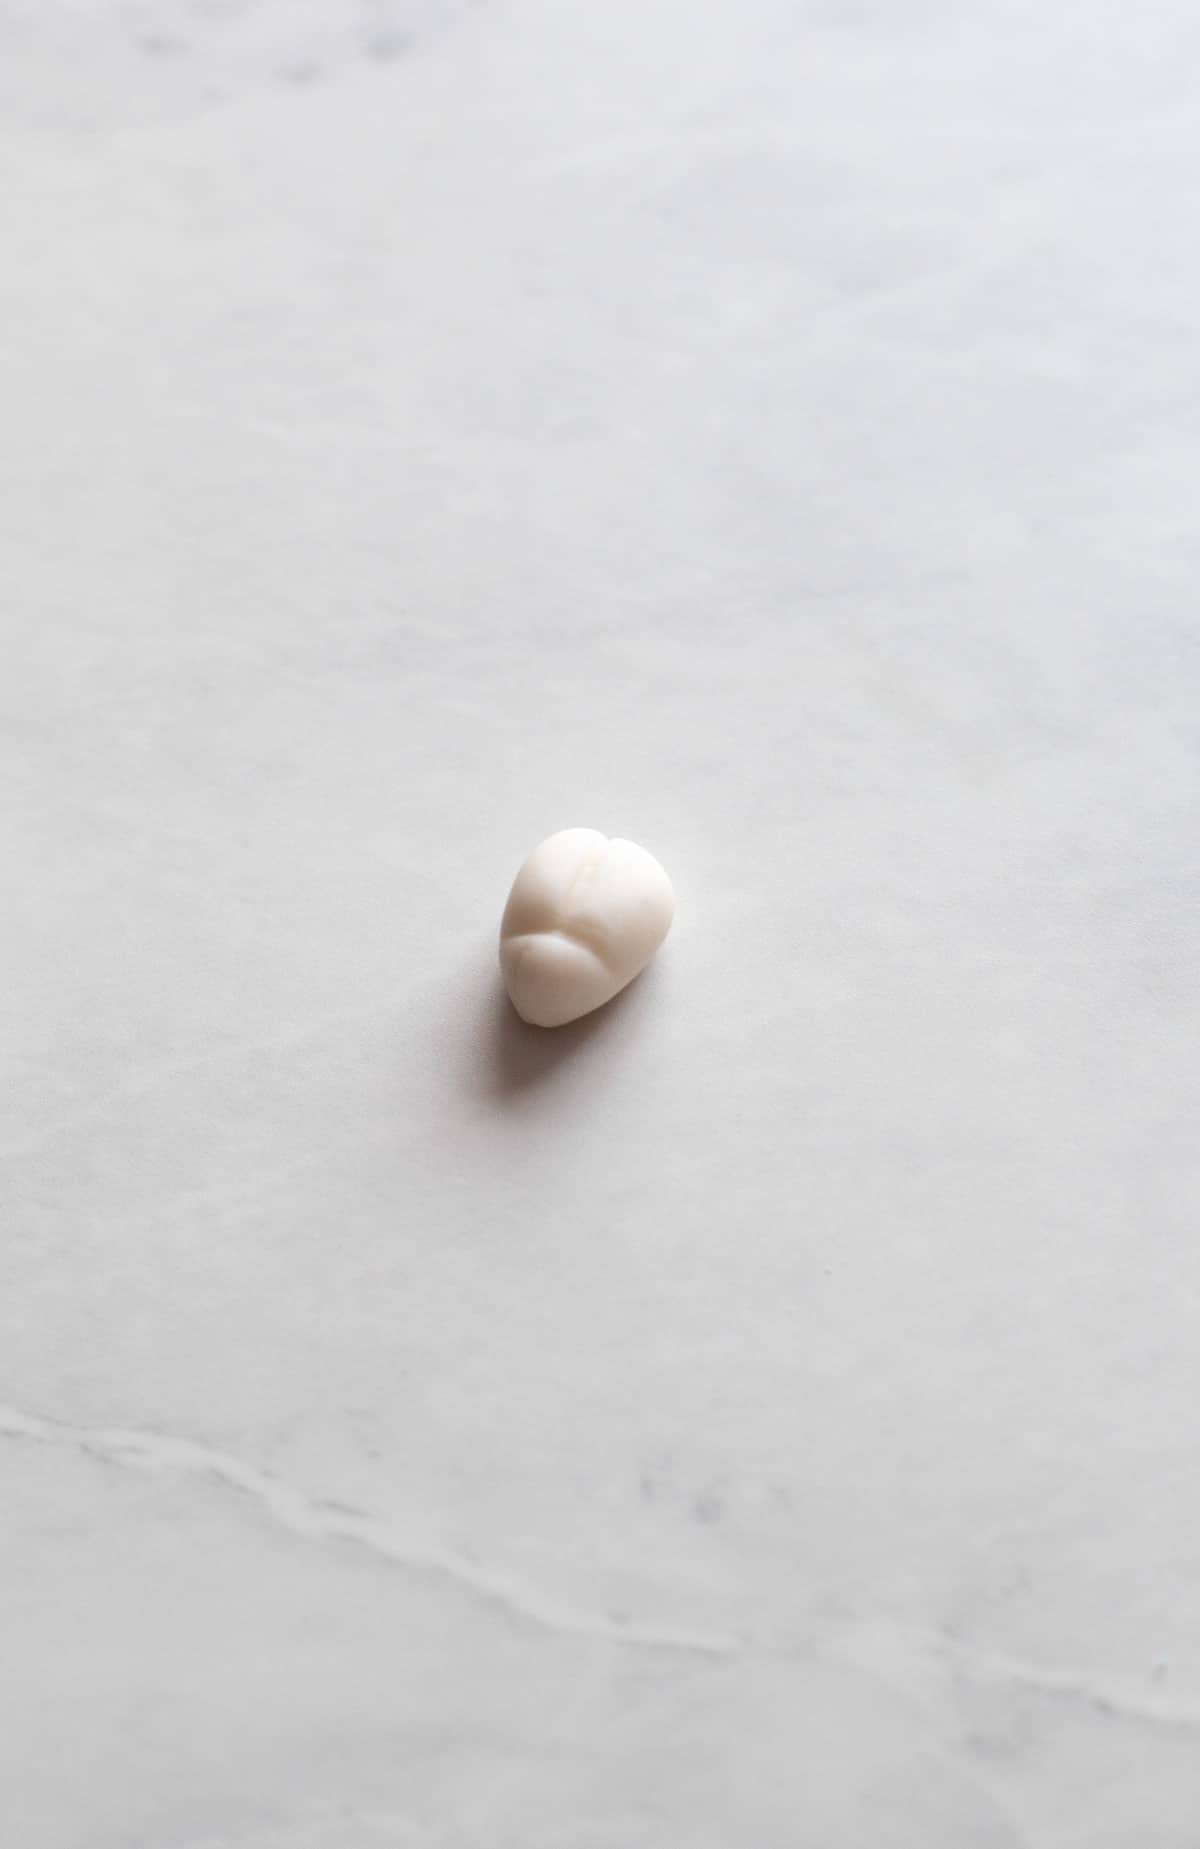
*Step 2: Alternative Method: If you are not using a mold, roll a piece of gum paste into a small ball, depending on the size you would like your ladybug. Flatten the ball slightly, and taper one end to create a blunted point. Use the thin side of a dresden tool to draw a line to separate the head from the body. Draw a line down the center of the body to create two segments.
Step 3: Brush the wire with sugar glue and insert the wire into the ladybug in the mold. Let dry for a minute or two. This will allow it to be a little bit more stable before removing the ladybug from the mold.
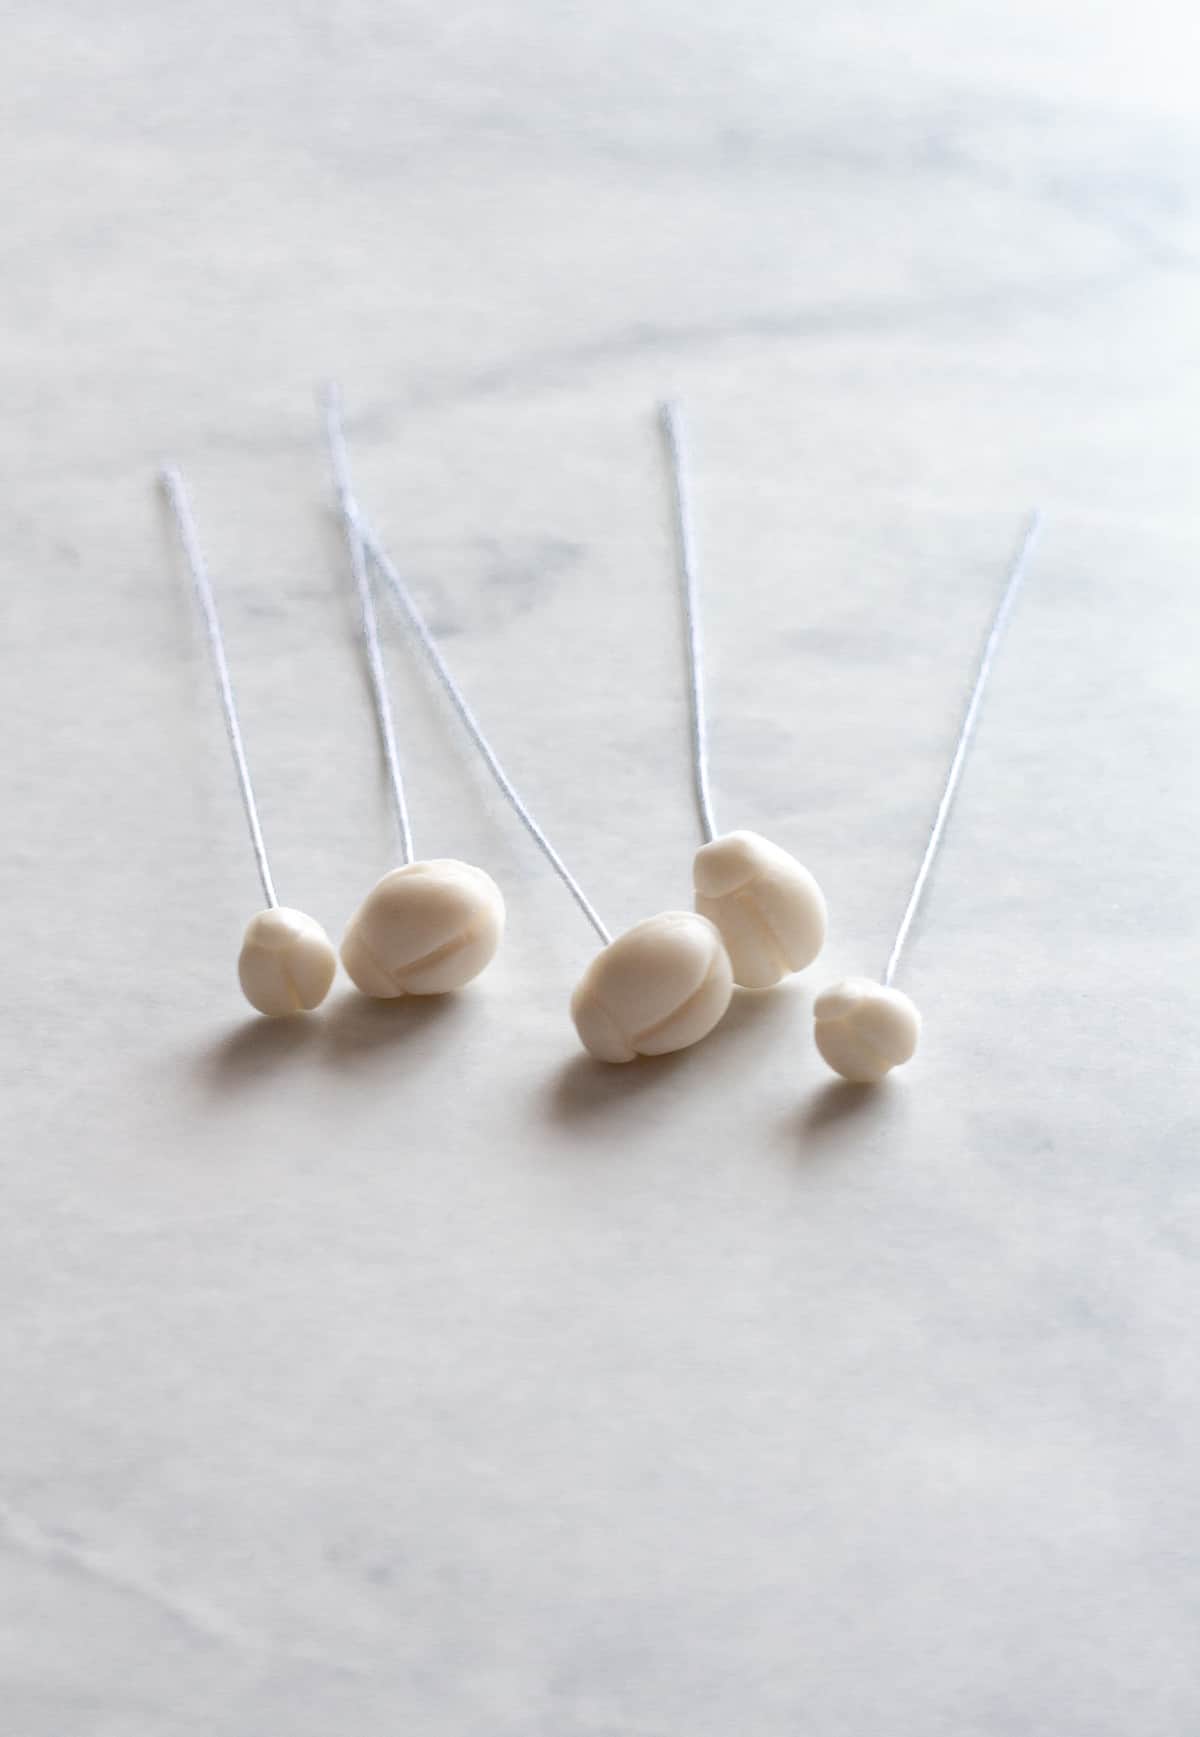
Step 4: Gently peel the mold away from the ladybug to remove it from the mold. Place the wired ladybug in a some foam to dry completely.
Step 5: Paint the body with edible red paint. Paint the underside of the body as well.
Step 6: Paint the head with edible black paint. Paint the underside of head as well.
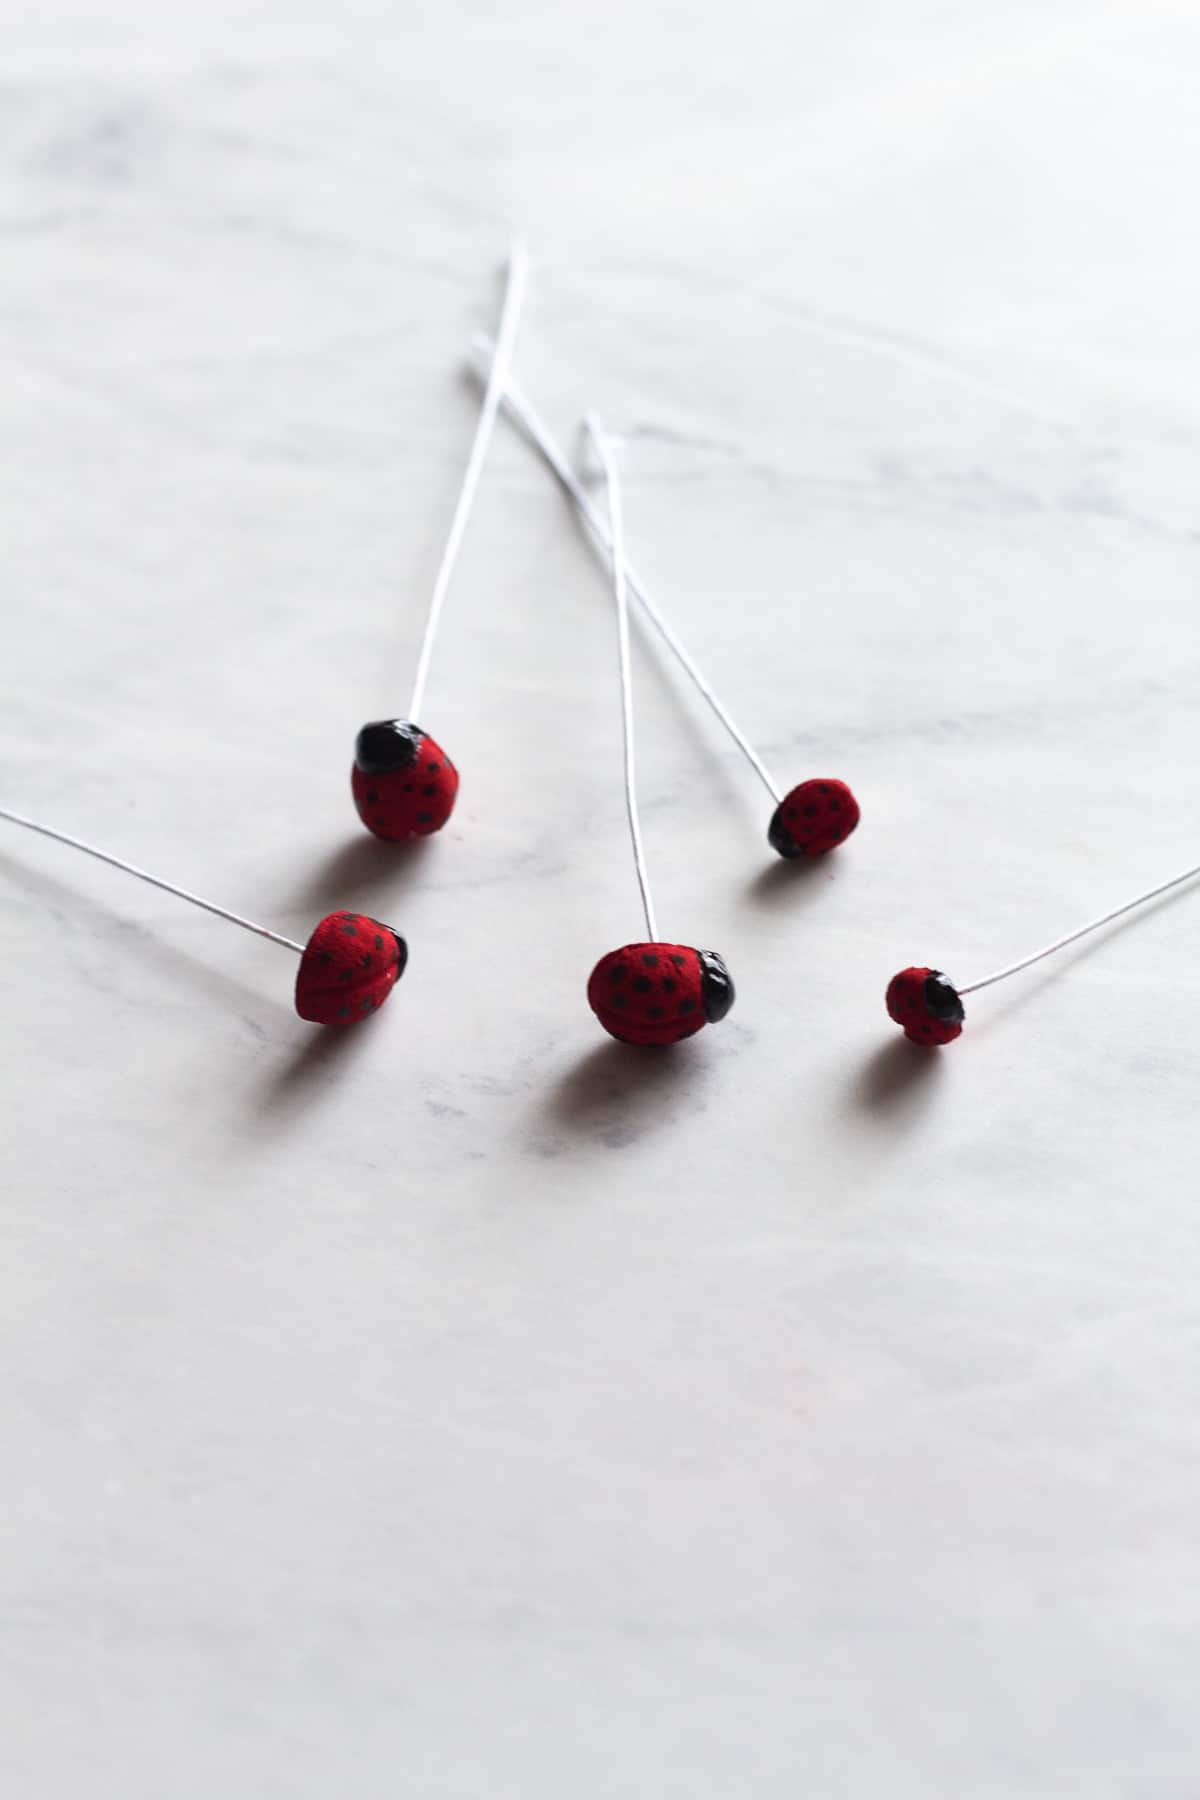
Step 7: Paint small, evenly spaced black dots on the body of the ladybug. Let the paint dry completely.
Step 8: Paint two white dots on the front of the head and two white dots on the body near the head. These dots will be larger than the black ones. Let dry completely.
Step 9: Dip the ladybug in confectioners glaze to give the ladybug a shiny coating. Avoid brushing the glaze as this will smear the paint. You can skip this step if you want your ladybugs to be matte.
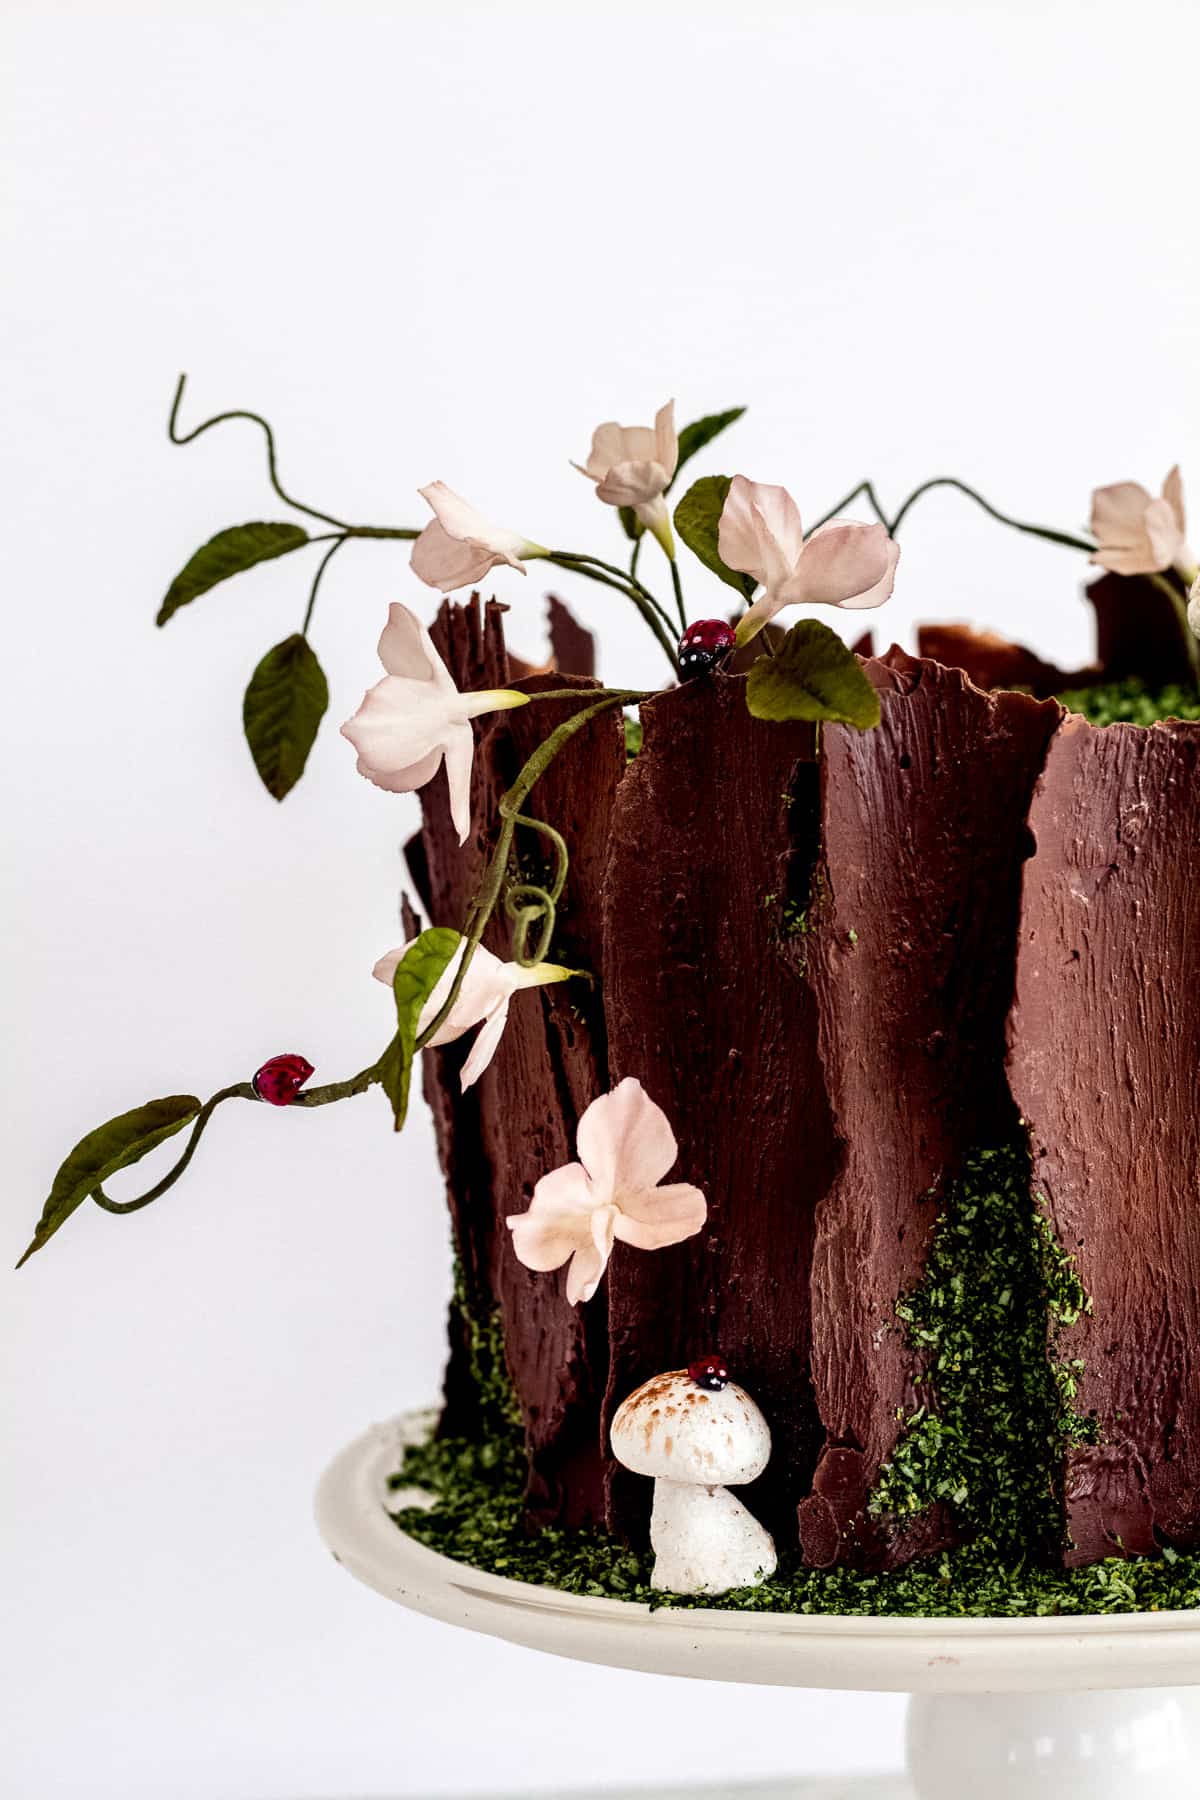
To see the cake that I used these ladybugs for, check out my Woodland cake tutorial here.
Comments
No Comments