[This post is written in partnership with Satin Ice. All text and opinions are 100% mine. Thank you for supporting brands that help me and my business grow!]
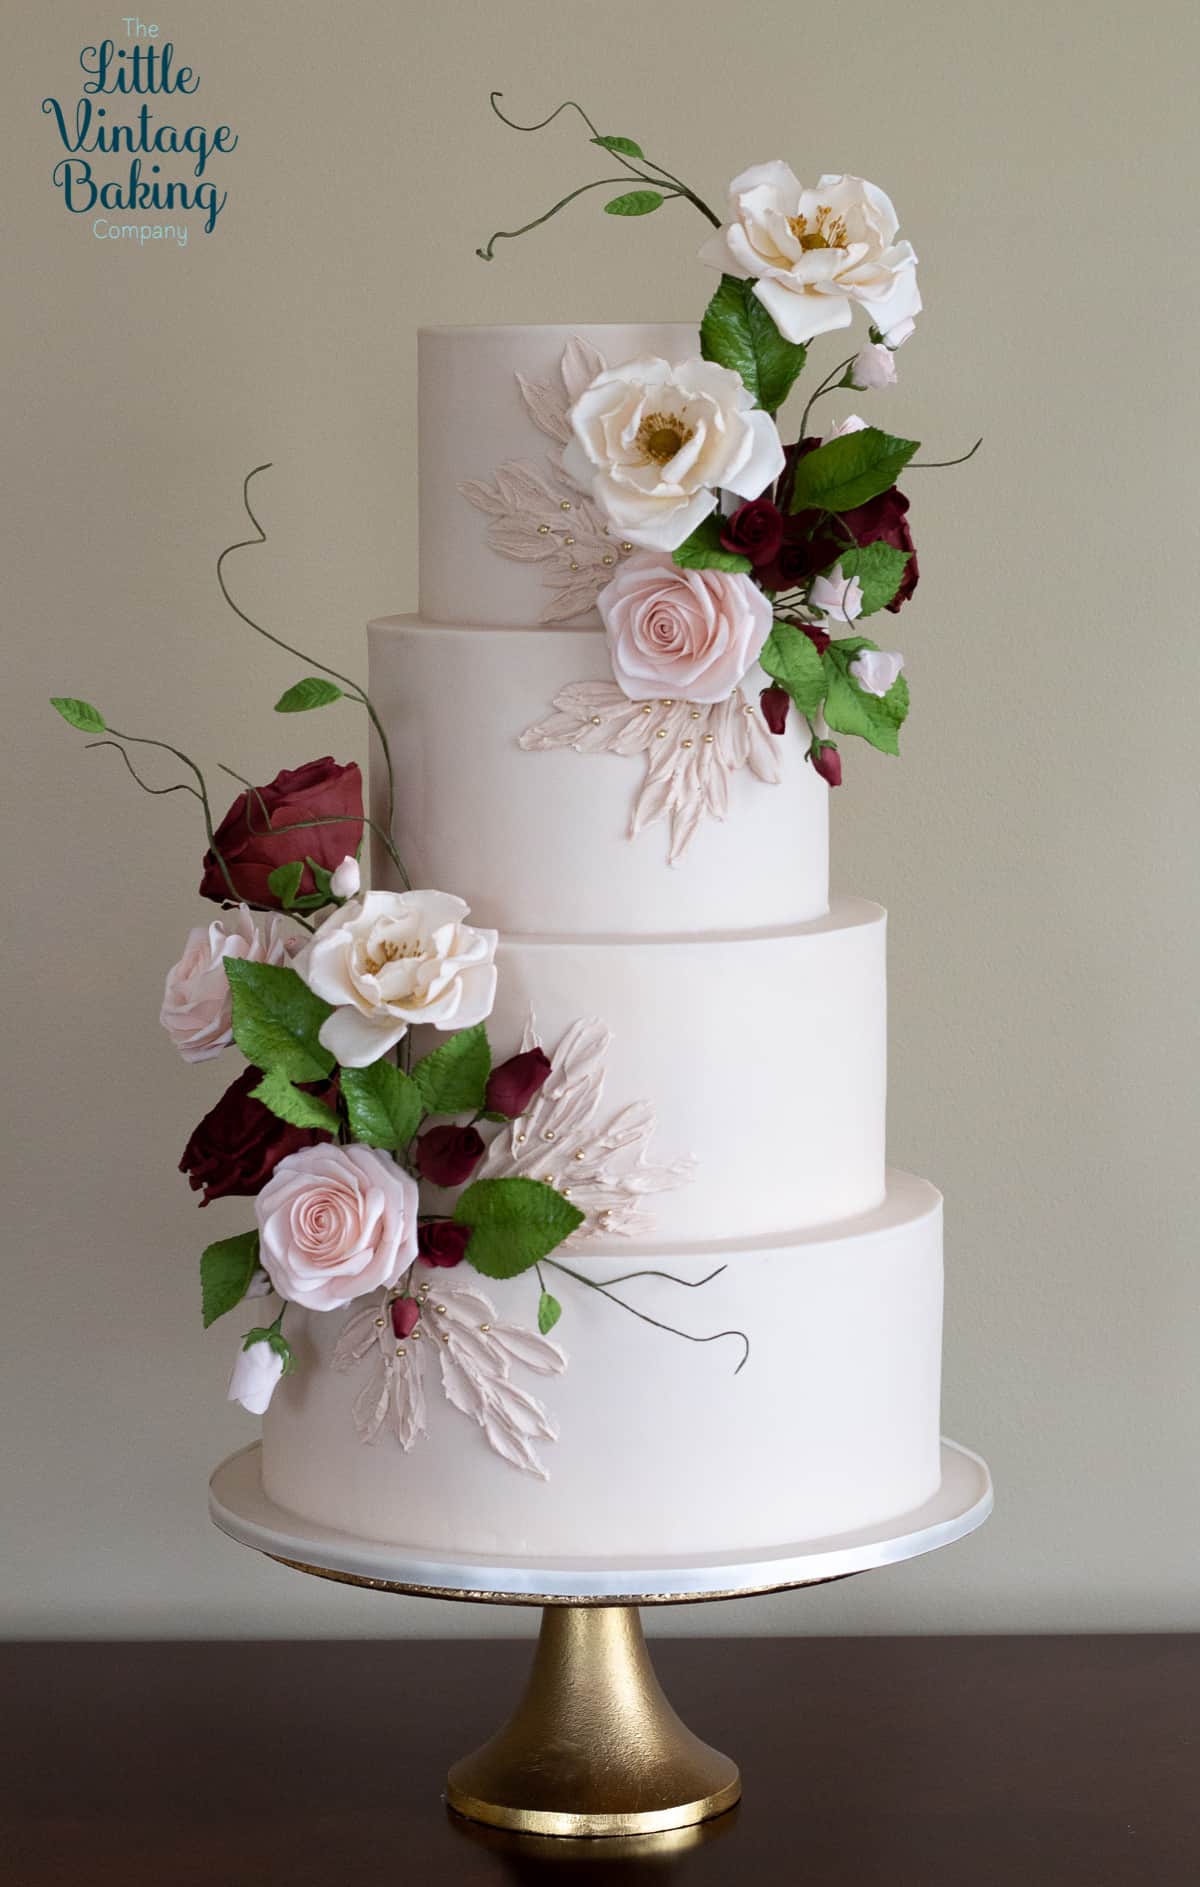
Valentine's Day is the inspiration behind this "mini" tutorial for my Romantic Roses cake. This cake is sponsored by my sweet friends over at Satin Ice. Their new buttercream icing mix was perfect for palette knife buttercream painting. While this is actually a fondant covered cake, mixed media elements like buttercream and royal icing techniques - such as palette knife painting, detailed piping, buttercream flowers, etc. look amazing together and allows you to incorporate several different techniques.
I'm calling this a "mini" tutorial because I'm sharing how I made this cake, but it's not a step by step detailed tutorial. The idea is to share how I created this cake, and to share a technique and some information for you to be able to replicate it on your cakes. A reader wrote to me recently asking for me to keep in mind beginner cake tutorials when creating tutorials. I will most definitely be creating tutorials for ALL skill levels and ALL sorts of cakes - birthday cakes, wedding cakes, themed cakes, holiday cakes, etc. Keep in mind that many of the techniques featured in my full or mini tutorials can be applied to any size or style of cake, and many are perfect for all skill levels. Trust me, I'm going to do my best to not let any of you leave a post empty handed.
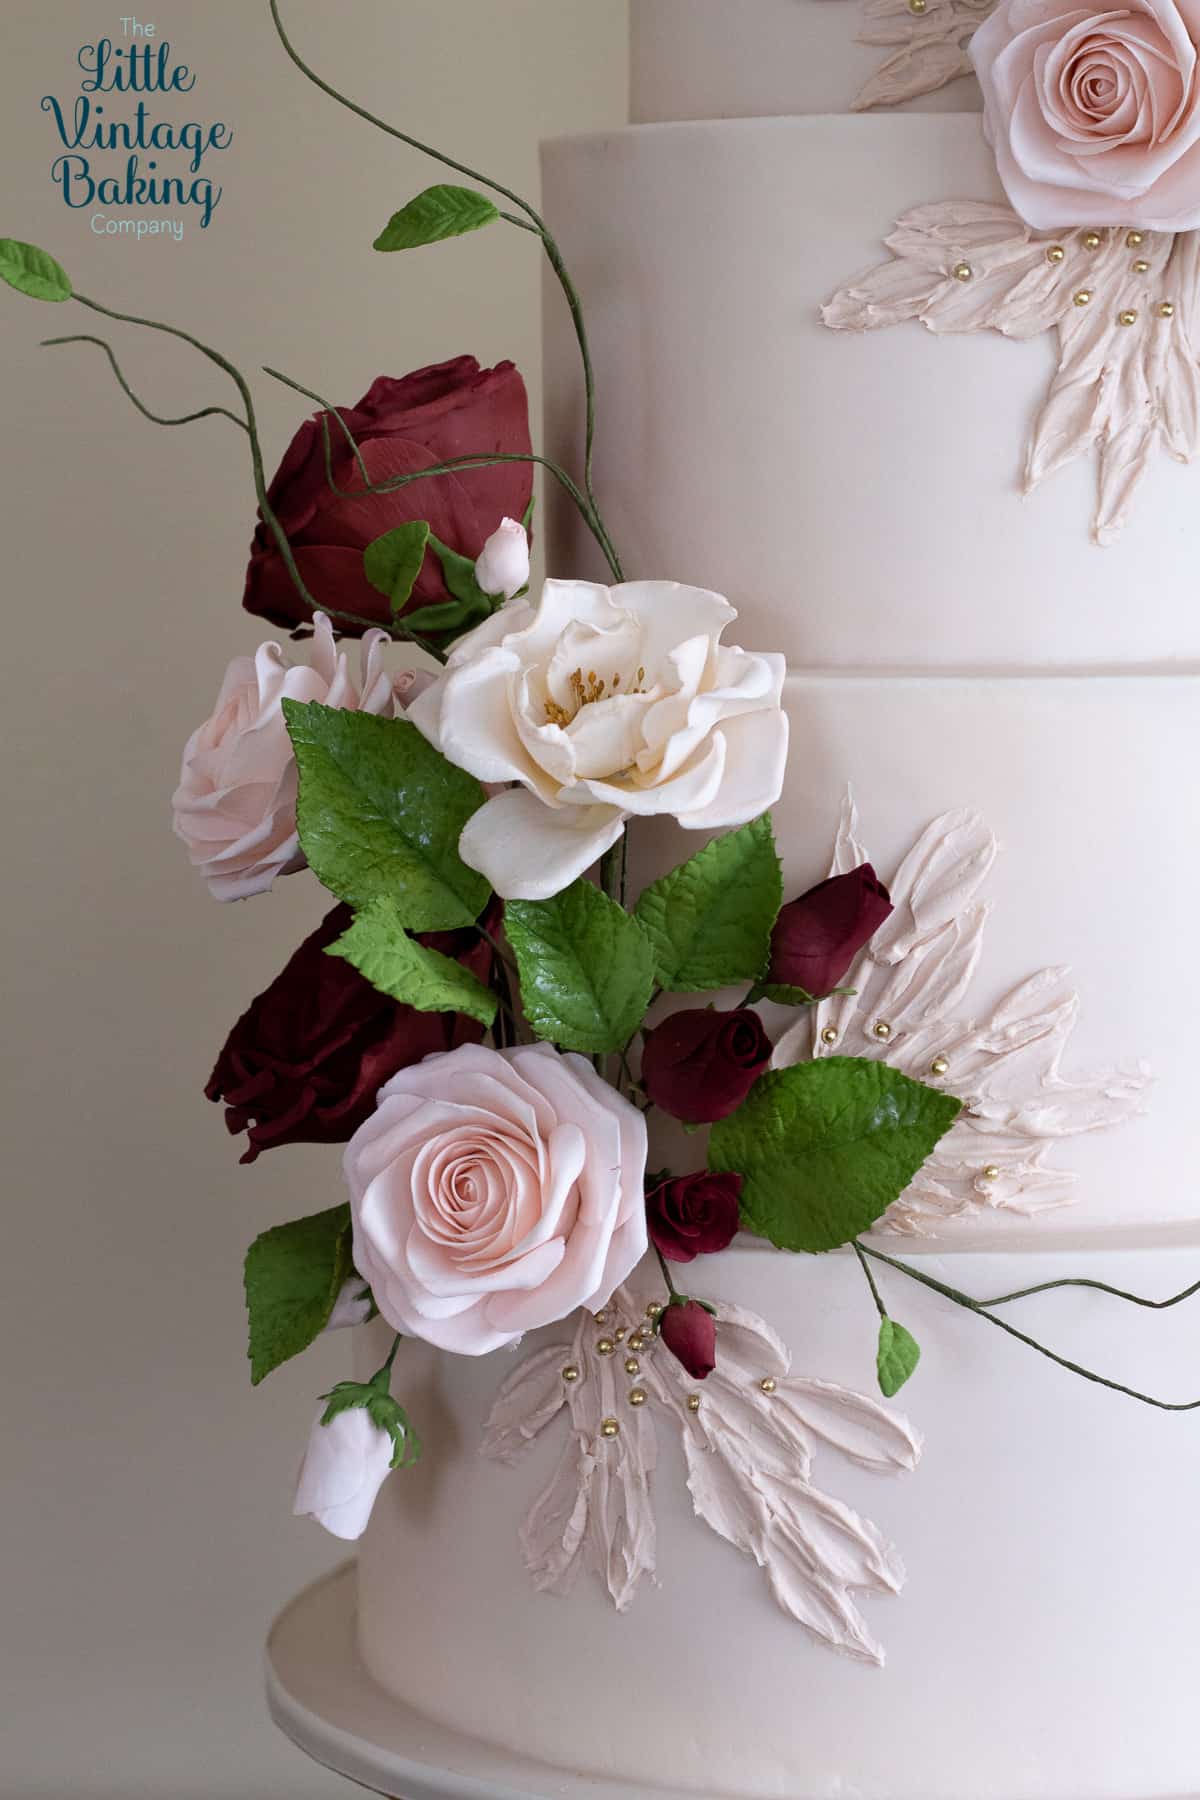
After determining that palette knife buttercream painting was definitely on the table for this cake, and Valentine's Day was an underlying theme, my mind went to color next. I wanted to incorporate dark reds, pinks, and blush tones. And what screams Valentine's Day more than ROSES? To keep with rose theme, I created hybrid tea roses, heirloom roses, David Austin garden roses, and little climbing roses and rose buds. I also added in some rose leaves and some twisty vines.
I used Satin Ice fondant for this cake, which I colored with Crystal Colors petal dust in Champagne and Blush, mostly equal parts. I wanted a blush color for the cake but I wanted it more of a cool, muted, vintage-y tone and not so harshly pink. I've been experimenting with using dusts for coloring fondant simply to get more of a targeted color. I find that it's a bit more difficult to achieve the desired color if I'm using gel colors. Food safe dusts come in such a large variety of colors which allows me to achieve the color I'm aiming for much easier. However, if you don't have these colors, you can use Americolor electric pink and Wilton brown to achieve a similar color. Avoid Americolor brown - there's a bit too much orange in it. Incorporate very little color gradually since gels are more concentrated.
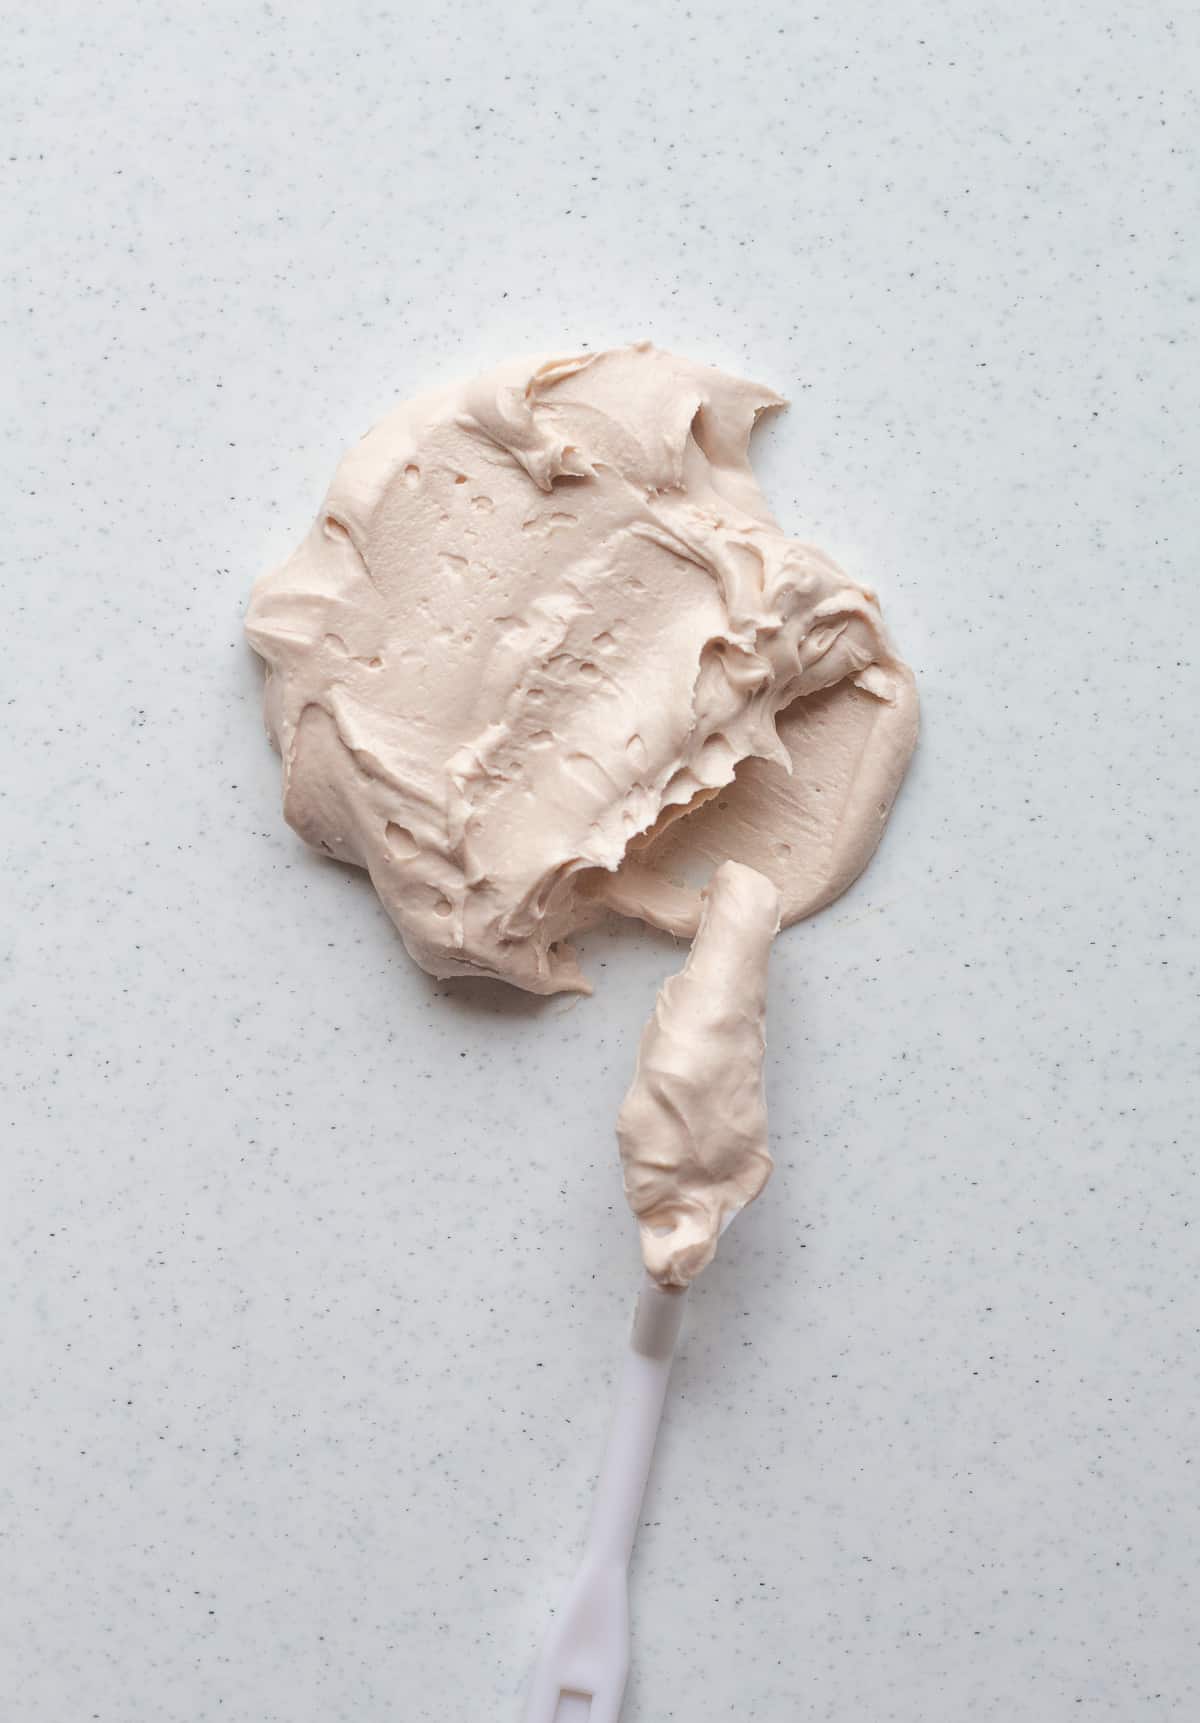
I used the same petal dusts to color my buttercream to match the fondant, which was fairly simple to do since the buttercream mix is pure white. Satin Ice buttercream mix comes as a soft dough. To the dough, you add butter or shortening and water to create an American style buttercream. The buttercream mix is very customizable to most projects. It's stiff enough for piping flowers and ruffles, but you can also make it soft enough to mimic the same consistency as a meringue based buttercream, which happens to be my favorite buttercream to use. To get that consistency, I added water ½ teaspoon at a time until it was soft and smooth, like peanut butter.
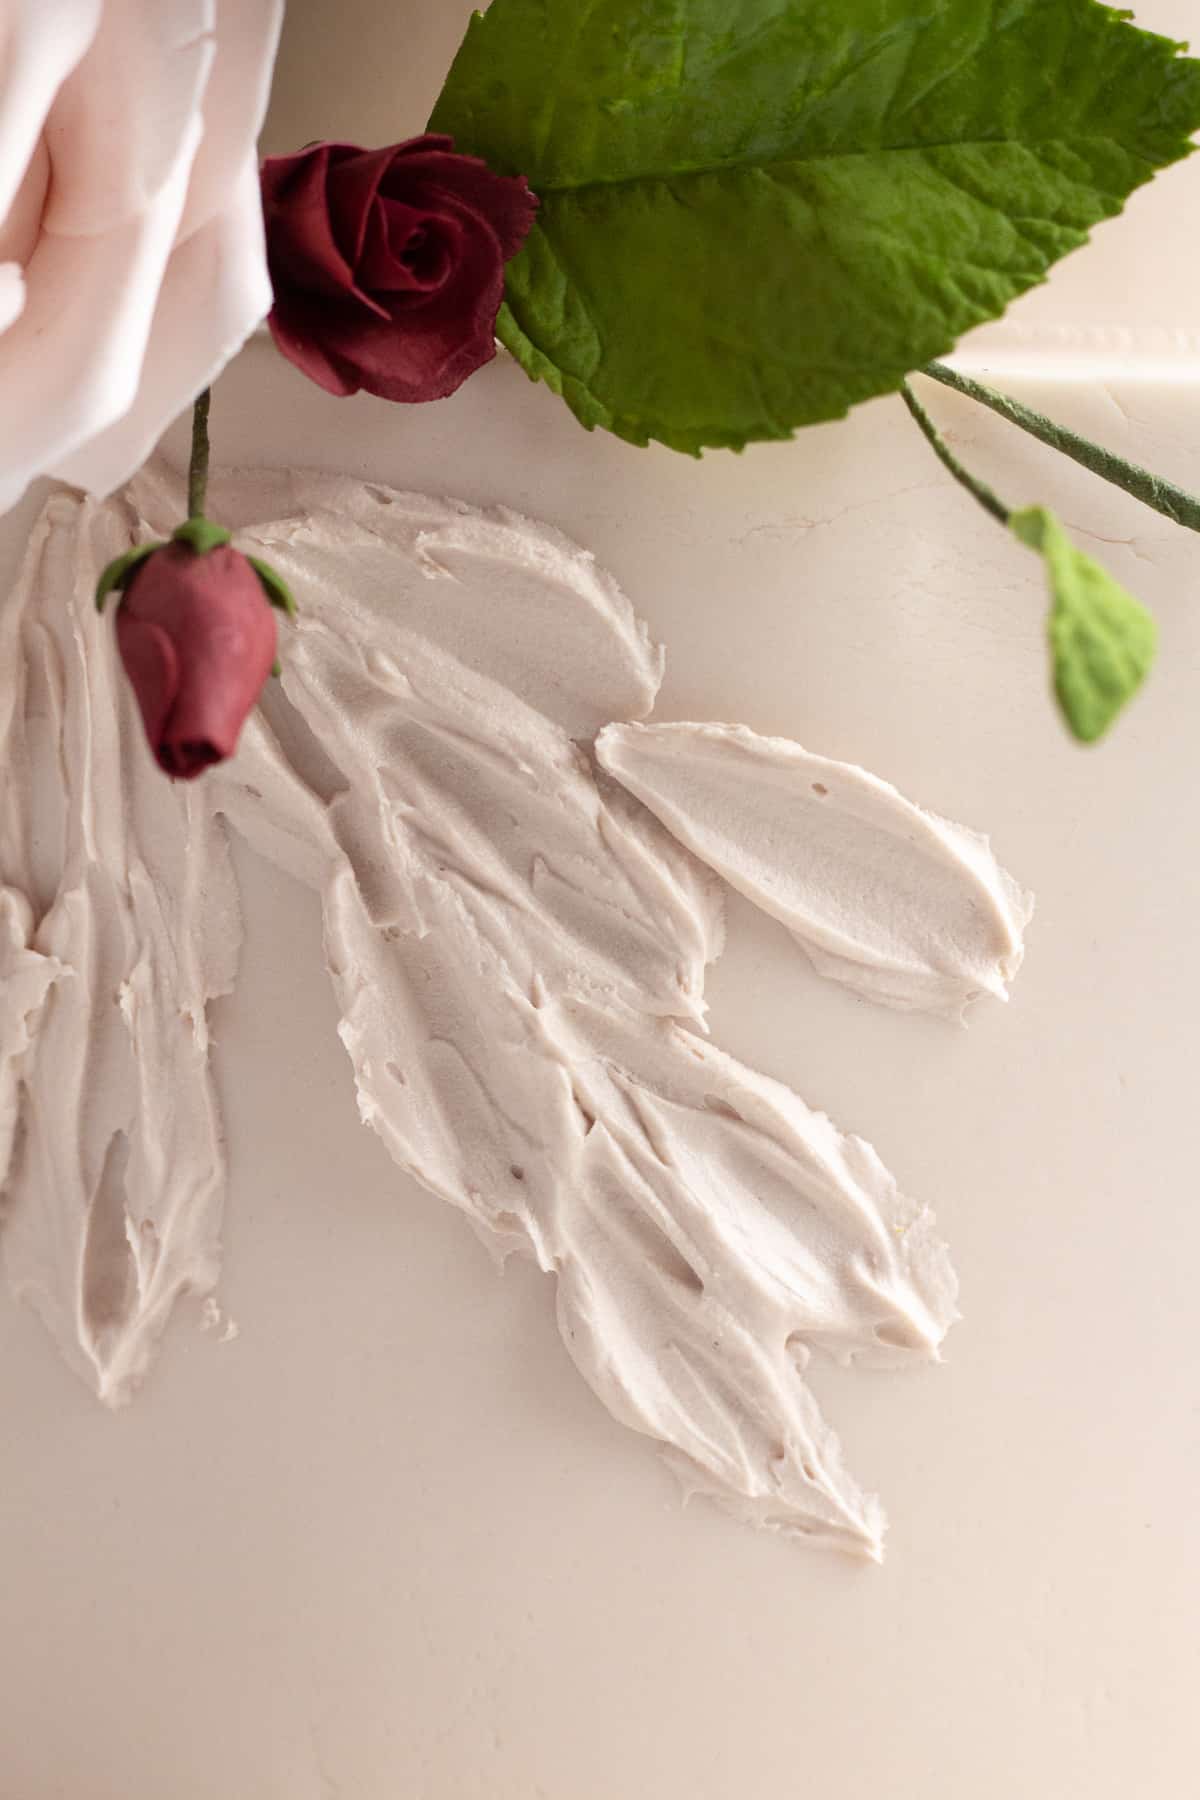
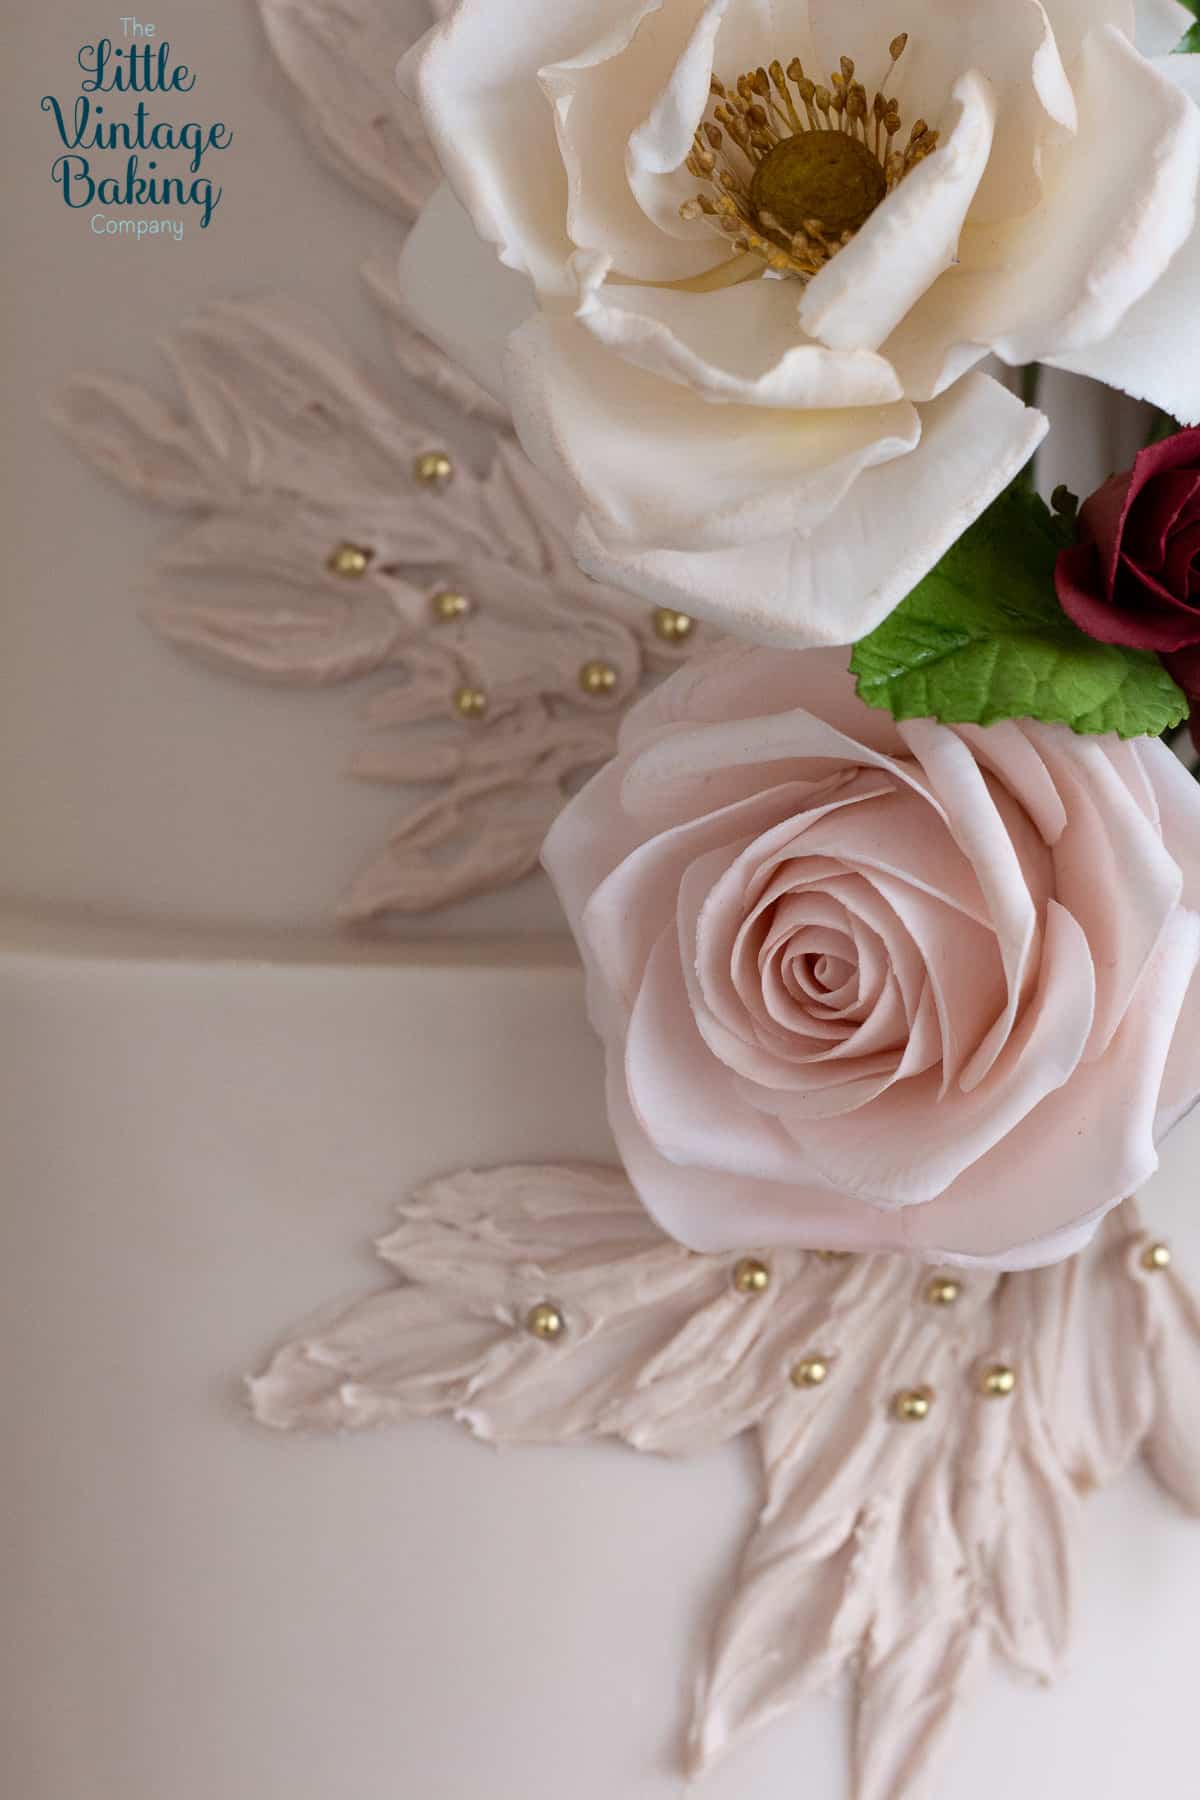
Because I wanted my palette knife painting to be focused around the sugar flowers, I placed the sugar flowers first. Once the flowers were placed, I created buttercream "petals" around the flowers, by pressing the buttercream coated palette knife up against the cake and gently pulling down and away, to create a slightly grooved petal. Take care not to place your petals too symmetrical. The petals can be different sizes and don't have to be perfectly neat. Consider creating your petals based on the shape you want your petals to have and direction you want your painting to go. Once I finished the painting, I added some white sugar dragees that I painted gold with a mix of clear alcohol and gold dust.
And really, that's it. A super simple technique just to get acquainted with palette knife buttercream painting. I'm totally in love with the technique and can't wait to do some palette knife buttercream flowers. Let me know if you try this out!
Check out these posts for more sugar art tutorials:
Gum Paste Blackberries, Leaves and Blossoms tutorial
Essential Tools for Making Sugar Flowers

Leave a Reply