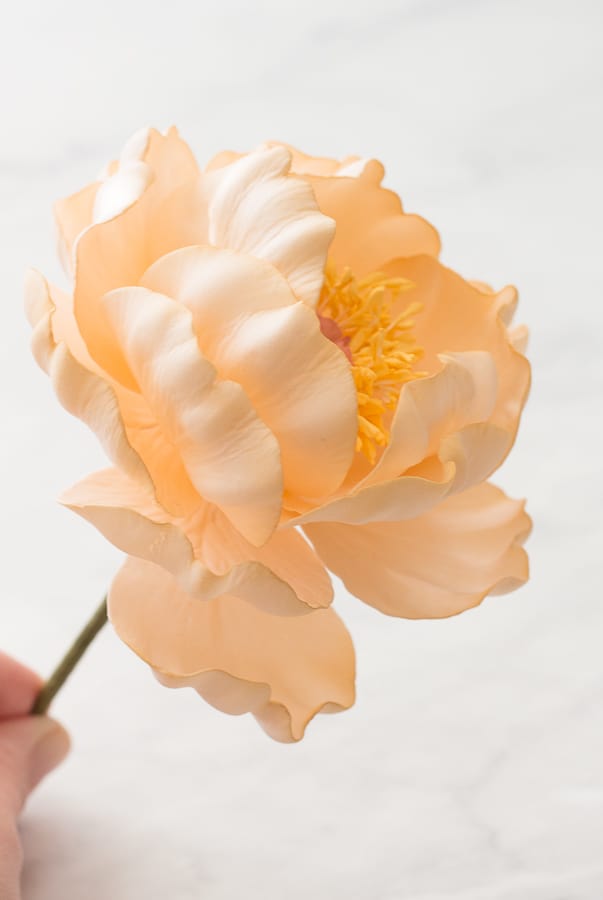
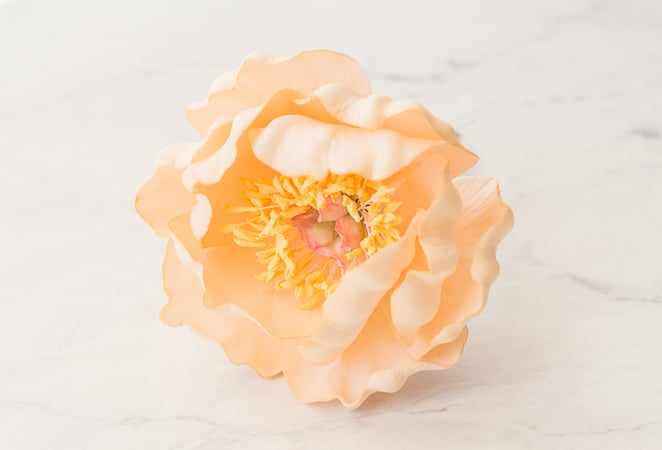
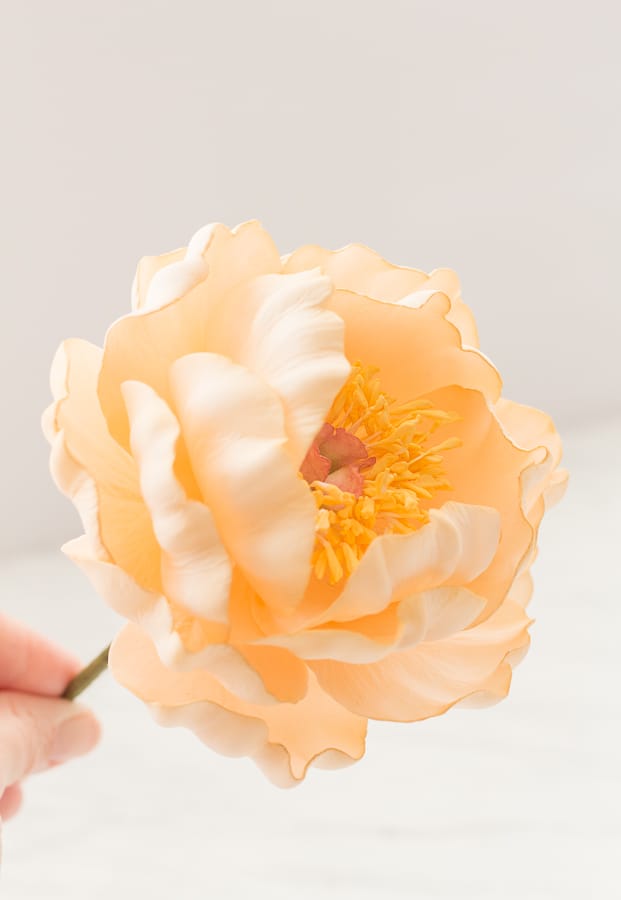
Beautiful and romantic, peonies are no doubt one of the most popular and beloved flowers used for decorating wedding cakes. Their full, lush, ruffle-y shape makes them perfect for gorgeous, over-the-top floral arrangements or even on their own as a focal point statement flower. Follow this gum paste peony tutorial and you will be making gorgeous, realistic gum paste peonies for your cakes in no time. Don't be afraid to add variety to your gum paste peony. Add more petals to make them more full or leave off a layer of petals for a small, tighter flower.
Gum Paste Peony Tutorial Supplies:
7 - 26-gauge floral wire, cut into thirds (You will need 21 pieces total)
Gum Paste – a small amount of white for the centers and paste for the petals in the color of your choosing
Medium Seed Head Stamens, white (I use these from World of Sugar of Art)
Petal Cutter Set (I use the David Austin rose cutter - the second largest cutter only - from Sugar Art Studio)
Ball Tool
Small Rolling Pin (or Cel Pin)
Sugar Glue
Flower Veiner (I use the David Austin rose veiner from Sugar Art Studio)
Dense Foam Pad (I use this set from Amazon)
Apple Crate or shallow flower petal former
Moss Green Floral Tape
Paintbrushes – for dusting
Craft Needle Nose Pliers
Wire Cutters
Groove Board (I use this one from Amazon)
Cornstarch
Vegetable Shortening
Foam Dummy – for drying
Petal Dusts (in desired colors) – I used moss green, carnation pink, and sepia
Edible paint - golden yellow
Gum Paste Peony Tutorial:
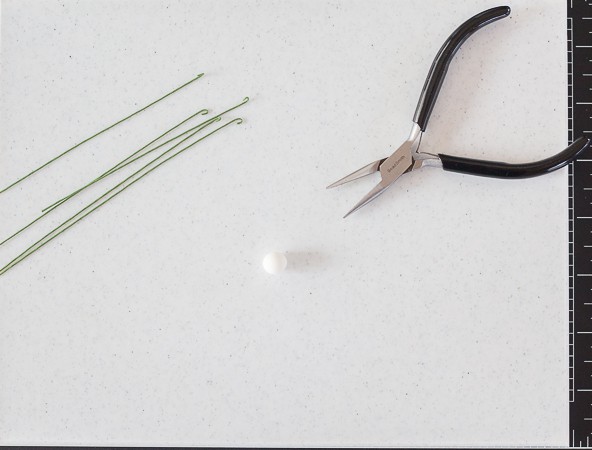
Step 1: Start by making the pistil centers. Using craft pliers, bend the end of the 26-gauge wire pieces, creating a small hook. This hook will help keep the paste attached to the flower.
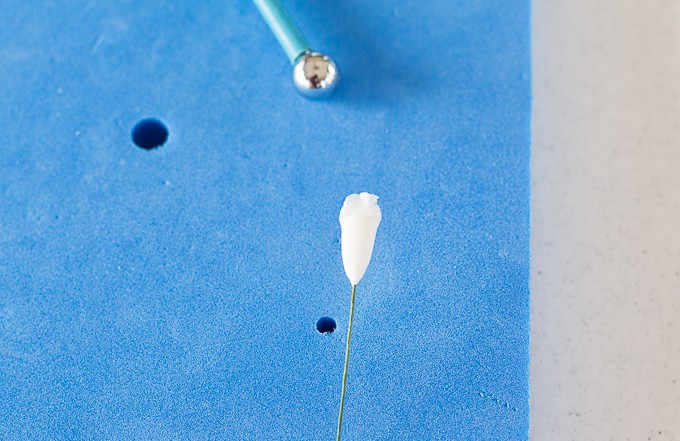
Step 2: Condition the white paste by kneading it with a tiny amount of shortening, warming it, and softening it in your hands until the paste is smooth and workable. Roll a small piece of white paste (4mm, roughly the size of a pearl) into an oblong shape. Seal the remaining white paste in a zip-top bag so that it doesn’t dry out while making your pistil centers. Dip 26-gauge wire into the gum glue, wiping off the excess. Insert the wire into the paste a little more than halfway. Pinch and twist the paste at the base to adhere to the wire.
Step 3: Using the tips of your fingers, pinch the tip of the oblong shape to flatten. Using a ball tool, thin and ruffle the edges. Slightly bend the ruffles to give them shape and movement.
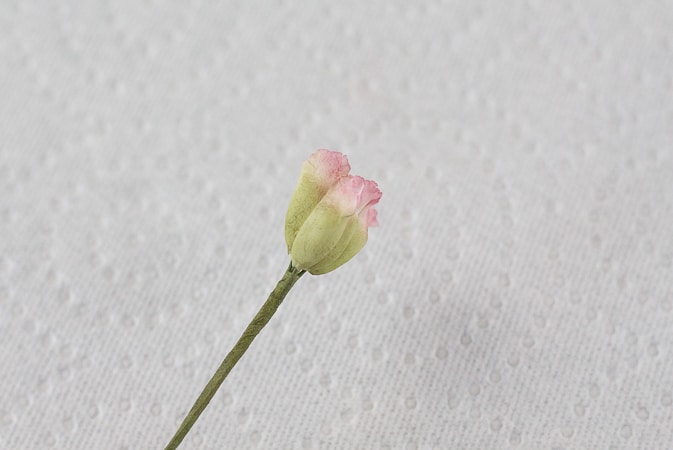
Step 4: Repeat steps 2 and 3 with 4 additional pieces of paste and floral wire, creating 5 pistils total. Different kinds of peonies have different quantities of pistils so feel free to experiment with more or less pistils.
Step 5: While the paste is still pliable, bunch the pistils together to form a tight center. Activate the glue on a length of floral tape by stretching it. Using the floral tape, wrap the wires tightly starting as the very base of the pistils and working downwards. Place pistil center into a piece of foam to dry overnight.
Step 6: Dust the pistil center. Using a moss green petal dust, dust the body of the pistil centers. Be sure to dust both the outside and the inside. Then, dust the ruffled tips of the pistils with bright pink.
Step 7: Paint the stamen a golden yellow with edible paint. Let dry. Separate the stamen into 4 clusters. Working with 1 cluster at a time, tape each group of stamen to the pistil center about ¼ inch higher than the center at equal intervals. Fan the stamen out around the center. Set aside to work on the petals.
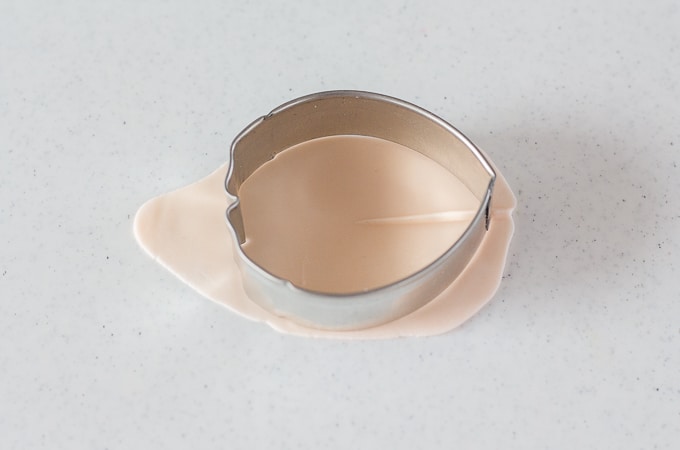
Step 8: Make the peony petals. Roll out purple paste on a groove board as thin as possible. Pick up the paste and flip over, with the groove now face up. Squeeze slightly to give the cutters a more rounded shape. Cut out the petal using the medium cutter, with the groove centered at the base and coming about ⅔ of the way up the petal. Run your finger along the edge of the cutter to allow the petal to release freely and to remove any stray bits.
Step 9: Dip the end of a piece of 26-gauge wire in gum glue. Wipe off the excess. Insert the wire into the groove, about ½ way up the petal, taking care to not stick the wire through the front of the petal. Pinch at the base to adhere the paste to the wire.
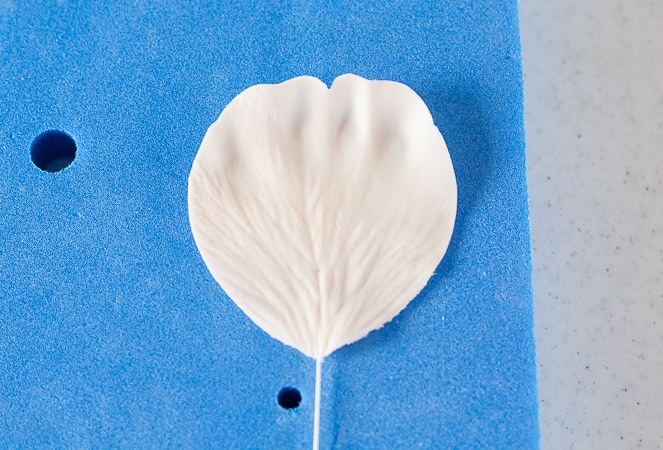
Step 10: Place the petal into the veiner and press down to vein the petal. If you are worried about the paste sticking, dust the veiner lightly with cornstarch before veining your petals.
Step 11: Place the petal onto a dense foam mat. Using a ball tool, thin the edges of the petal. From the edges of the petal towards the base, cup sections of the petal using the smaller ball of the ball tool, about 4-6 times per petal. Don’t worry if some of the petal edges tear. This adds more realism to your peony. Note that your petals do not all have to look the same or consistent. Make each one a bit different to make them more realistic.
Step 12: Place the petal into a shallow flower former or apple crate carton to dry. Adjust the petals by curving the tips of the petals, making each petal a bit different
Step 13: Repeat steps 8-12 to create 16 petals total.
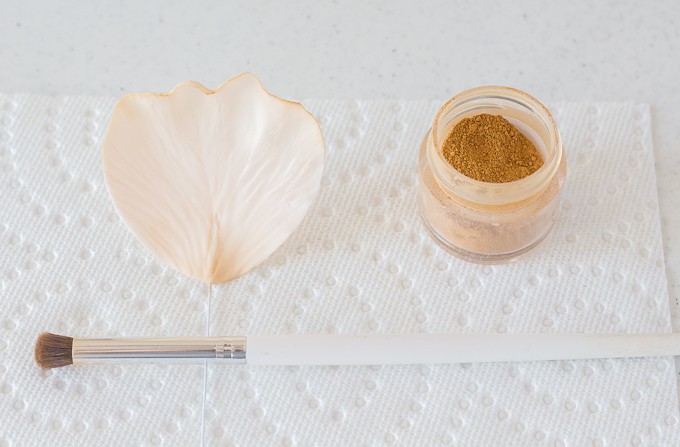
Step 14: Once the petals are completely dry, dust with petal dust. Brush the edges and the base of the petals lightly with the sepia dust. Be sure to brush the backsides, as well.
Step 15: To assemble the flower, begin with 5 petals size petals. Gently angle the petals back, so that the petal will cup around the center and the petal wire aligns with the center wires. Wrap 2-3 petals at a time, tightly, with floral tape, placing each subsequent petal over the previous petal. Adjust the petals so that they evenly cup around the center.
Step 16: Add 6 additional petals for the second row. Gently angle the petals back so that the petal will cup around the first layer of petals and the petal wire aligns with the center wires. Wrap 2-3 petals at a time, tightly, with floral tape, placing each subsequent petal over the previous petal and in between the first layer of petals. Adjust the petals so that they are evenly spaced around the first set of petals.
Step 17: Add the last row of petals. Repeat step 16 with the 5 remaining large petals.
Step 18: Move the petals around to open and close them depending how tight or how open you want your open peony to be. I like to open my last row of petals out more to make my peony look fuller and bloomed.
Step 19: Steam your petals for 3-4 seconds to set the color and eliminate the dusty look. You can use a steamer if you have one. I use a tea kettle. You can also use a saucepan. Boil water until steaming. Carefully wave your flower through the steam. Be careful to keep your fingers out of the way as the steam is hot and cause severe burns. Set the open peony into a foam dummy to dry completely.
If you make a peony using my gum paste peony tutorial, let me know! Leave a comment in the comment area below and be sure to snap a photo and tag it #littlevintagebaking on Instagram. I love seeing your Little Vintage Baking creations!
Want to know the best supplies needed to make professional style sugar flowers? Check out my post on Essential Tools for Making Sugar Flowers!

Faith
Hi Ashley! These are beautiful, I would like to make these to put on my parents’ 25th anniversary cake. When you put the petals in the veiner, do you texture both sides or just the side that is facing in towards the stamen?
Ashley
Hi Faith! I use a double sided veiner so that I texture both sides. Hope that helps!
Abimbola Sofowora
Hello Ashley, thanks so much for your updates. I would like to try to make the gumpaste peonies, however, i need your help a bit. Kindly assist with a gumpaste recipe as well as the colour used for the petals.
Thank you
Abimbola Sofowora
Ashley
Hi Abimbola,
Any gum paste - commercial brand or homemade will work here. I believe I used Satin Ice for this tutorial but if you're looking for a good homemade recipe, please check out Nicholas Lodge's recipe on his website https://www.nicholaslodge.com/images/recipes/Gumpaste_Recipe.pdf. The colors I used to color the paste was a bit of electric pink, orange and ivory. More orange than any of the colors and only very, very small amounts. Remember, you can always add more color so start with a little at a time. I used Sepia petal dust by Sunflower Sugar Art for the tips of the petals. Good luck!
Ash