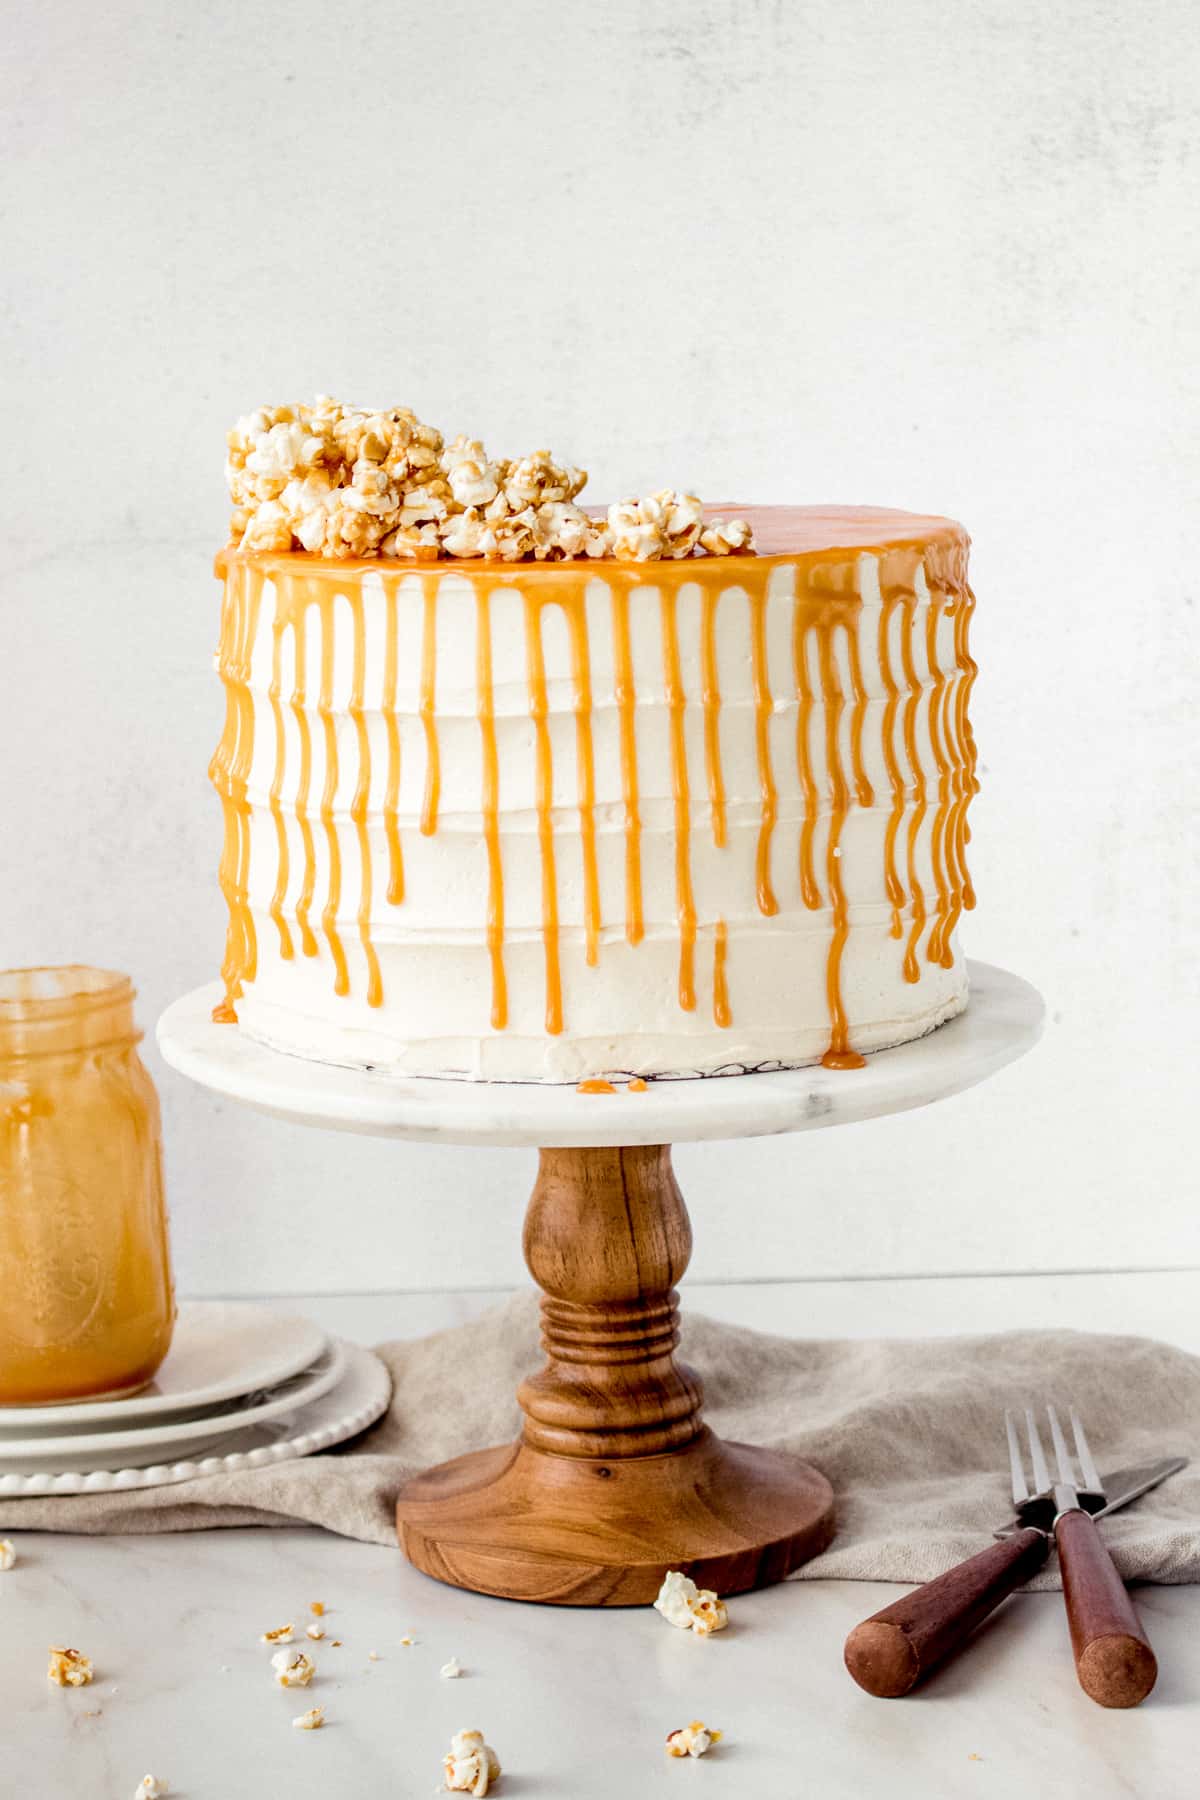
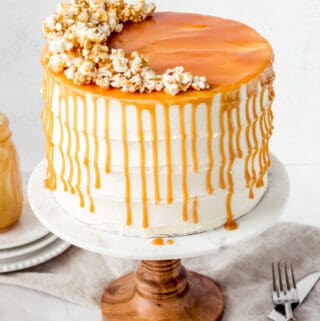
This is the perfect cake for all those salted caramel fans in your life. Tender, fluffy and moist vanilla bean cake is layered between salted caramel sauce, and salted caramel Swiss meringue buttercream, and topped with homemade salted caramel popcorn and even more salted caramel. My salted caramel popcorn cake is indulgent, delicious and fulfills all of those sweet and salty caramel cravings.
Vanilla Bean Cake
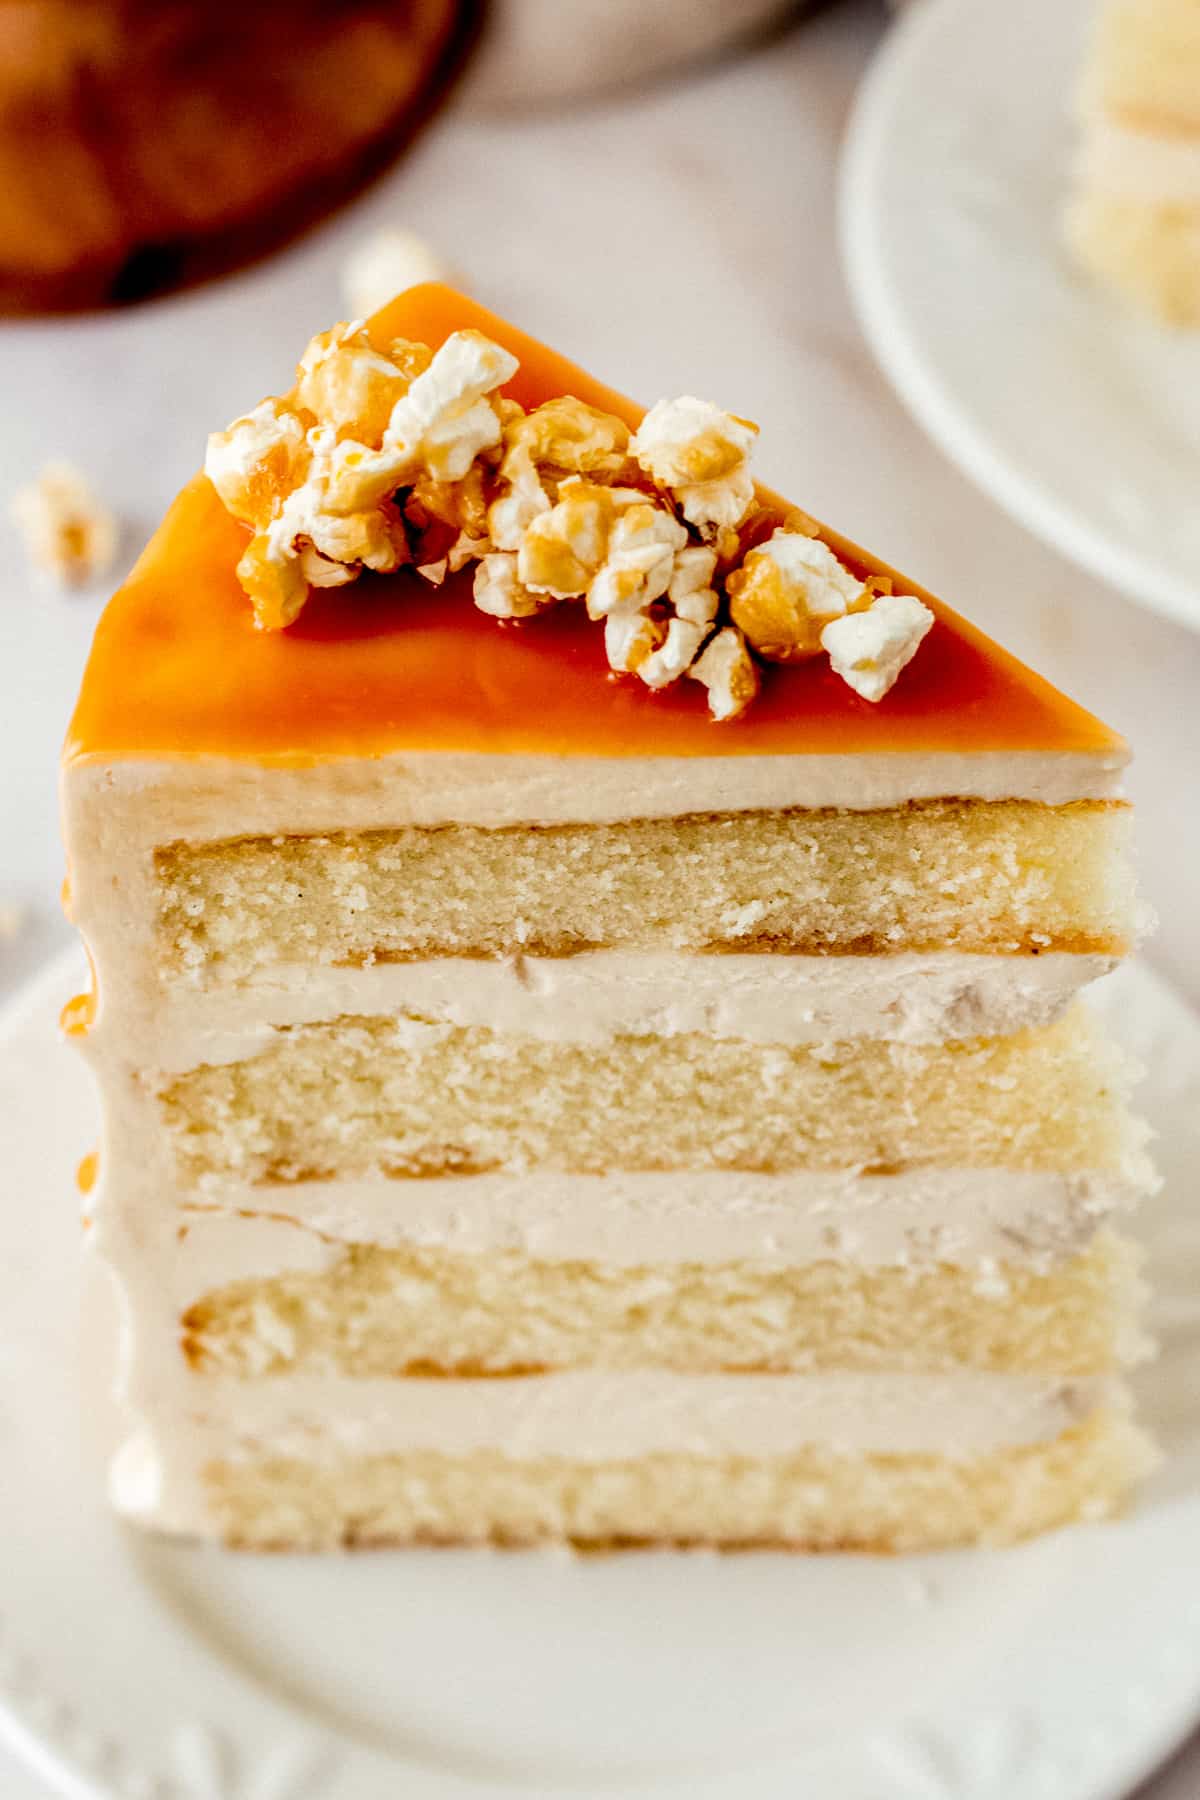
Let me tell you – this vanilla bean cake is a KEEPER. It’s the perfect foundation for most fillings and frostings, and it makes for beautiful layer cakes. This cake is mixed using the reverse creaming, or two stage method. Reverse creaming cakes have a tighter, more delicate and soft crumb. They tend to be more compact, with less of a rise compared to creamed cakes, and have a melt-in-your-mouth texture. Reverse creaming cakes can be delicate, so they are easiest to layer, carve, stack, etc. when they are chilled. The reverse creaming method gives me exactly what I’m looking for in a white/yellow cake base. This method of creaming and my recipe is partly adapted by Rose Levy Beranbaum’s The Cake Bible.
For this recipe, a scale is also required. Scratch cakes can be tricky to make sometimes, and the baking science is very important in the making and baking of scratch cake. We need cakes to be consistent in taste and texture, and bake up with no problems – no sinking, no overflowing, no rubbery layers, etc. A scale is key in getting consistent results. I use this one from Amazon. This recipe will not work if you convert it to volume (cups) measurements.
Salted Caramel
One full batch of my salted caramel sauce is needed for this cake. It will be used for the buttercream, to drizzle between layers and used as a drip on top. Be sure to use room temperature caramel for this cake project. Too warm and the caramel will leak. Too cold and you won't be able to drizzle it or use it for the drip.

Salted Caramel Popcorn
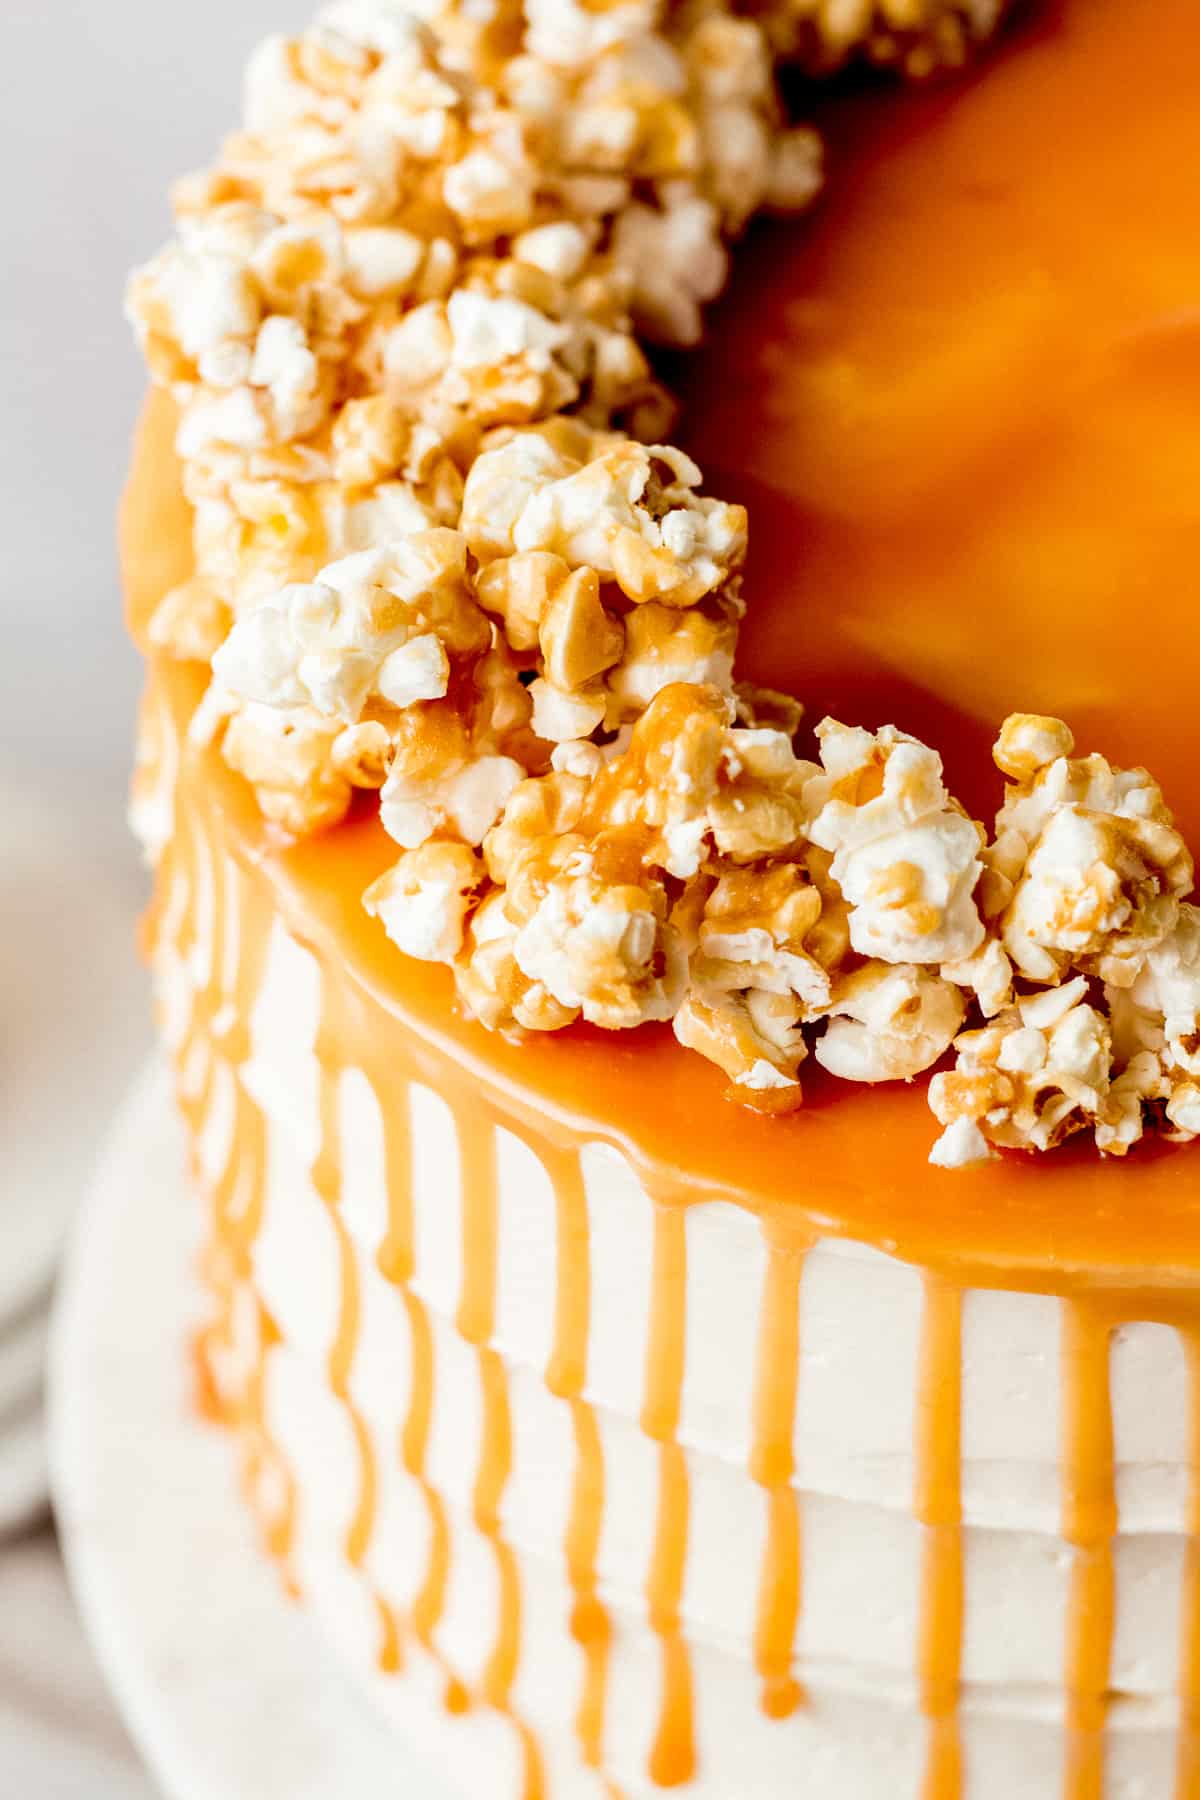
Of course, you can totally use store bought caramel popcorn for this cake. But, I have provided my recipe for a small batch of caramel popcorn in this post. It makes 2 quarts of caramel corn which is the equivalent to 2 - 3oz bags. There will be left overs so I recommend sprinkling more popcorn over each cake slice when serving so all servings get plenty of caramel popcorn with it.
My caramel corn recipe requires making a caramel syrup to pour over the popcorn and then is baked low and slow to develop the flavor and coat all of the popcorn. Once cooled, the popcorn can be broken up into pieces and stored in an airtight container. Homemade caramel corn is so good. It's definitely worth making and keeping extra to snack on.
I hope that you enjoy this salted caramel popcorn cake as much as I do! If you make it, let me know and leave a comment or tag me on Instagram.
Enjoy!
Ash xx
For more layer cake recipes, check out these posts:
Strawberry Rose Buttermilk Cake
Chocolate Stout Cake with Coffee Irish Cream Buttercream
Earl Grey Cake with Honey Buttercream and Blackberry Caramel
Recipe
Salted Caramel Popcorn Cake
Ingredients
Vanilla Bean Cake
- 14 ounces (396g) cake flour
- 14 ounces (397g) granulated sugar
- 1 teaspoon fine sea salt
- 1 tablespoon + 1 teaspoon baking powder
- 9 ounces (255g) unsalted butter, room temperature
- 4 large eggs
- 3 ounces (85g) canola oil
- 12 ounces (341g) whole milk, room temperature
- 2 teaspoons pure vanilla extract
- 2 teaspoons pure vanilla bean paste
Salted Caramel
- 1 batch salted caramel sauce
Salted Caramel Swiss Meringue Buttercream
- 1 batch Swiss meringue buttercream
- ½ - ¾ cup (240g) prepared salted caramel sauce
Salted Caramel Popcorn
- 2 quarts (2 - 3oz bags) salted popcorn
- ½ cup (107g) light brown sugar
- ¼ cup (78g) light corn syrup
- ¼ cup (57g) unsalted butter, room temperature
- ¼ teaspoon fine sea salt
- ¼ teaspoon baking soda
- ½ teaspoon pure vanilla extract
Instructions
Vanilla Bean Cake
- Prepare your cake pans. Brush the bottoms and sides of your cake pans with melted butter. Line the bottoms and sides with parchment paper.
- Combine the milk, oil, eggs, vanilla extract and vanilla bean paste in medium bowl. Whisk to thoroughly combine.
- In the bowl of a stand mixer, combine the cake flour, sugar, baking powder, and salt. On low speed, mix for 1 minute.
- With the mixer still running, add in the softened butter pieces, one or two pieces at a time. Mix until the mixture resembles cornmeal. You should be able to gather a bit in your hand, squeeze and you have a solid piece. This means the butter is evenly distributed.
- With the mixer still on low, pour in a small amount of the liquid ingredients (about ½ cup) and mix until the flour mixture is moistened.
- Turn the mixer speed to medium (4 or 6) and beat for *two full* minutes. The mixture should be whipped up, thick, and lighter in color.
- Scrape the sides and bottom of the bowl to ensure everything is properly mixed.
- With the mixer speed on low, add the remaining wet ingredients in three parts, scraping down the bowl after each addition has been mixed in.
- Once all the wet ingredients have been incorporated, give the bowl a final scrape and mix with a spatula.
- Evenly divide the batter among the prepared pans.
- Bake the layers for 35-45 minutes. Check the cake at 30-35 minutes to test for doneness. If a toothpick comes out clean, and the top of the cake feels springy and set when touched, take the cakes out.
- Tap the cake once, firmly against the counter to remove excess steam. If your cakes dome at all, use a clean kitchen towel to gently push the domes down. Cool the cakes for 15 minutes in the pans.
- Run a palette or butter knife around the cakes in their pans before turning them out to cool completely on cooling racks.
- Wrap in plastic wrap and chill in the refrigerator a couple hours.
Salted Caramel Buttercream
- In a stand mixer fitted with the paddle attachment, combine the salted caramel sauce and the prepared Swiss meringue buttercream.
- Mix on low until everything is incorporated and the buttercream is smooth.
Salted Caramel Popcorn
- Preheat the oven to 200F. Line a large, rimmed baking sheet with parchment. Spread out the popcorn in an even layer.
- Mix brown sugar, corn syrup, butter and salt in a large saucepan. Stir and bring to a boil over medium heat.
- Boil 2 minutes without stirring. Remove the pan from the heat.
- Whisk in baking soda and vanilla.
- Pour caramel over the popcorn, stirring to coat evenly. Work quickly as the caramel sets up fast.
- Bake for 1 hour, stirring every 20 minutes. Remove from the oven, give it a final stir and cool.
- Break apart the popcorn. Store in an airtight container.
Assemble Salted Caramel Popcorn Cake
- Work with chilled cake layers. Using a long serrated knife torte the layers, cutting them evenly in half. You will have four cake layers total. The tops of the cakes will be the center two layers of your cake. If you made your cake in 3 pans, skip this step.
- Put one of the cake layers, cut side up onto an 8" cake board or directly onto a cake stand.
- Spread about one cup of the buttercream on the layer using an offset spatula to evenly distribute the buttercream. You're looking for the buttercream to be about ¼ inch thick.
- Drizzle with salted caramel sauce.
- Place another cake layer on top, top up, and press down gently so that the layer is adhered to the buttercream. Repeat the previous two steps, applying the buttercream and salted caramel.
- Place the third layer cake layer, top up, and press down gently so that the layer is adhered to the buttercream.
- Add the final buttercream layer. Add the final salted caramel drizzle. Place the final cake layer (the bottom of one of the cakes) bottom side up on the buttercream, pressing gently to adhere.
- Frost the cake with the remaining salted caramel buttercream. Chill in the refrigerator for 30 minutes.
- Microwave the remaining caramel for 3-5 seconds, or until the caramel is loose and pourable but not hot.
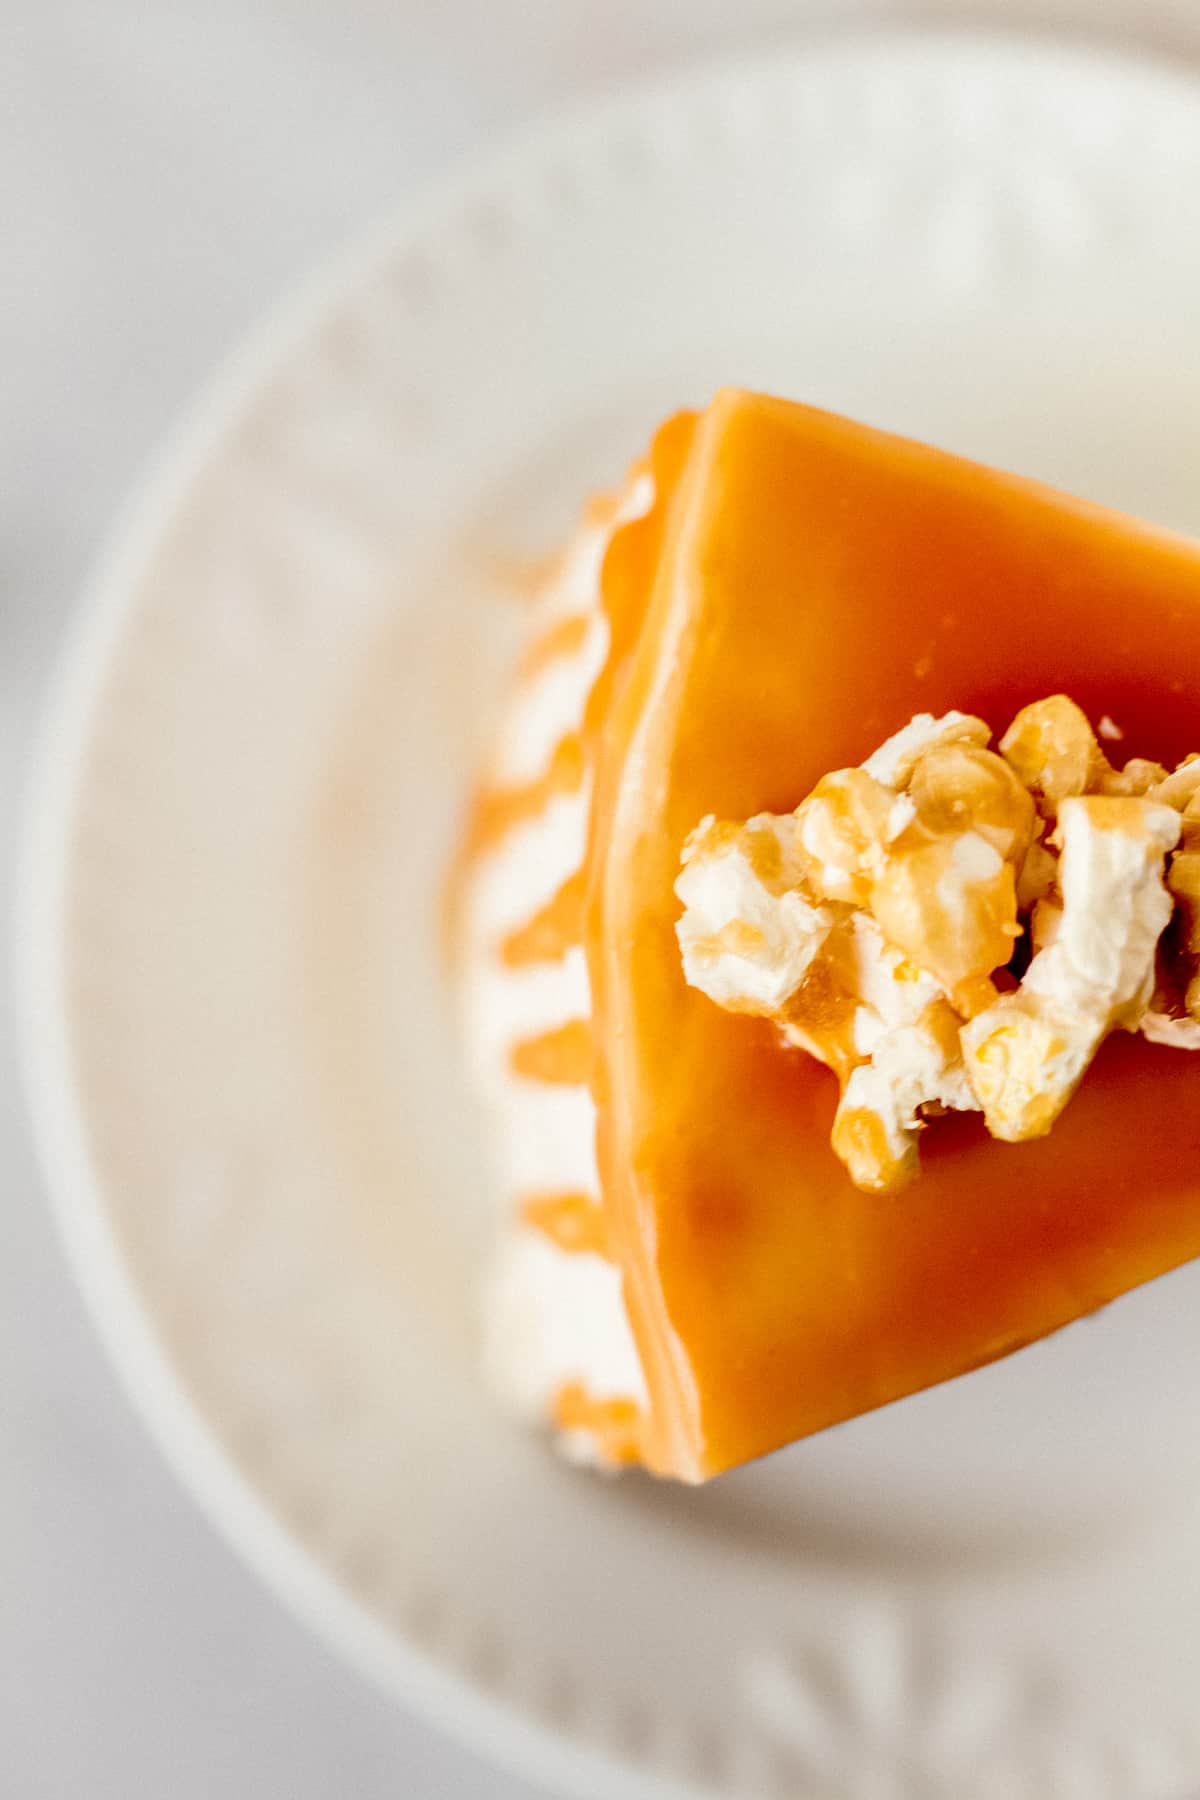
- Add the drips around the perimeter of the cake. Fill in the top of the cake with the caramel and smooth.
- Top with salted caramel popcorn. Slice into pieces and serve.
- Wrap remaining cake in plastic wrap. The cake will keep in the refrigerator for up to three days. Bring to room temperature before serving.
Carolyn says
The recipe calls for 2 cups of popped popcorn and you put some on top of the cake but not nearly 2 cups of it. What do you do with all the rest of the popcorn. Your finished cake shows very little popcorn used.
Ashley says
Hi Carolyn! 2 cups is correct. You will pile it all on top.
Lara says
Hi what temp are we baking at please?
Ashley says
Hi Lara! 350F.