I used to work at the mall in my teens and early 20's. Honestly, the only thing I can say I miss about it, is the smell of buttery pretzels coming from the pretzel shop (you know the one) down the hall. My homemade soft pretzels are so good and very similar to those mall pretzels we know and love. Soft and buttery with a crisp and salty exterior, and they smell ah-mazing. This recipe is super simple, and fast - with only one hour to rise and take minutes to bake.

How to make pretzel dough
This pretzel recipe is a snap to make. Flour, brown sugar, yeast and salt are combined in a bowl of a stand mixer, followed by warmed milk and melted butter. The dough is kneaded with the dough hook for 5 minutes, until smooth, then placed in a bowl to rise for an hour. Just one rise for these pretzels.
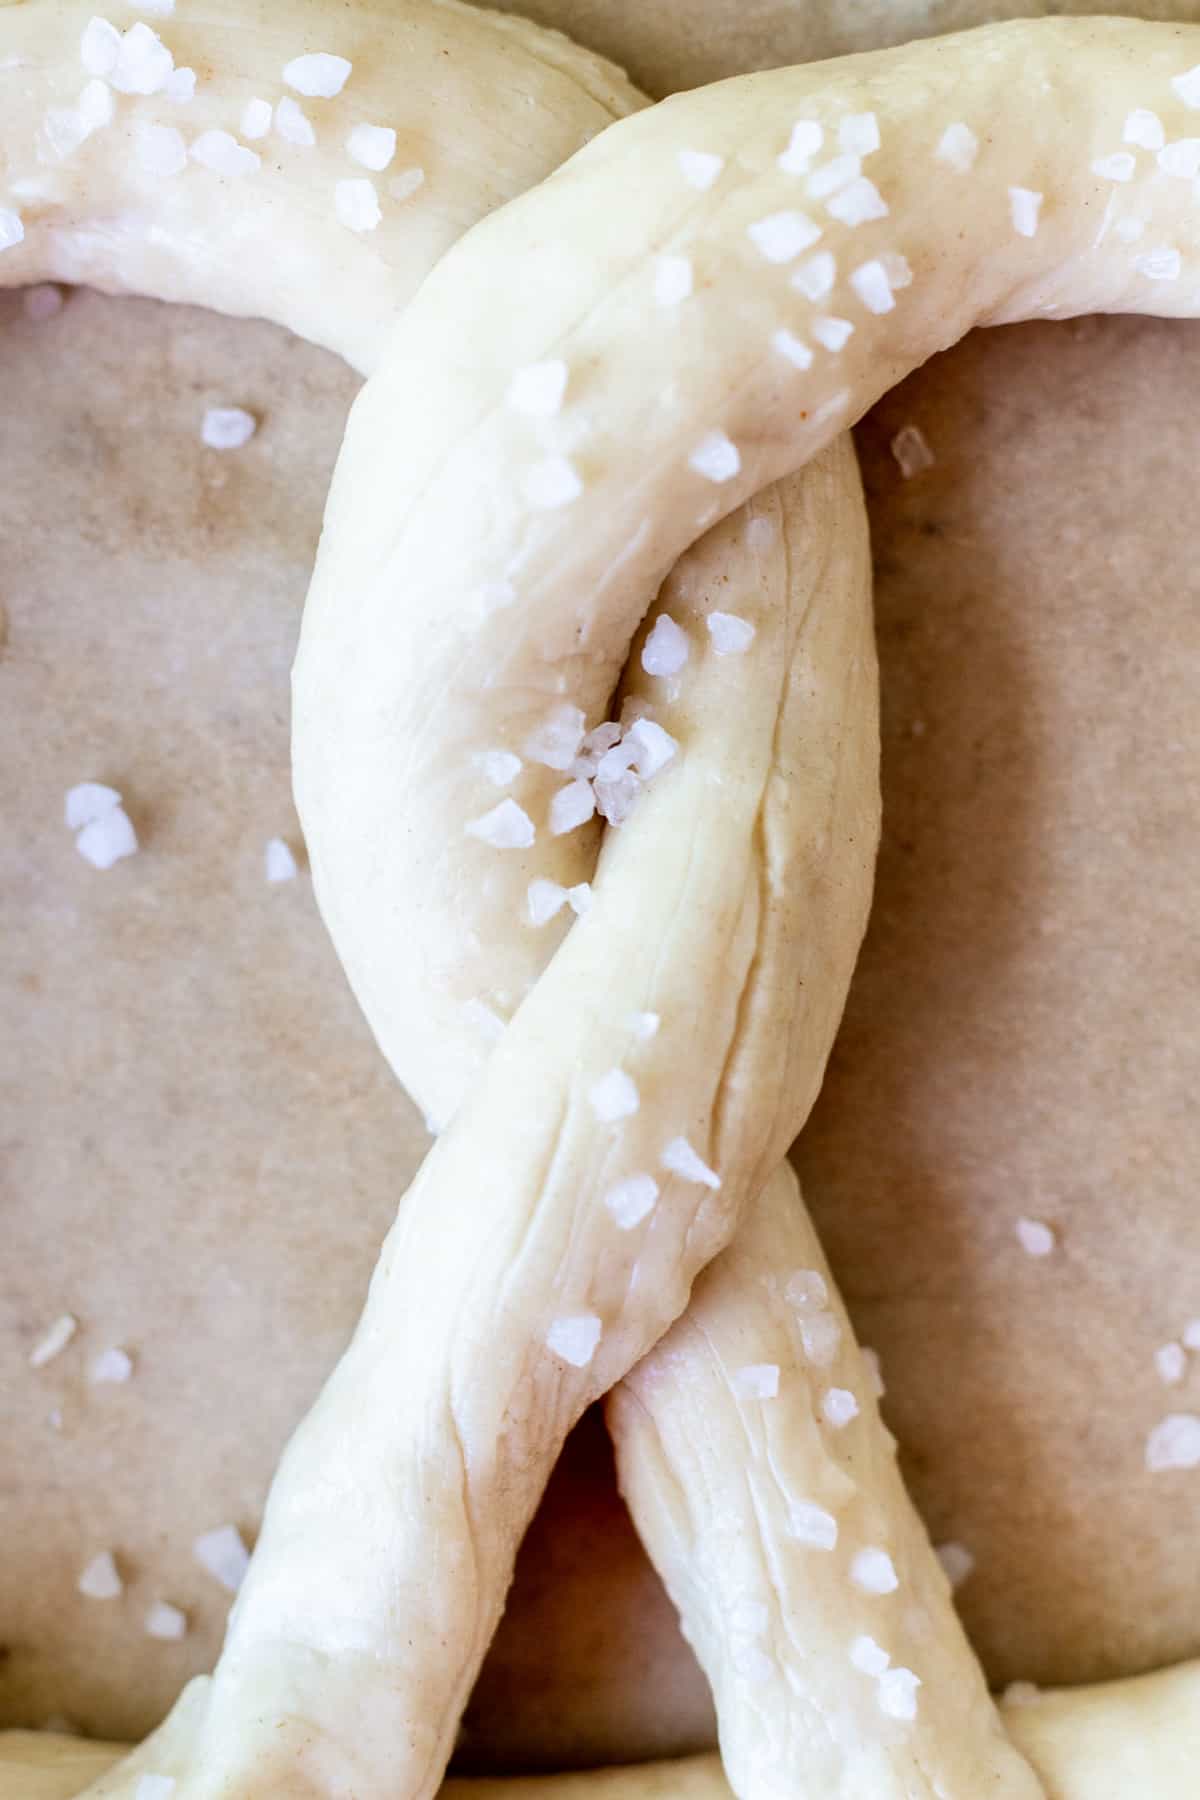
How to make the pretzel shape
Once the dough has doubled in size, punch it down to deflate. Separate the dough into 6 equal pieces. I like to use a kitchen scale to weigh my dough and divide it so that I know all my pretzels will be the same size. Roll each dough piece to a rope, 30 inches long. It helps to stretch and lengthen the dough by picking up the dough rope and slapping the middle of it against the counter.
Form each rope into a pretzel shape by forming a loose circle with the dough by bringing the two ends of the rope towards the top. Twist the rope ends around each other once. Bring the twisted ends back down towards yourself and press them down to form a pretzel shape. If the ends won't stick to the pretzel, attach them with just a little bit of water.

Baking soda mixture
Dipping the pretzels in a baking soda/water mixture allows the PH of the dough to change due to baking soda's alkaline PH. Alkaline pretzel dough will help the dough brown while baking and the pretzels will have a crisp but chewy exterior. Skipping the baking soda mixture will result in pale pretzels, with a texture similar to a bagel. Don't skip this step. It's definitely worth it.

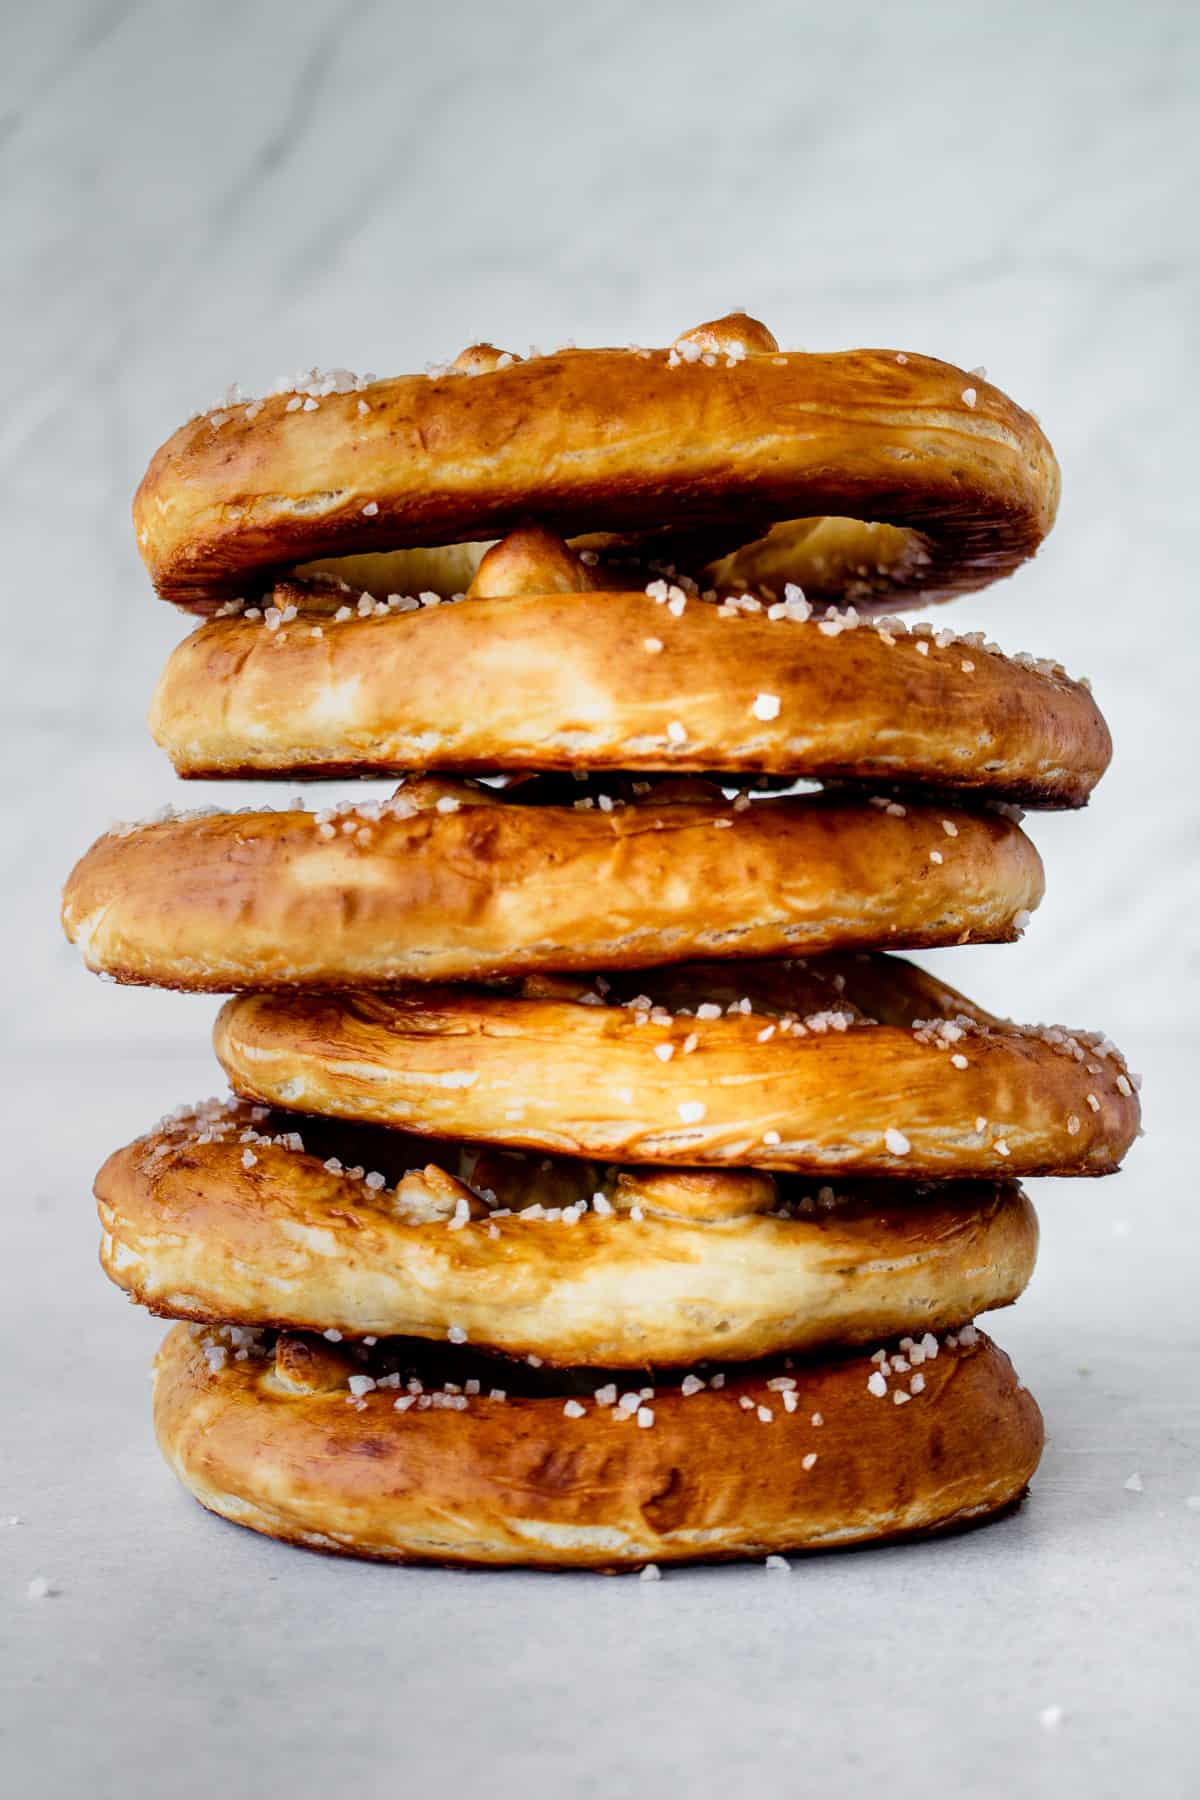
After dipping the pretzels in the baking soda solution, sprinkle the pretzels with coarse sea salt, as much or as little as you like. Bake for 10 minutes until the inside is cooked and the exterior is golden brown. Liberally brush the pretzels with melted butter with a pastry brush and serve with your favorite mustard sauce or cheese dip.
If you make my homemade soft pretzels, let me know! Drop a comment or tag me on Instagram. I love seeing your creations.
Enjoy!
Ash xx
For more recipes, check out these posts:
Bacon, Cheddar and Chive Scones
Overnight Cinnamon Rolls with Brown Butter Cream Cheese Frosting
Recipe

Homemade Soft Pretzels
Ingredients
- 1 cup (227ml) whole milk
- 2 tablespoons unsalted butter
- 2 ½ cups (300g) all purpose flour
- 2¼ teaspoons, or one packet instant yeast
- 2 tablespoons light brown sugar
- 1 teaspoon fine sea salt
- 2 ½ cups (568ml) warm water
- ¼ cup (58g) baking soda
- coarse sea salt for sprinkling
- ¼ cup (57g) salted butter, melted
Instructions
- In a small saucepan over low heat, combine the milk and butter, heating only until the butter is melted.
- Meanwhile combine the flour, yeast, brown sugar, and salt in the bowl of a stand mixer, fitted with the dough hook attachment.
- Pour the warm milk and butter mixture to the flour mixture and beat on medium speed until well combined and no longer sticks to the bowl.
- If the dough is still sticky, add half a tablespoon of flour at a time until it's no longer sticking to the bowl.
- Increase the speed to medium-high and knead for 5 minutes. Alternatively you can knead the dough by hand.
- Turn the dough out onto a lightly floured surface. Place the dough ball in a lightly greased bowl. Cover lightly with plastic wrap and allow to rise until doubled size in a warm place for 1 hour.
- Preheat the oven to 450F and line two large baking sheets with parchment paper.
- Divide the dough into 6 equal pieces. I like to do this with a kitchen scale. Weigh the dough, and divide the weight by 6.
- Roll each dough piece to a rope, 30 inches long.
- Form each rope into a pretzel shape. Form a loose circle with the dough by bringing the two ends of the rope towards the top. Twist the rope ends around each other once. Bring the twisted ends back down towards yourself and press them down to form a pretzel shape. If the ends won't stick to the pretzel, attach them with just a little bit of water.
- In a baking dish, combine the warm water with the baking soda, whisking to dissolve.
- Carefully dip each pretzel, front and back into the baking soda mixture. Place the pretzels on the baking sheets.
- Sprinkle the pretzels with coarse sea salt.
- Bake for 10-11 minutes until golden brown.
- Melt the ¼ cup of salted butter. Brush the butter onto the hot pretzels. Serve warm.
Endia says
Awesome recipe! I am out of town and want to make these for the family. I usually use whole milk and they come out amazing, but I don’t have it this time. Will almond milk work?
Sadie says
These pretzels are excellent and very easy to make by hand. The outside crust is delicious, but more chewy than crisp because of the melted butter. They're moist, soft, and slightly chewy inside. I proofed the shaped pretzels in the fridge until they were noticeably puffed then boiled them for about 45 seconds in the water bath. The only change I made to the recipe was to add barley malt syrup to the water bath.
Ioanna Israel says
It’s so good
Amber says
Can I use active dry yeast for this instead?
Ashley says
Yes. Extend the rise time for an additional 15-20 minutes.
Jeremy Christensen says
It doesn’t say anywhere what temperature to bake them at?
Ashley says
Hi Jeremy! 450F
Abi says
Do you refrigerate the dough immediately after mixing together for the 5 minutes or do you wait for it to rise for 1 hour and then refrigerate? also does overnight mean 12hours or can if be in there for more time? and does the dough have to come up to room temp. before rolling and baking?
Ashley says
Hi Abi! I let the dough rise, then shape them, then refrigerate them. I recommend no longer than 24 hours. After that, I would freeze them. They can be boiled and baked straight from the refrigerator. Hope that helps!