Foliage and greenery focused weddings have been a super popular wedding trend the past couple years. Wild and whimsical foliage themed arrangements have been on the rise for both elegant and rustic style weddings, and wedding cakes adorned with greenery are just as trendy. A bridal favorite addition to bouquets, centerpieces and decor is the ever popular olive branches.
This gum paste olive branch tutorial will have you making quick, easy and beautiful olive branches, perfect for a trendy foliage focused wedding cake and looks great on semi-naked and rustic style cakes. Pair the olive branches with flowers and sculpted sugar citrus for a Mediterranean themed wedding. Or wrap sprigs of olive branches around cake tiers with a gum paste berries and figs for a rustic autumn style cake.
Tutorial Supplies:
26-Gauge Floral Wire, cut into thirds
22-Gauge Floral Wire, cut into thirds
Gum Paste – mossy green, mid purple or black (depending on what color olives you wish to make - I made a purple variety)
Leaf Cutters, I used multiple size Wilton leaf cutters and squeezed them a bit to make them thinner
Small Rolling Pin (or Cel Pin)
Sugar Glue
Ball Tool
Dresden Tool
Dense Foam Pad (I use this set from Amazon)
Bumpy Foam, for drying
¼ Width Moss Green Floral Tape
Paintbrushes – for dusting
Craft Needle Nose Pliers
Wire Cutters
Groove Board (I use this one from Amazon), optional
Cornstarch
Vegetable Shortening
Petal Dusts – I used moss green, olive green and charcoal
Foam, for drying
Gum Paste Olive Branch Tutorial:
Step 1: Roll out moss green gum paste on a non-stick surface. You could also choose to roll out the green paste over the groove of a groove board. I decided not to, as to avoid having a ridge on the backside of the leaf.
Step 2: Cut out a leaf shape with the leaf cutters. Using a few different size cutters will make the branch look more realistic.
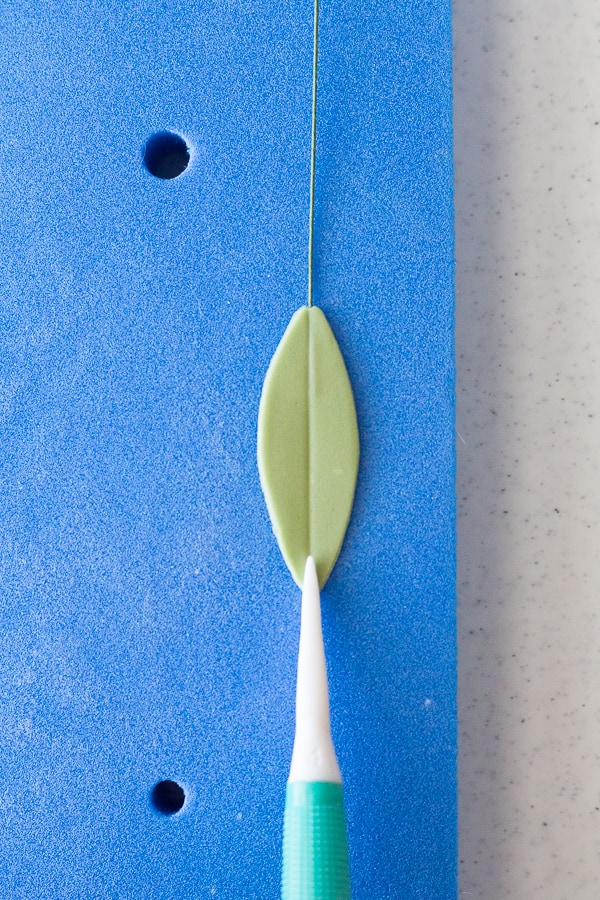
Step 3: Dip the end of a piece of 26-gauge floral wire into sugar glue, wiping off the excess. Holding the leaf between the your pointer finger and thumb, insert the wire into the leaf, about a third of the way in, taking care to not poke the wire through the leaf. Pinch the leaf at the base to fully adhere to the wire. If you used a groove board, insert the wire into the groove and pinch the leaf at the base to adhere to the wire. Smooth out the groove with a ball tool.
Step 4: Place the leaf on a firm foam mat. Use a ball tool to thin the edges of the leaf. Do not ruffle. Use the thin side of a Dresden tool to draw a line down the center of the leaf.
Step 5: Shape the leaf by folding the leaf slightly in the center. Set the leaf aside on some bumpy foam to dry completely.
Step 6: Continue making the remaining leaves for the branch by following the steps above.
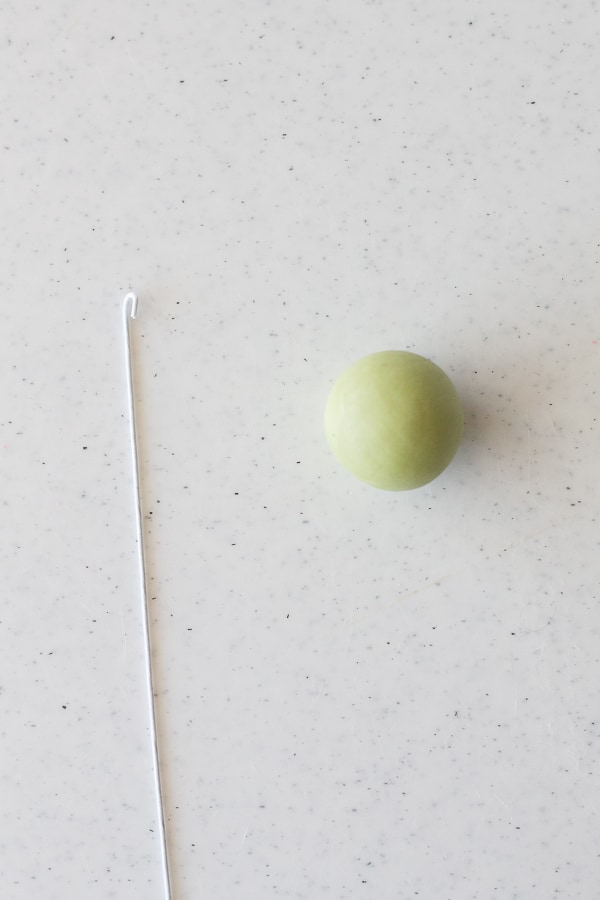
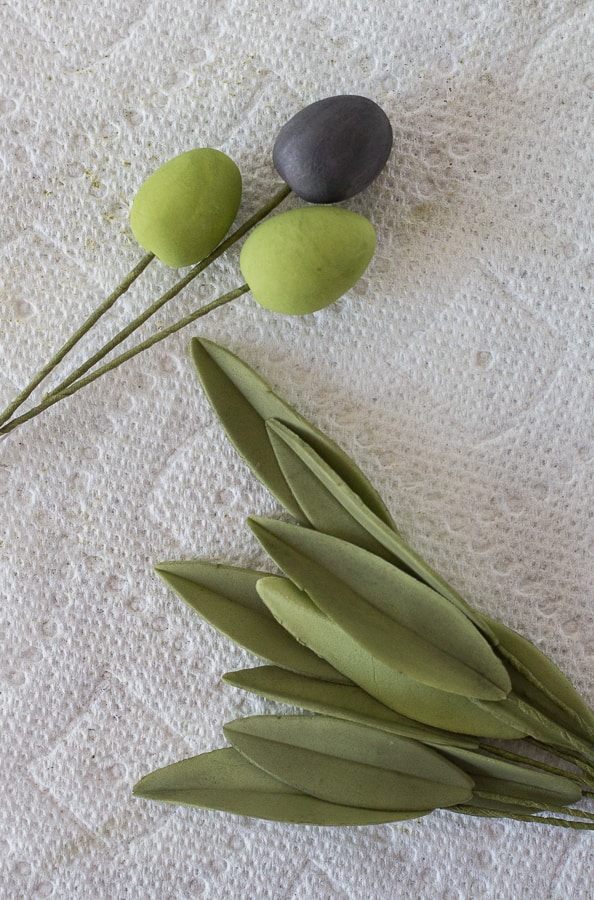
Step 7: While the leaves are drying, make the olives. Make hook at the end of a piece of 22-gauge wire with the craft pliers. Tear off a piece of moss green gum paste, a bit larger than a marble.
Step 8: Firmly roll the paste into an oval shape. Dip the end of the hooked wire in sugar glue, wiping off the excess. Insert the wire into the paste. Set aside in foam to dry completely.
Step 9: Repeat the process to make more green olives. Use the purple/black paste to make dark olives.
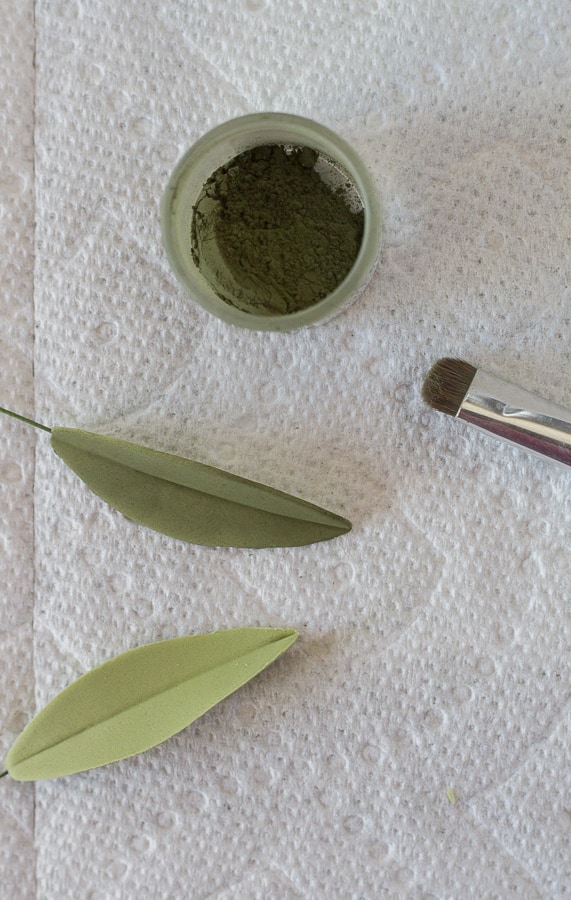
Step 10: Once the olive leaves are dry, dust the leaves liberally with the olive green dust. Do not dust the backsides of the leaves.
Step 11: Liberally dust the green olives with moss green petal dust until fully covered.
Step 12: Liberally dust the purple olives with charcoal petal dust until fully covered.
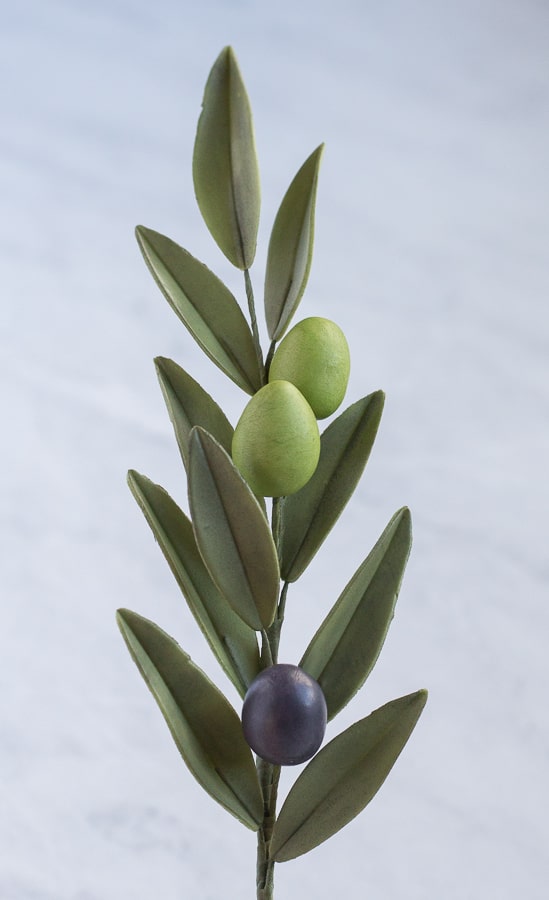
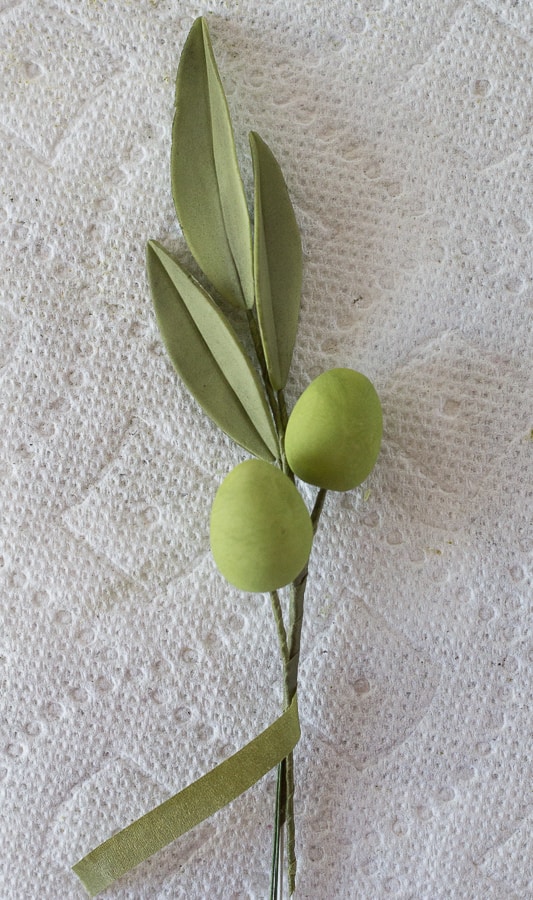
Step 13: For the pictured olive branch, I used two green olives, one purple olive and ten olive leaves in a variety of sizes. Using the moss green floral tape, tape the wires, about two inches down from the base of the leaves and olives.
Step 14: Tape two leaves on either side of another leaf, staggering them to make them look more natural.
Step 15: Tape on a green olive, then place another a couple inches down.
Step 16: Continue to add leaves on either side, staggering them. Place the black olive and continue adding leaves. Once the leaves are all added, continue taping all the way down the stem.
Step 17: Keep in mind that olive leaves are a bit untidy and face all different directions. Adjust the leaves with the pliers to give them a bit more movement and face them in different directions. This will give them a more natural look. I kept mine a bit more straight and organized for learning purposes.
Step 18: Steam the branch to set the color. If you wish, you can brush the olives with confectioners glaze to give them a shiny appearance. I chose not to use the glaze for this branch. Dry completely before using on your cake.

If you make an olive branch using my gum paste olive branch tutorial, let me know! Leave a comment in the comment area below and be sure to snap a photo and tag it #littlevintagebaking on Instagram. I love seeing your Little Vintage Baking creations!
Want to know the best supplies needed to make professional style sugar flowers? Check out my post on Essential Tools for Making Sugar Flowers!
Comments
No Comments