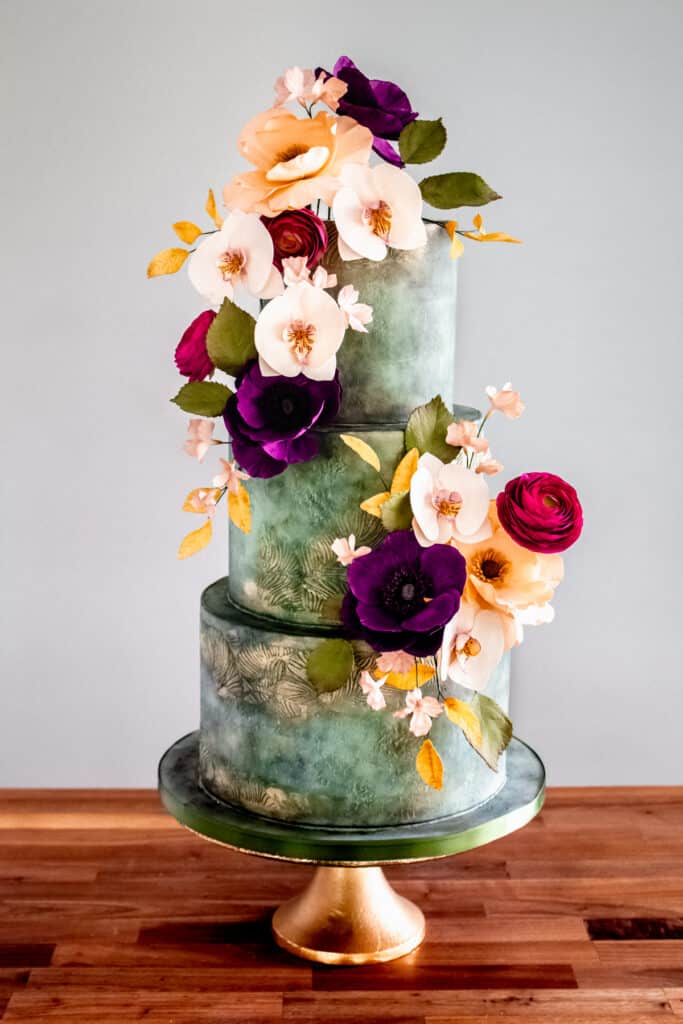
Some of the best decorated cakes that I have made start with just a basic idea of color scheme, and a theme, or vibe that the cake is meant to convey. I pictured bold, vibrant colors of purple and magenta, with soft complimentary tones for the florals of this cake, with colors of teal, green, blue and burgundy for the cake itself. In this cake decorating texture tutorial, I show you how I made this cake with various mediums and techniques, such as dry dusting, stenciling, and sponge painting to create an aged, textured, and unique cake.
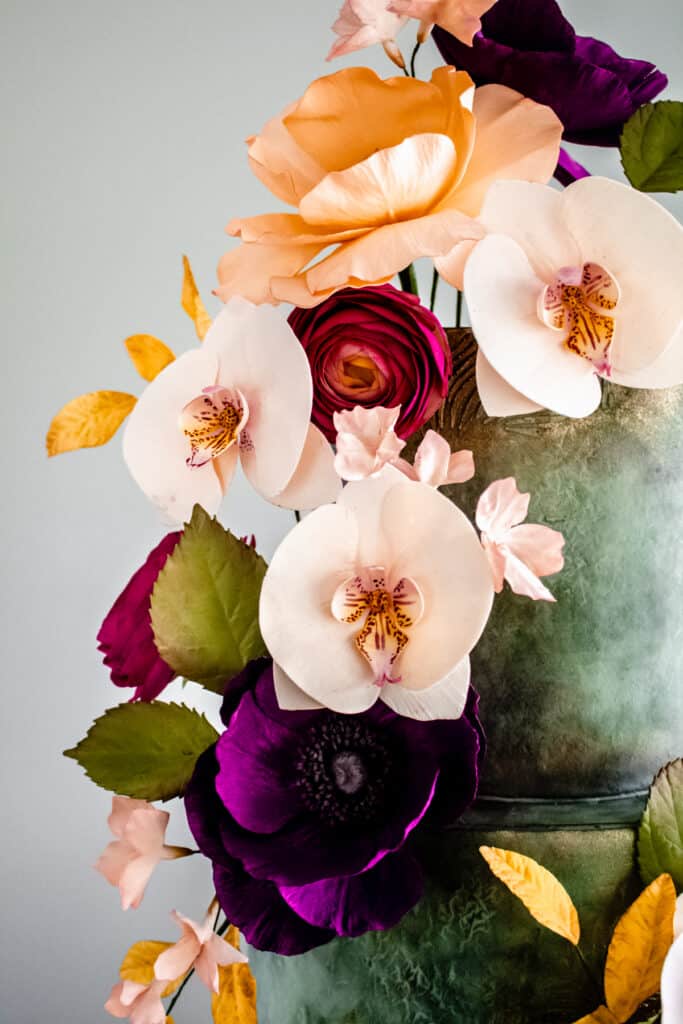
Florals
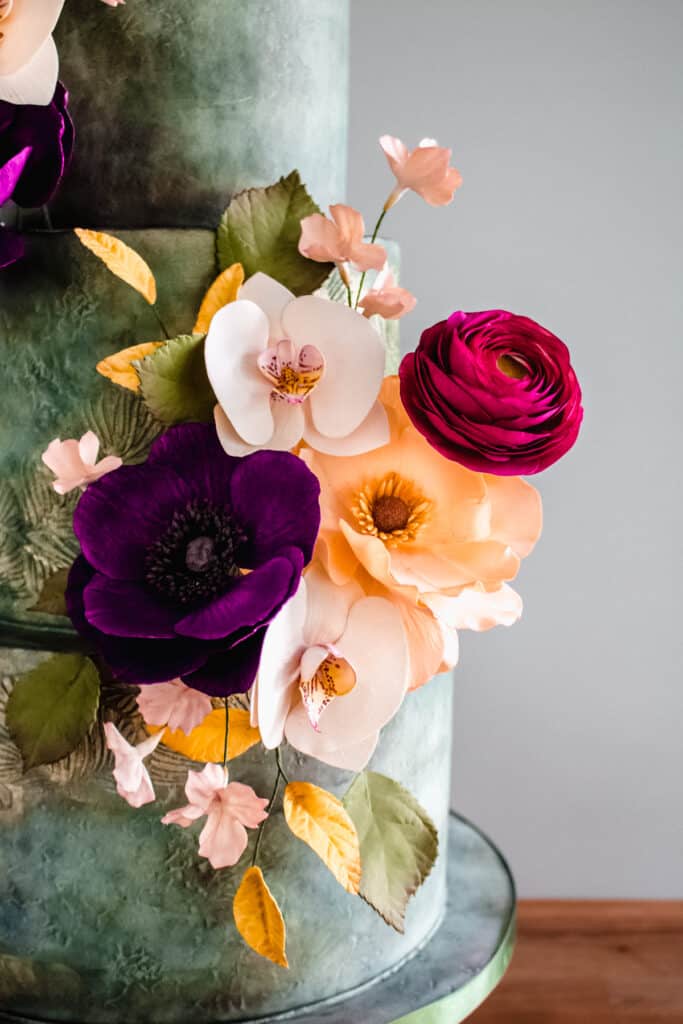
For this cake, I worked backwards, designing the florals first. I wanted bold, vibrant colors mixed in with softer, tones. Mixing the bold with the soft gives the arrangements depth and allows the eye to see the flowers individually rather than a mass of dark/vibrant color. I've included anemones, ranunculus (a favorite of mine), butterfly ranunculus, moth orchids, blossoms and yellow and green leaves.
Textured Fondant
This is the perfect opportunity to use any dried out or cracked fondant. Mixing dried fondant in with fresh or soft fondant will give the cake texture, with splits and visible cracks. I didn't have much dried fondant on hand, but I used what I had. For additional texture, I used rolled up, then flattened out aluminum foil and pushed it into the cake in random spots on the sides and top of each tier.
Dry Dusting and Layering Color
Dry dusting color onto a cake is all about blending and layering color. Choose colors that look good when blending, taking care to not choose ones that will result in a muddy look. I choose a teal color, navy blue, moss green, olive green, and dark burgundy for accents. Be sure that your dusts are food safe, not just non-toxic so that your cake is safe to eat.
Start with the color that will be the foundational color of your cake. For this cake, I chose teal. So I used a large blush brush (one I use for food only), and dusted the cake tiers. There is no perfect way to do this. Dust heavier in some areas, lighter than others. Repeat with the rest of the colors, overlapping and blending color, except for the burgundy. That is an accent color to be used last.
Once you've dry dusted the cake, it should look pretty close to how you want the end result to look. The next couple techniques will darken it a bit and also blend the color a bit more.
Dust small areas with the burgundy dust. I focused on the top and lower edges the most. Use just a little bit a time to build the color and blend. You don't want super dark areas of burgundy. This color is meant to darken areas and also give more shadow to the cake.
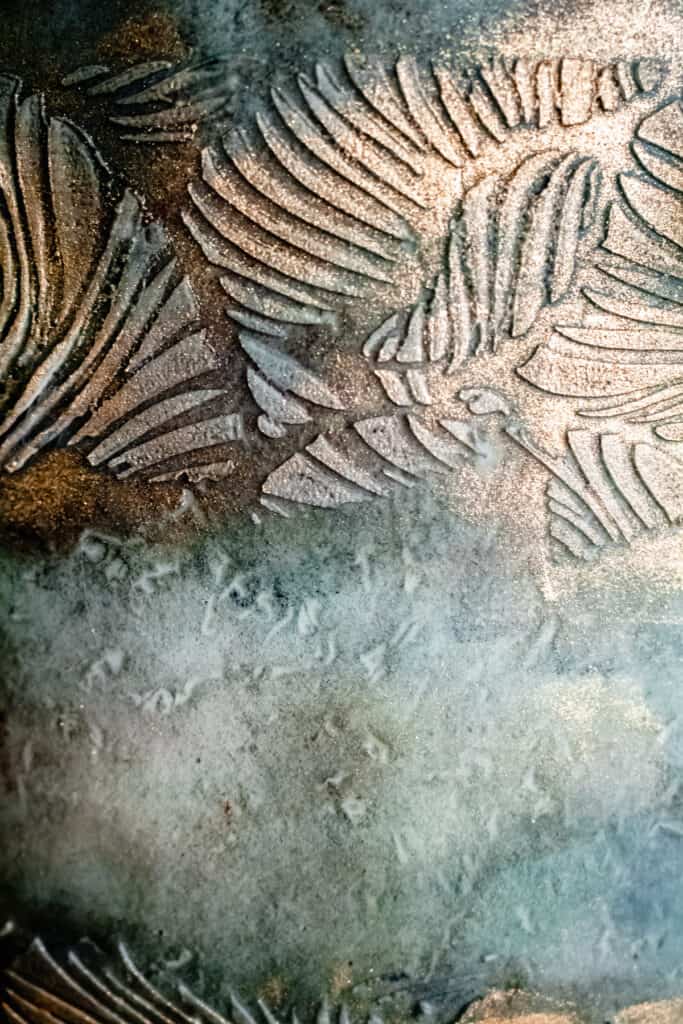
Stenciling
To add even more texture and a bit of elegance to the cake, I stenciled areas of the cake on alternating sides of the tiers. This also doesn't need to look neat or perfect. I used royal icing for the stencil so that it would dry completely. The stenciling needs to be dry before continuing to dust and sponge paint. I can't recall where I got the stencil I used for this cake, but this one is pretty close to the same design.
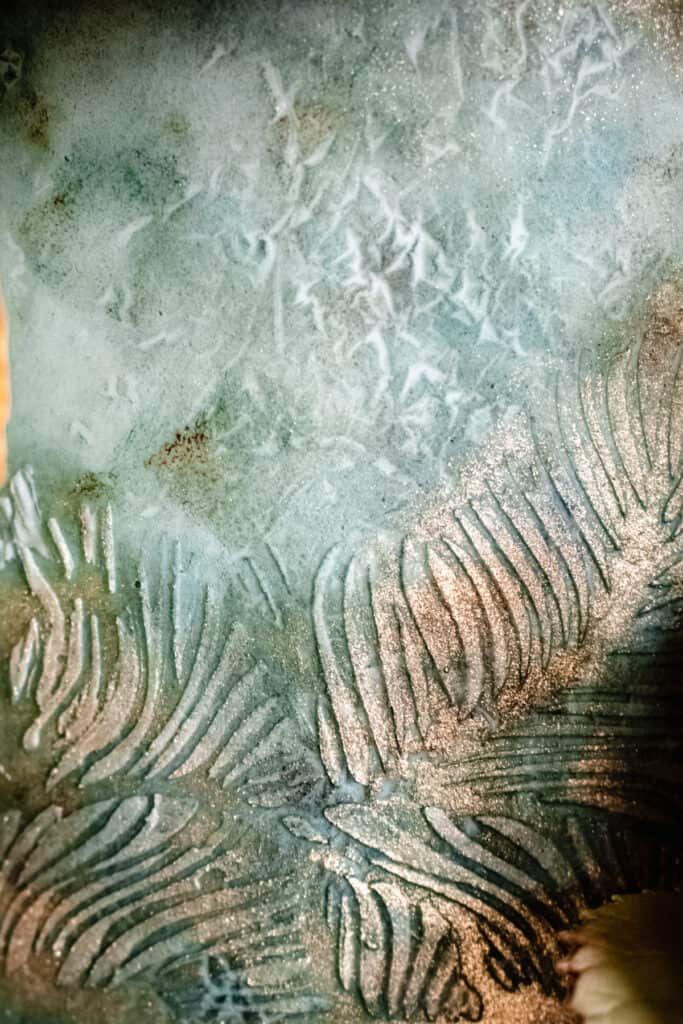
Gold Accents and Sponge Painting
With leftover color from dusting, I mixed in a few drops of high proof alcohol to make a thick paint. Using a cosmetic sponge, lightly paint areas on the cake, focusing in emphasizing already darker areas and also the top and bottom edges.
For the gold accent color, I mixed together gold dust with a little bit of bronze dust. I also used a cosmetic sponge for this, and dry dusted the gold/bronze mixture over the stencil. I chose to dry sponge paint the gold so that it color was more patchy, spaced out and subtle.
At this point, the dusting and painting is done, but you can always go back and dust more color to darken it up or change the color in some areas. Keep adding and blending color to your liking.
If you make a cake using any of the techniques within this tutorial, let me know! Drop a comment or tag me on Instagram. I love seeing your bakes and creations.
Enjoy!
Ash xx
For more tutorials, check out these posts:
Oyster Shell Ocean Cake Tutorial
Comments
No Comments