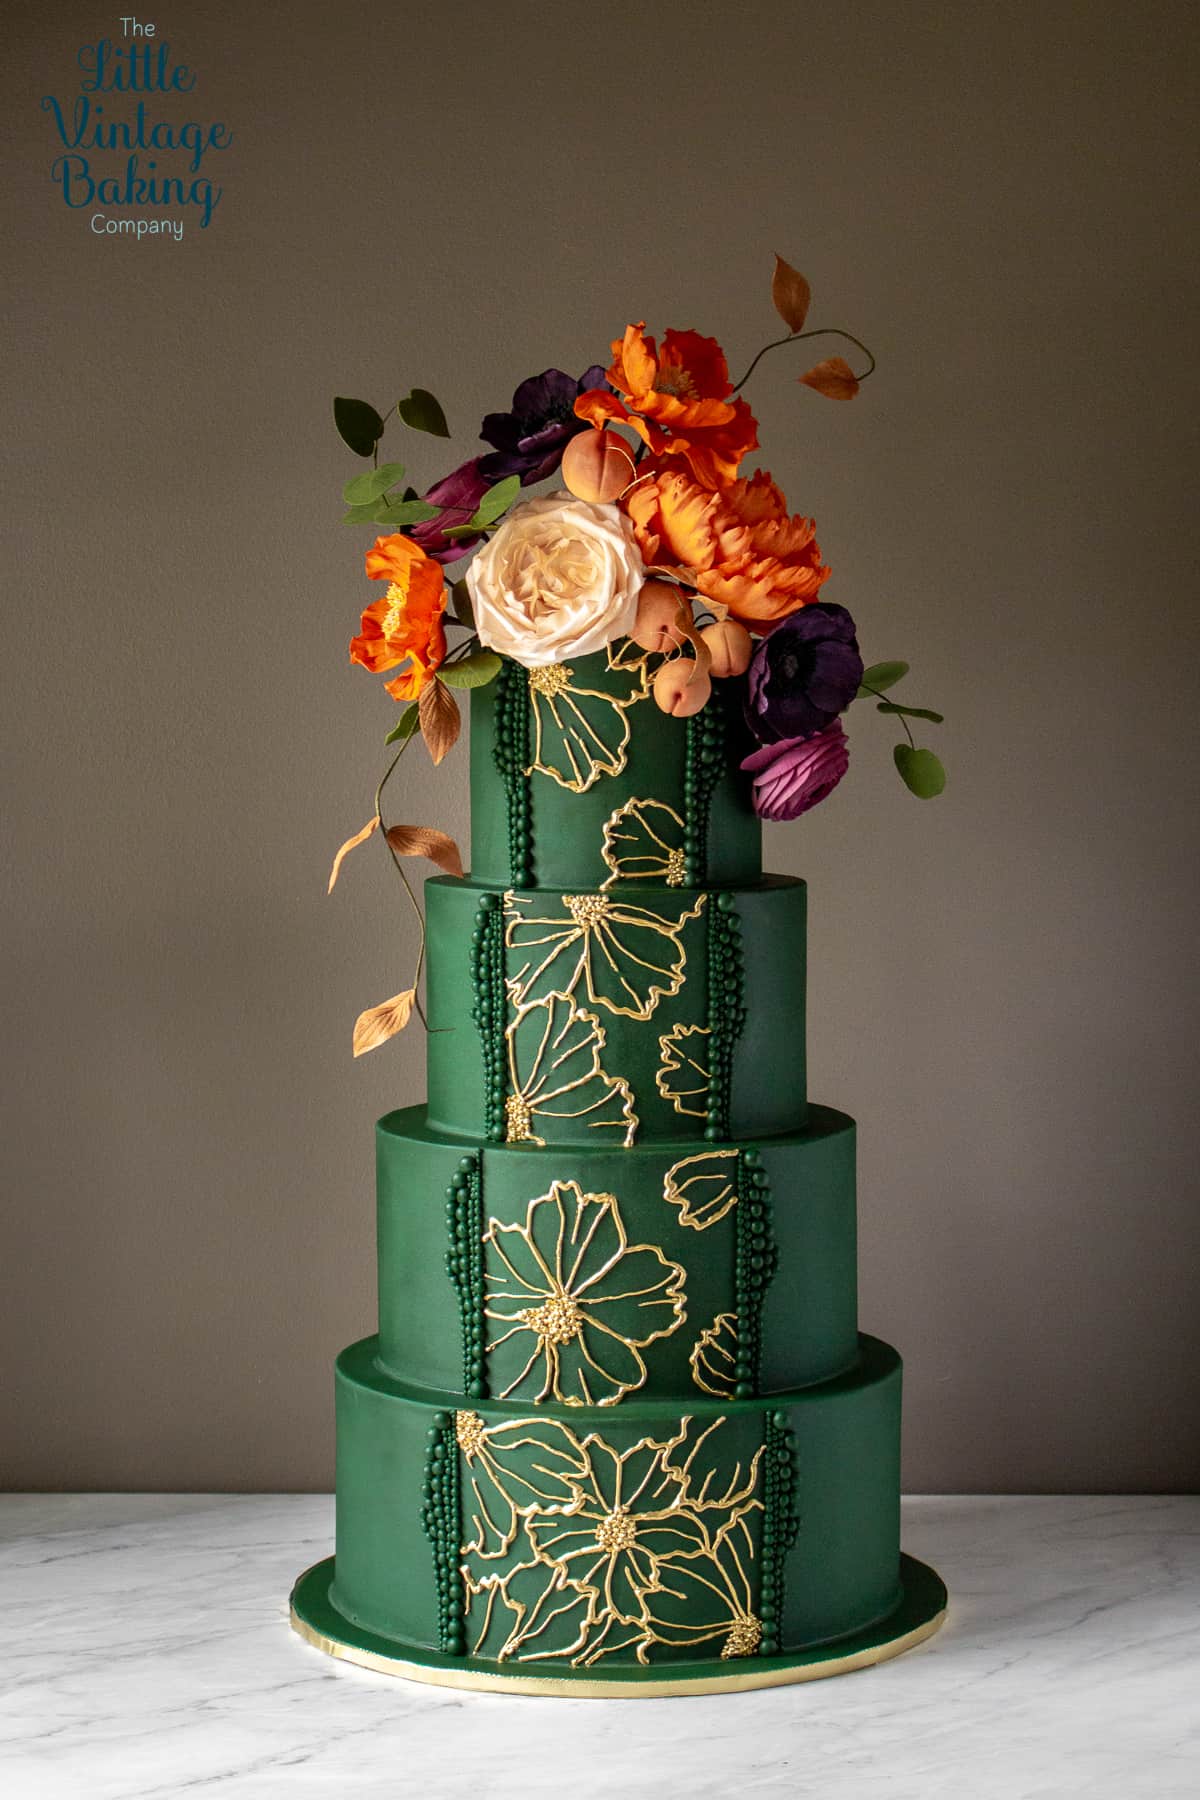
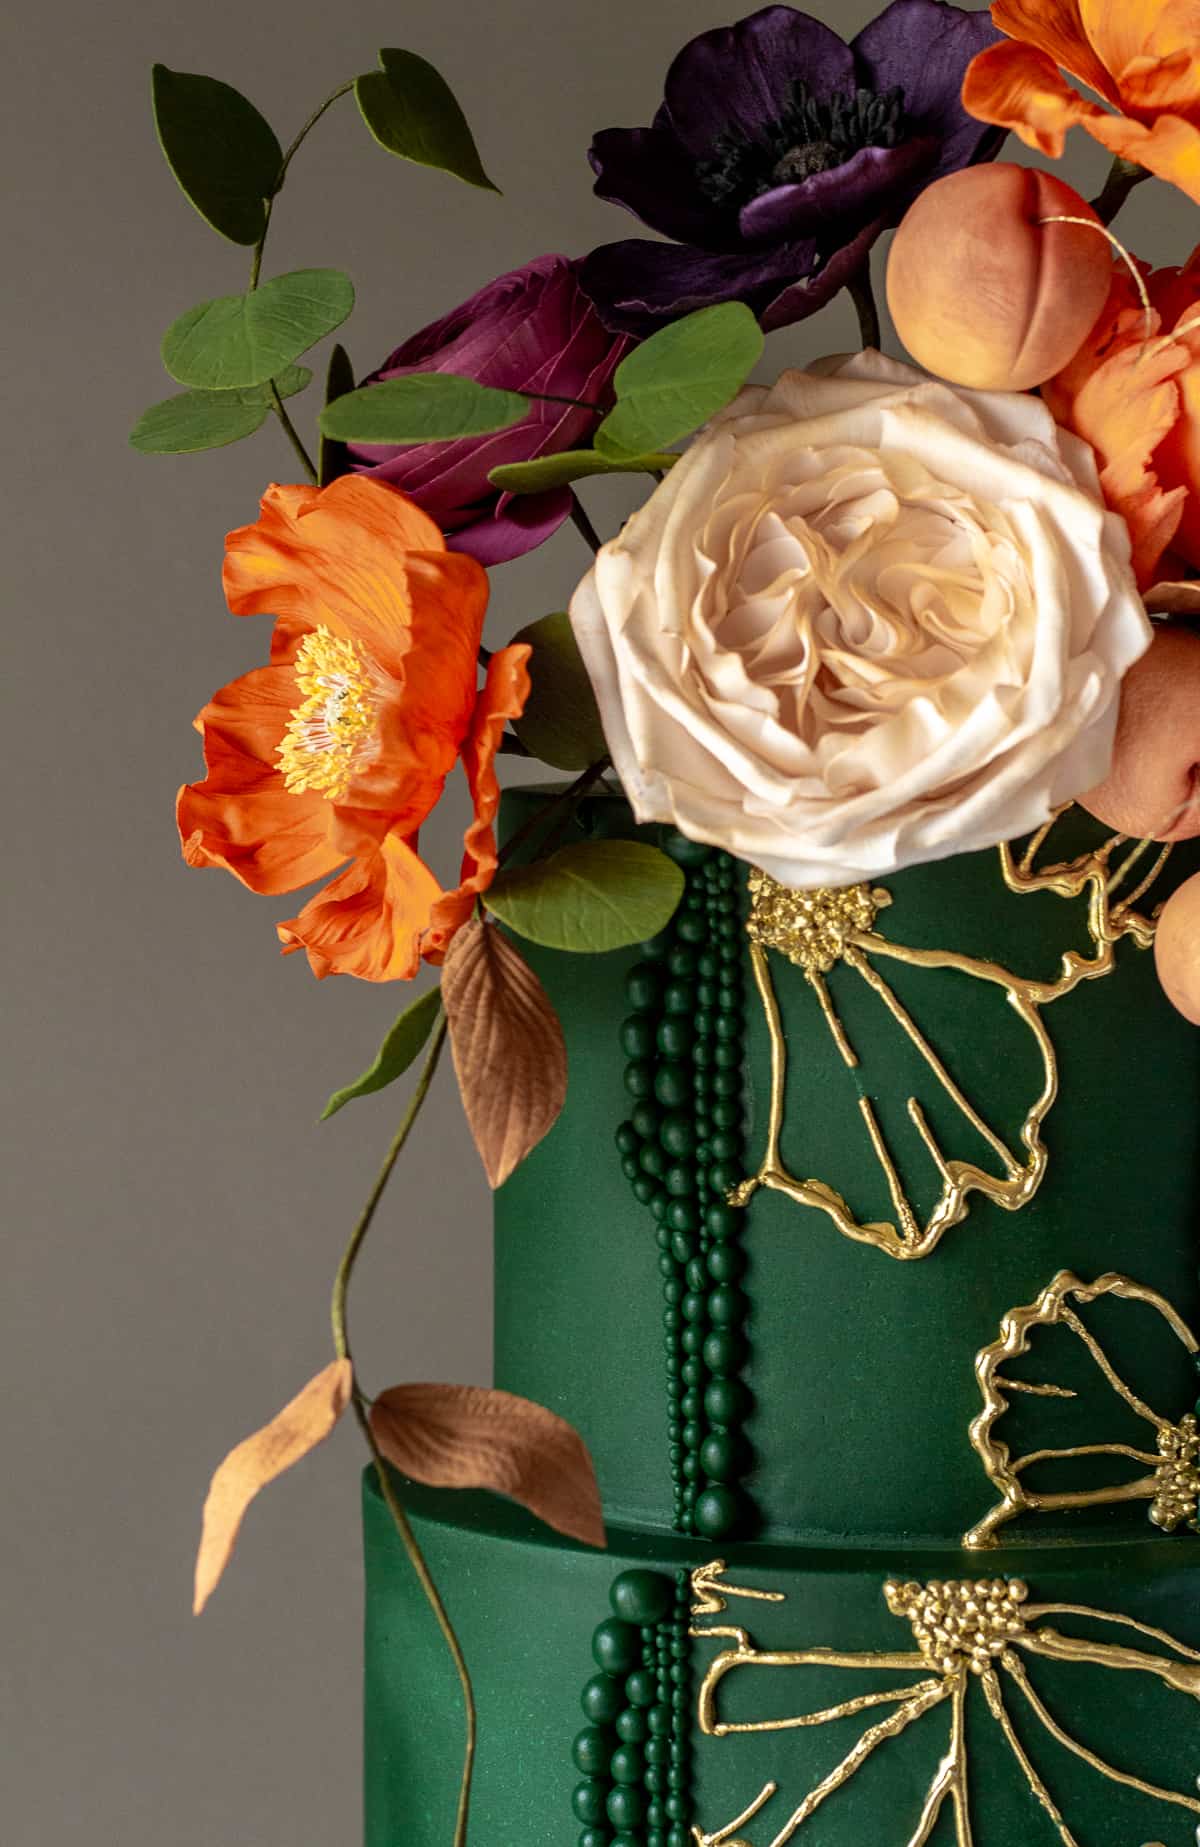
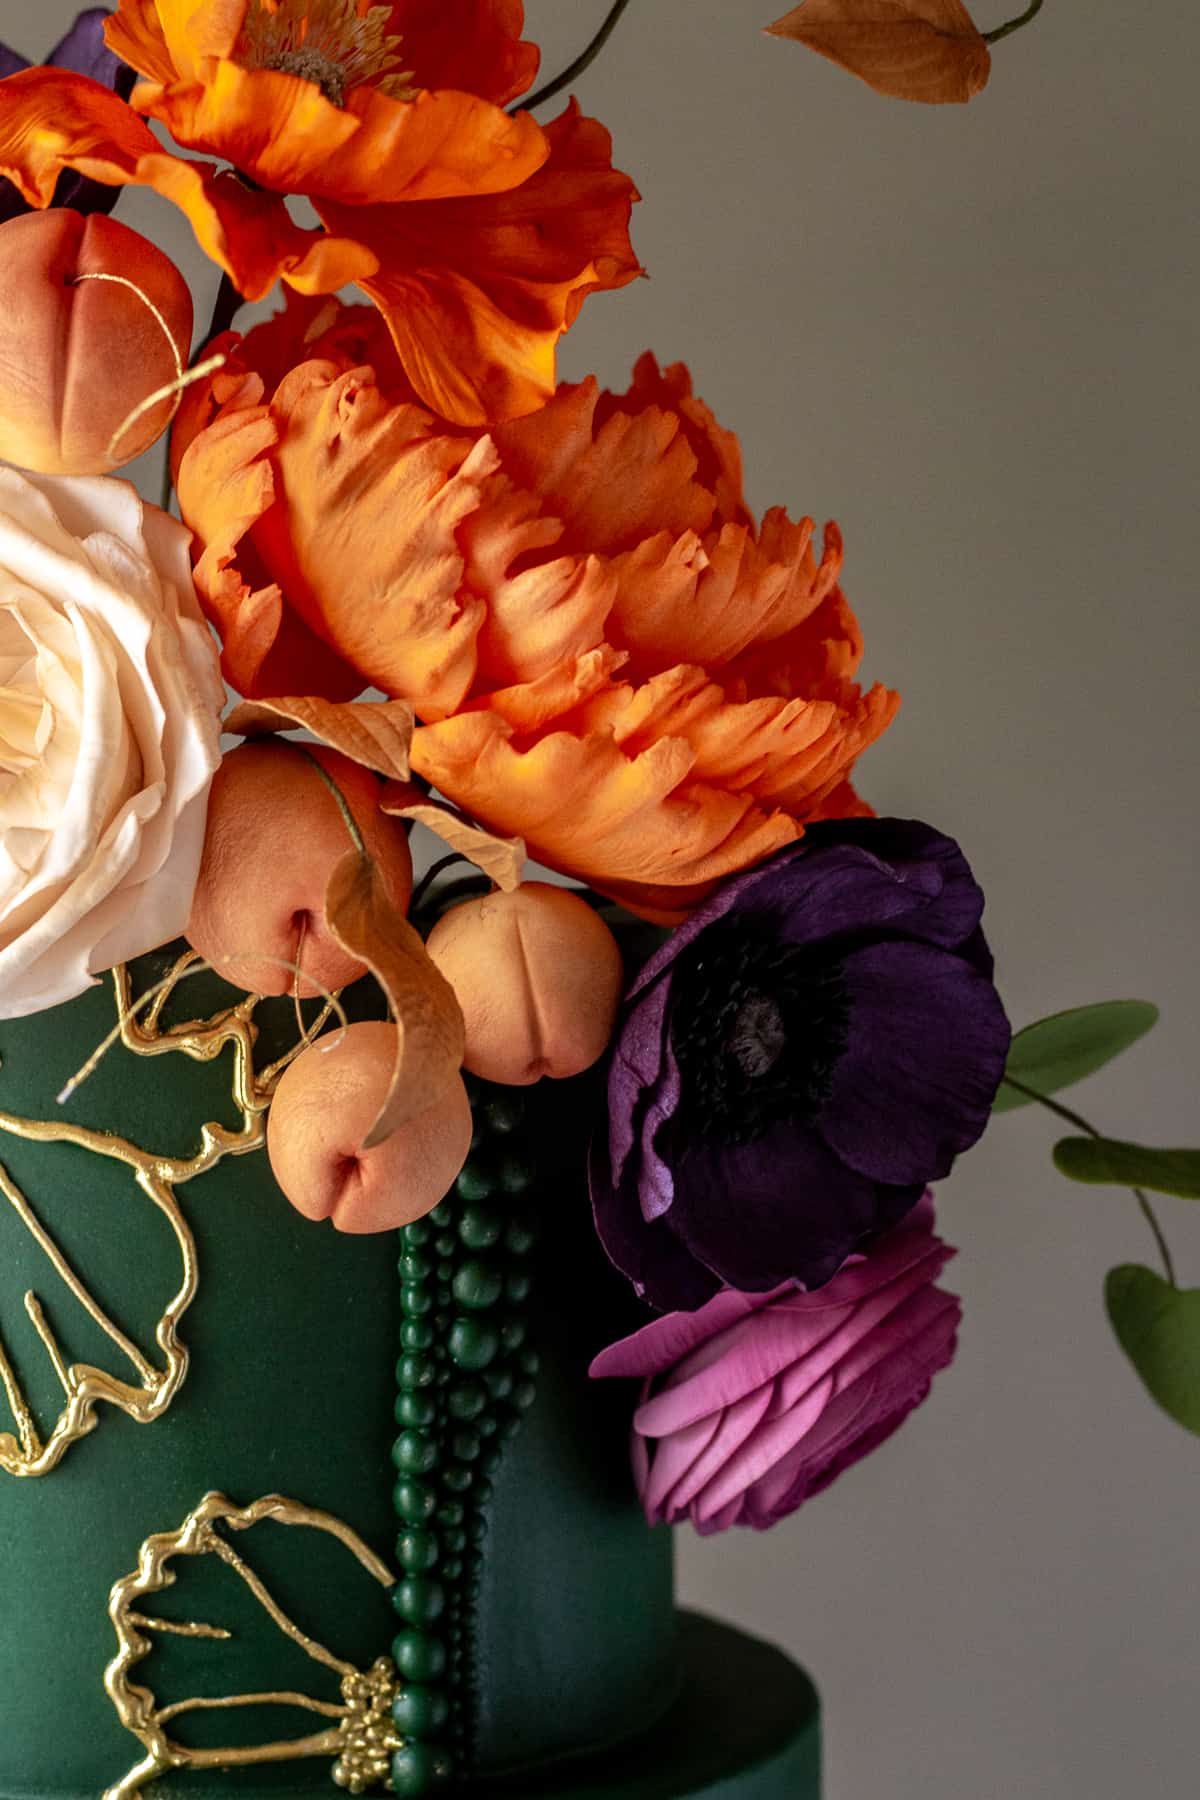
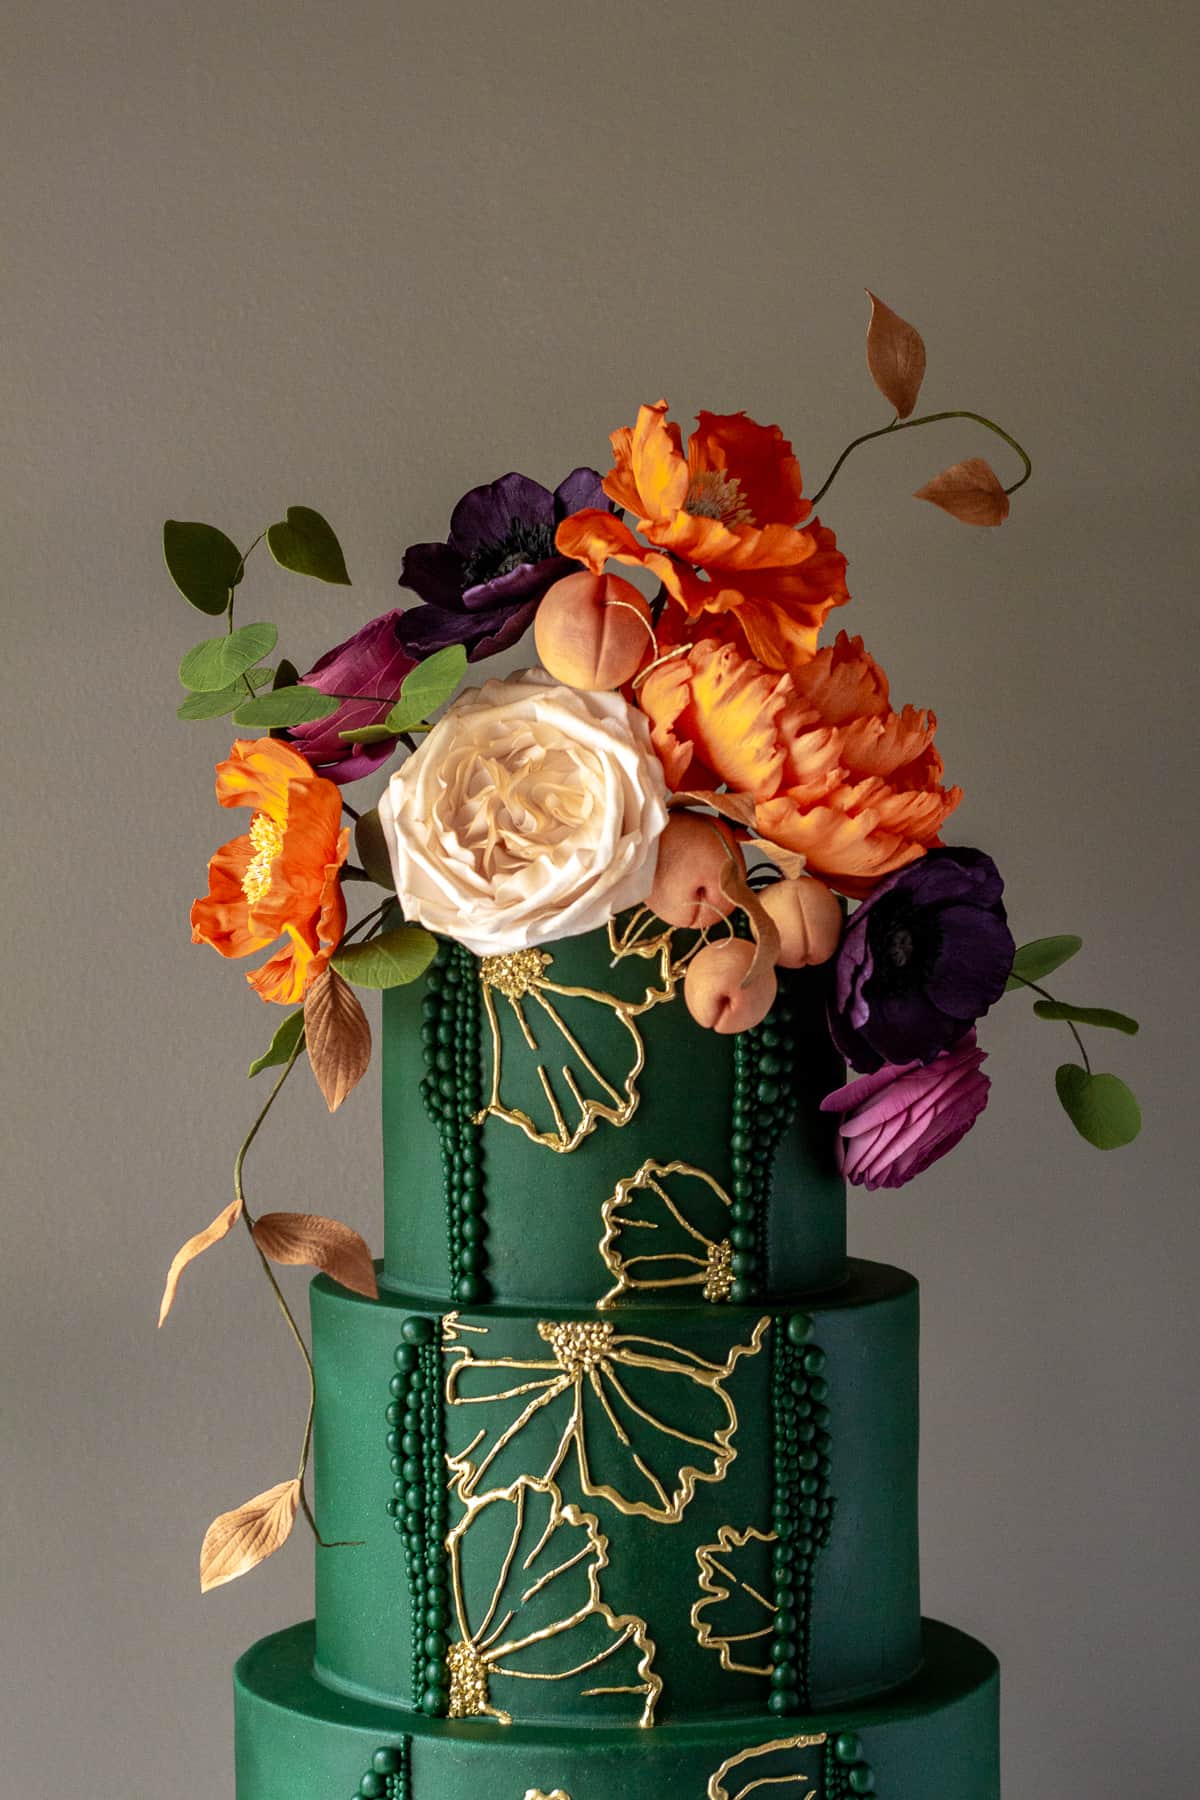
I'll admit, piping techniques on cakes are not my strongest skill set. I can pipe all sorts of borders, sure, but any sort of piped design, lambeth techniques or flowers, count me out. I'm most definitely a work in progress with those techniques, but with this cake, I discovered a piping technique that I love. Not only is it easy, but it doesn't have to be absolutely perfect. A little whimsy is preferred here. This easy floral piped royal icing cake is easier than you think and the options with this technique are endless.
Supplies
Fondant covered cakes (My cakes are 6x5, 8x5, 10x5 and 12x5)
Royal icing - stiff and piping consistencies, either white or light yellow
Edible gold dust
Clear high proof alcohol, or clear extract
Fine detail paint brush
#2 piping tips
Piping bags
Edible marker
Ascending bead mould
Variety of petal cutters - your preference (I used peony cutters)
Circle cutters (I used ½" and 1" cutters)
Plotting out the space for the piping and the beading designs
Before creating the flower design and piping, measure the out the space where the piping, and the bead design will go.
For the 6", measure 3 ½" across the middle of the tier with a ruler, and used an edible black marker to make a small mark the middle, at 1 ¾". Use the marker to then draw a little line at 0 and 3 ½". Now the top tier will be the guide on centering all of the other tiers. You can see an example of my lines in the upper right corner of the photo below.
For the 8", place the ruler up to the center mark on the 6", vertically, so that the ruler is straight up and down against the 8" tier as well. Mark a small dot on the fondant to note the center of the 8". Place the ruler horizontally onto the 8" tier now, placing the ruler on the center dot at 2 ¼". Place another small dot at 0 and 4 ½".
Repeat the same process for the 10" tier, marking small spots with the marker at the center at 2 ¾, and on either side at 0 and 5 ½.
Repeat the same process for the 12" tier, marking small spots with the marker at the center of 3 ¼", and on either side a 0 and 6 ½"
The center mark keeps the design centered down each tier, and the marks to either side indicate the size space of the design, and also indicates where the bead design will go.
Impressing the cake with petal cutters
I decided to use (2) peony petal cutters to make the general floral pattern. I wanted to use the peony petals to match the large peony that I created for the floral topper arrangement. I also like the frilliness of the petals. You can use any cutters that you prefer. Note that the fondant on your cake to still be soft enough to be able to make an impression. In addition to using the peony cutters, I used (2) small circle cutters as well to indicate the flower centers.
Impress the flower centers first. Use a light hand, and only just make a faint outline. Place a full flower here and there if you wish, but make it look more organic by only impressing parts of flowers. Be sure to cover the center mark with the flowers, but do not impress beyond the two outer lines on the tier. Remember, this is where the beaded design will go.
Floral piped royal icing
Once you have made the faint petal impressions, prepare your piping bags for the floral piped royal icing technique. Make one icing bag with piping consistency royal icing, and another with stiff royal icing. Set the stiff bag aside, and fit the piping consistency bag with a #2 tip. Outline the flower petals with the piping royal icing. Add extra frills to the edges if you like, just remember it doesn't have to be perfect. If you make a mistake, use a toothpick to scrape off the icing. Make some veining lines in the centers of each flower petal, coming from the center of the petal or from the outer edge. Be sure to not overlap the side lines. Stay within the designated area or you will be scraping off dry royal icing later.
After piping the flower petals, pipe the centers. Fit the stiff royal icing piping bag with a #2 piping tip. Pipe little dots in the centers. Go beyond the circle to create more imperfect circles. Overlap some of the dots to give the center a bit more of a pop and some depth. Let all the piping dry completely before painting.
How to make the beading effect
An ascending drop string of beads mould is needed to make the beading. You can find them at Michael's Craft Store and Iron Orchid Designs (find a retailer near you, or a retailer online on their website - the Acanthus mould). I used the IOD mould for this cake. The string of beads on this mould are exactly 5" so I used one full string on each tier, on either side of the piping, to create a straight line on both sides. Make (2) for each tier, and let dry for 10 minutes so they're not too soft. Adhere the beads to the cake with water, in ascending order, with the largest bead at the bottom of the cake tier.
Design the rest of the beaded design on a silicone mat so that you have a guide, and can make them all identical. Since the moulds are going to be a bit different depending on what mould you have, it's best to use the photos in this post as a guide to make them as similar as possible.
Painting the royal icing
Create a gold paint by adding alcohol to the gold dust until a thick paint forms. You don't want this too thin, as it could drip and won't have much coverage, but not too thick, that clumps of gold are left behind. You can also use Edible Arts gold paints as a substitute. Use a fine paintbrush to carefully paint the royal icing.
So, this is a do as I say, not do as I do sort of moment. I painted the gold BEFORE adding the beads. Oof. Spare yourself the mess of gold dust flake off, by painting the icing gold AFTER adding the beads.
Finishing touches
Leave the cake as it is, in its elegant simplicity, or with a sugar flower arrangement on top, as I did. To get remove any excess flour from the fondant or any random gold dust, lightly steam the cake with a steamer. You don't want the fondant to appear wet or get warm, so just a little bit of steam will do the trick. The tutorial for my peony featured on this cake is listed below.
I hope you love this tutorial as much as I have loved creating it. Any questions, be sure to leave them below or DM me on Instagram. If you use any of these techniques in this floral piped royal icing cake, I'd LOVE to see your creations. Tag me on Instagram!
Ash xx
For more cake decorating tutorials, check out these posts:
Vintage Gilded Buttercream Cake Tutorial
Woodland Tree Stump Cake Tutorial


Yasna
Gorgeous . I loved the technique ,Thanks for sharing .
Jessica
This is beautiful and inspiring! I'm so glad I found it. Thanks for posting!
Maureen Gavin
This may be my all time favorite cake, ever1 The colors are amazing!!How did you get the fondant that color green? I'm thinking of trying it on a cake sometime soon. Great job!
Ashley
Hi Maureen! I made homemade fondant and used Americolor gels - leaf green, black and peacock. It's mostly green with a little black to darken it and a smidge of peacock blue to give it a bit more brightness and more of an emerald color, as well as to tone down the yellow undertones in the green. Hope that helps! -Ash-
Maureen
Thank you! I don't have peacock but I'll try substituting royal? I did make Liz Marek's fondant recipe because it always works for me. Also I love your tutorials on her sight. I've made all the flowers following along with you. They turned out beautiful! Thanks again!
Ashley
Thank you so much! I'm so happy you like the tutorials! Royal should work. Just be sure to add very little at a time to see how it looks as you go.
Liz Alston
Omg great job. Beautiful cake.
Ashley
Thank you!