If you love the look of decorated cookies but just don't have the patience or time to make elaborate, decorated cookies, these easy Halloween ghost sugar cookies are for you. These ghost cookies are super cute and simple, a perfect cookie for any spooky occasion.
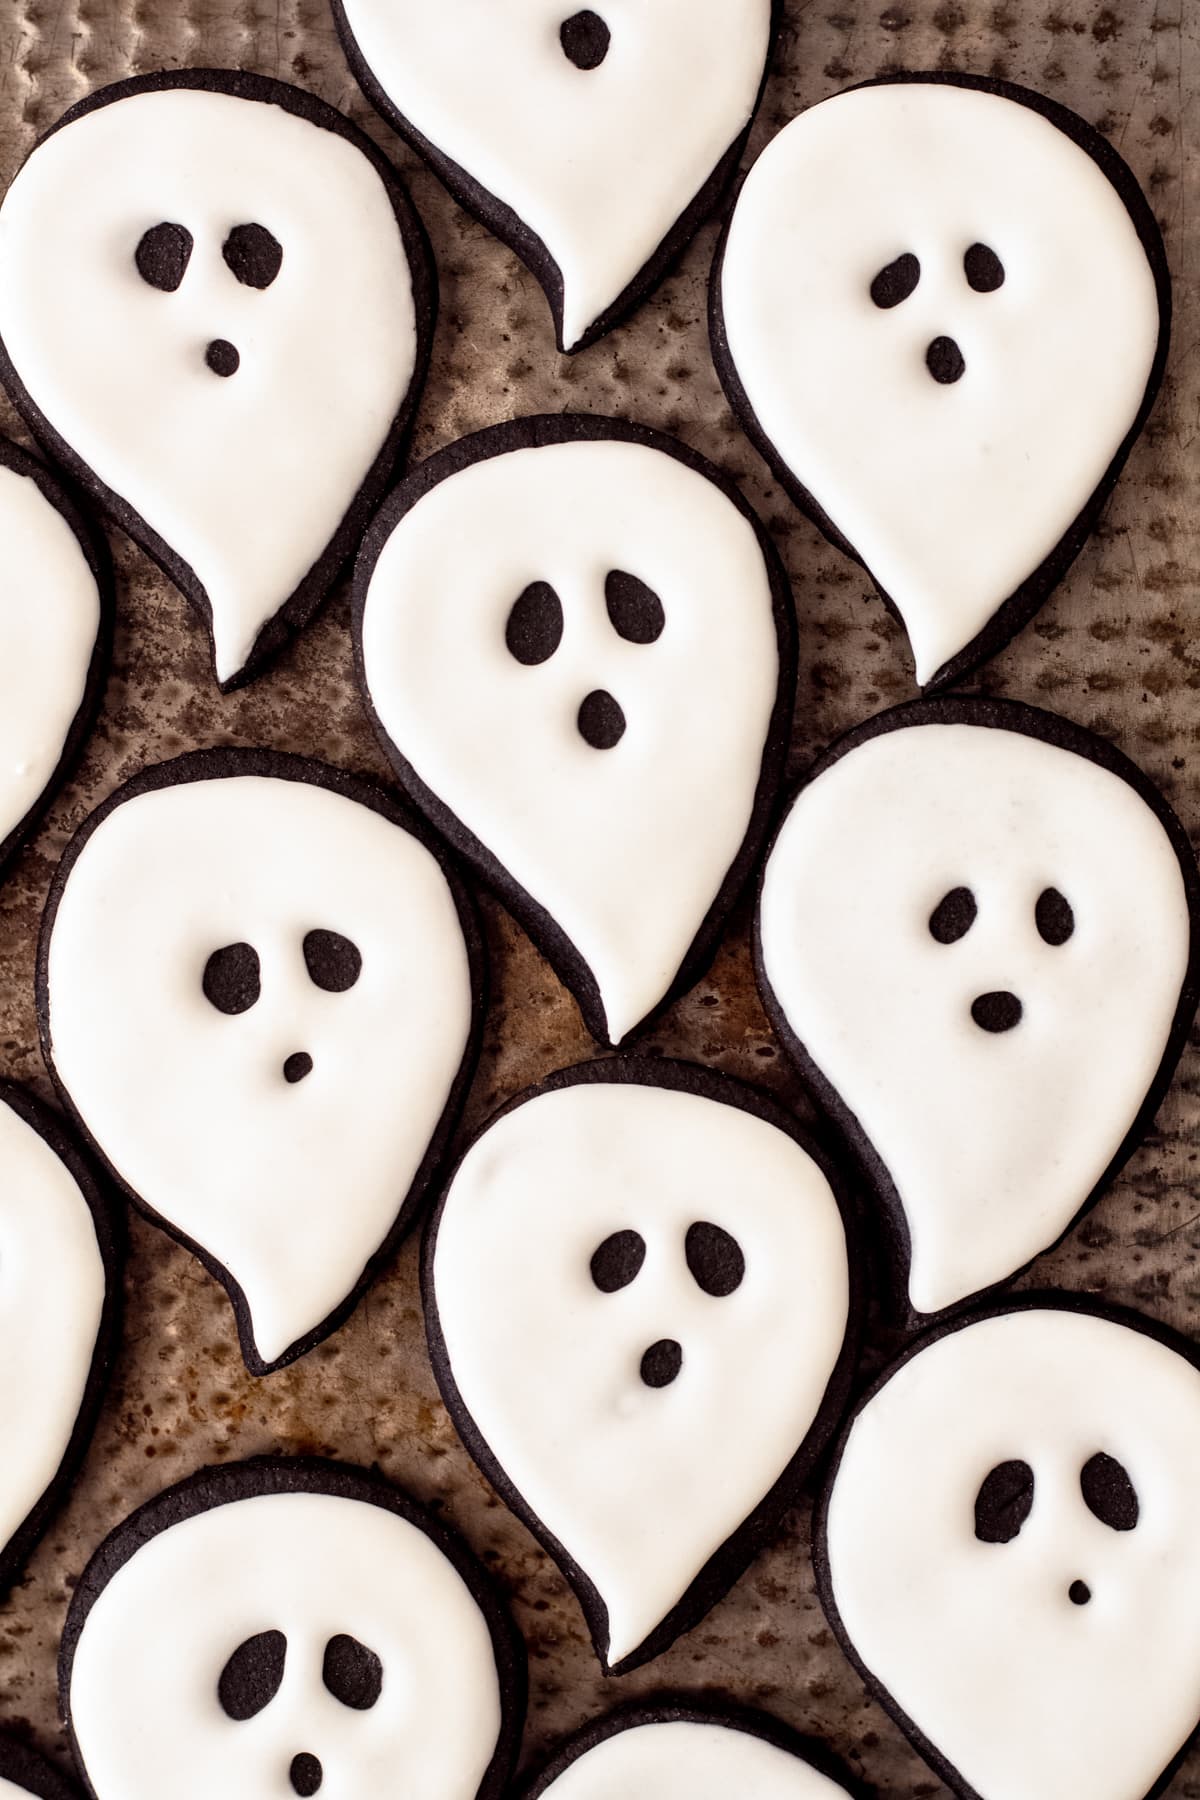
For these ghost sugar cookies, I used my go-to Meringue Powder Royal Icing and my Black Sugar Cookie recipe. These cookies are delicious and taste like an Oreo, with the black cookie and white icing.
Jump to:
Why You Will Love This Recipe
- Cookie cutters are not needed. All you need is a small sharp knife. Alternatively, if you have large teardrop shape cookie cutter, that works as well.
- No food color is needed.
- They taste like Oreos.
- Perfect for beginners and kids.
Decorating Supplies
1 – batch of royal icing, 15 second consistency
1 – batch black cookie dough, chilled
Piping bag fitted with #2 tip (Alternately, you can use a zip top bag)
How to Make and Decorate Ghost Cookies
- Preheat the oven to 350F and line two cookie sheets with parchment paper.
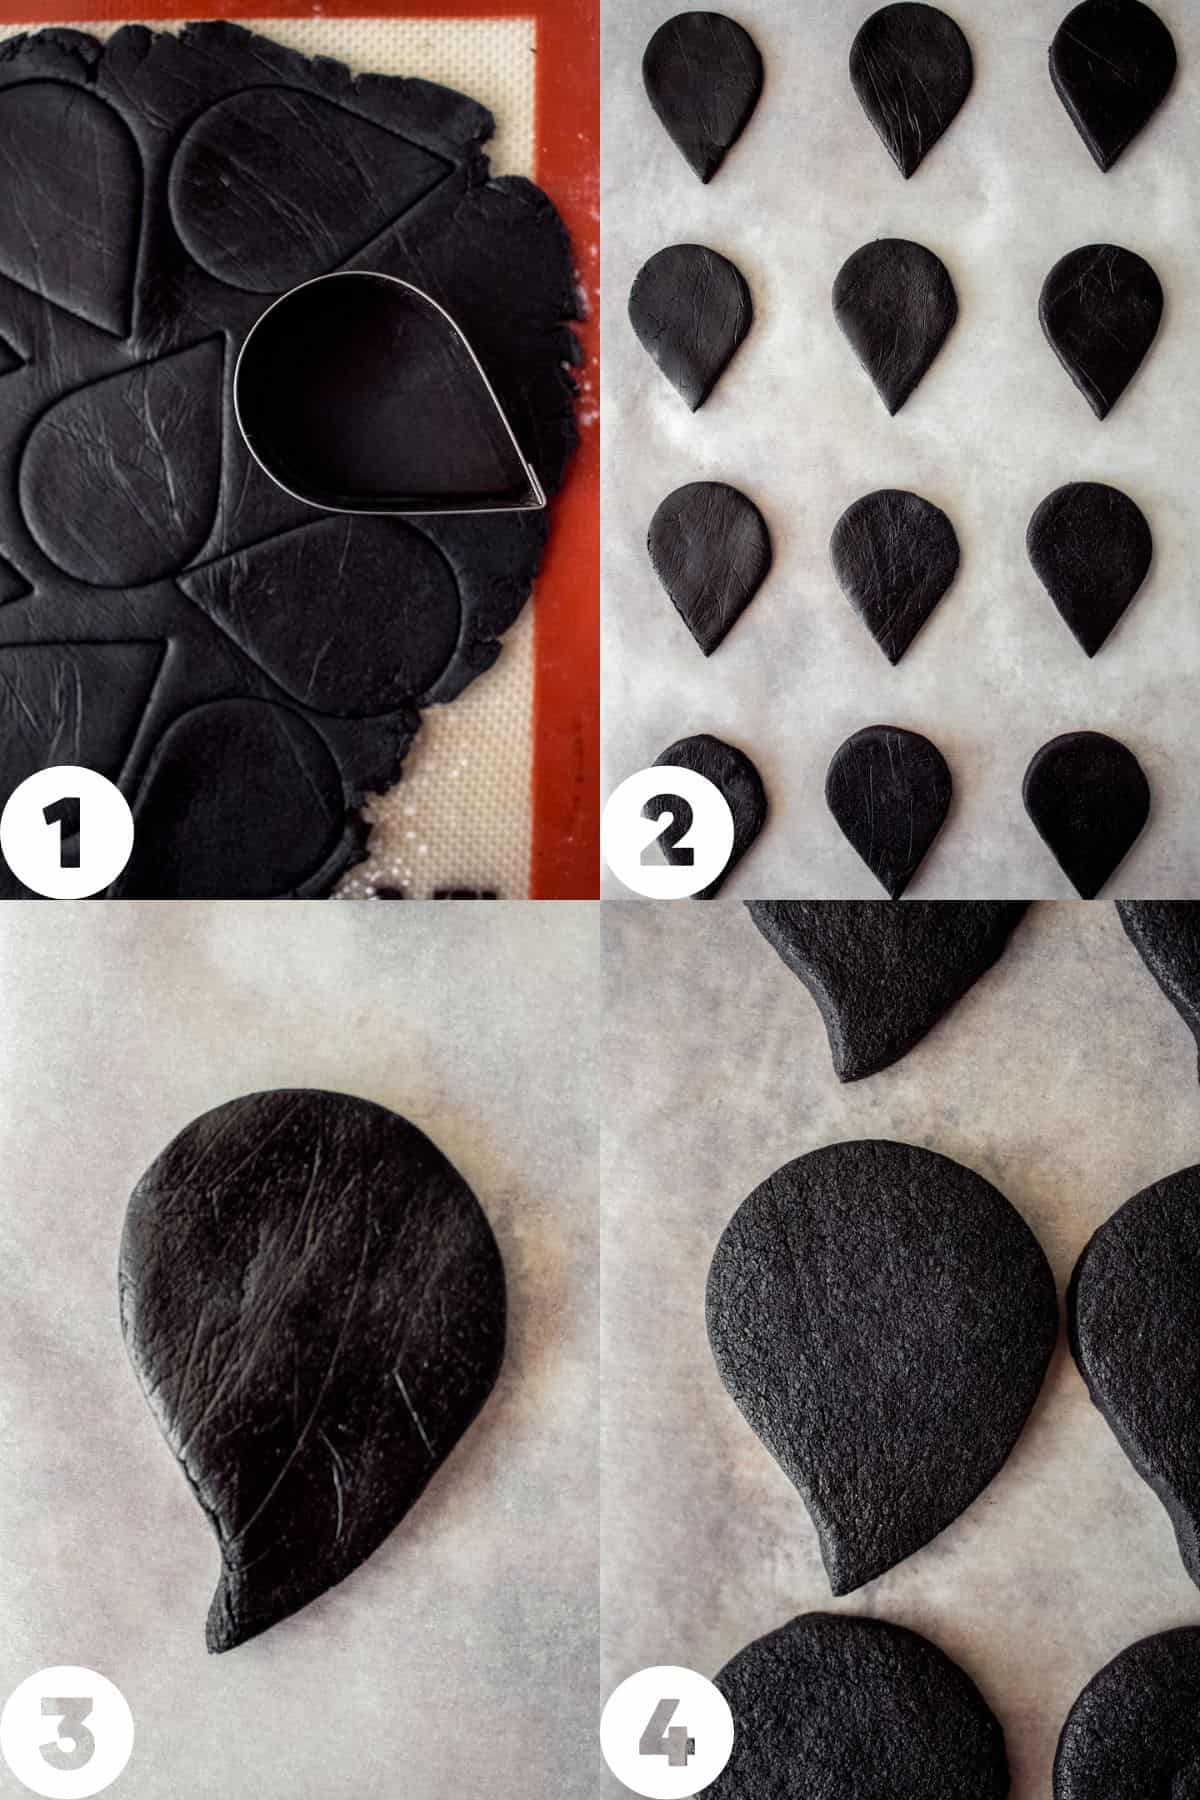
- Roll out the chilled dough to ⅛" – ¼”thick.
- Cut out a tear drop shape with a tear drop cutter or with a small knife and place the cookies 2" apart on the cookie sheets.
- Pinch the tapered end of the tear drop and shape it to give it more of a "tail", like a little swoopy ghost shape. They don't have to be identical; you can use your fingers to shape the cookie the way you want it to look. Place the cookie sheets into the refrigerator for 30 minutes to chill.
- Bake for 12-15 minutes. Cool completely before icing.
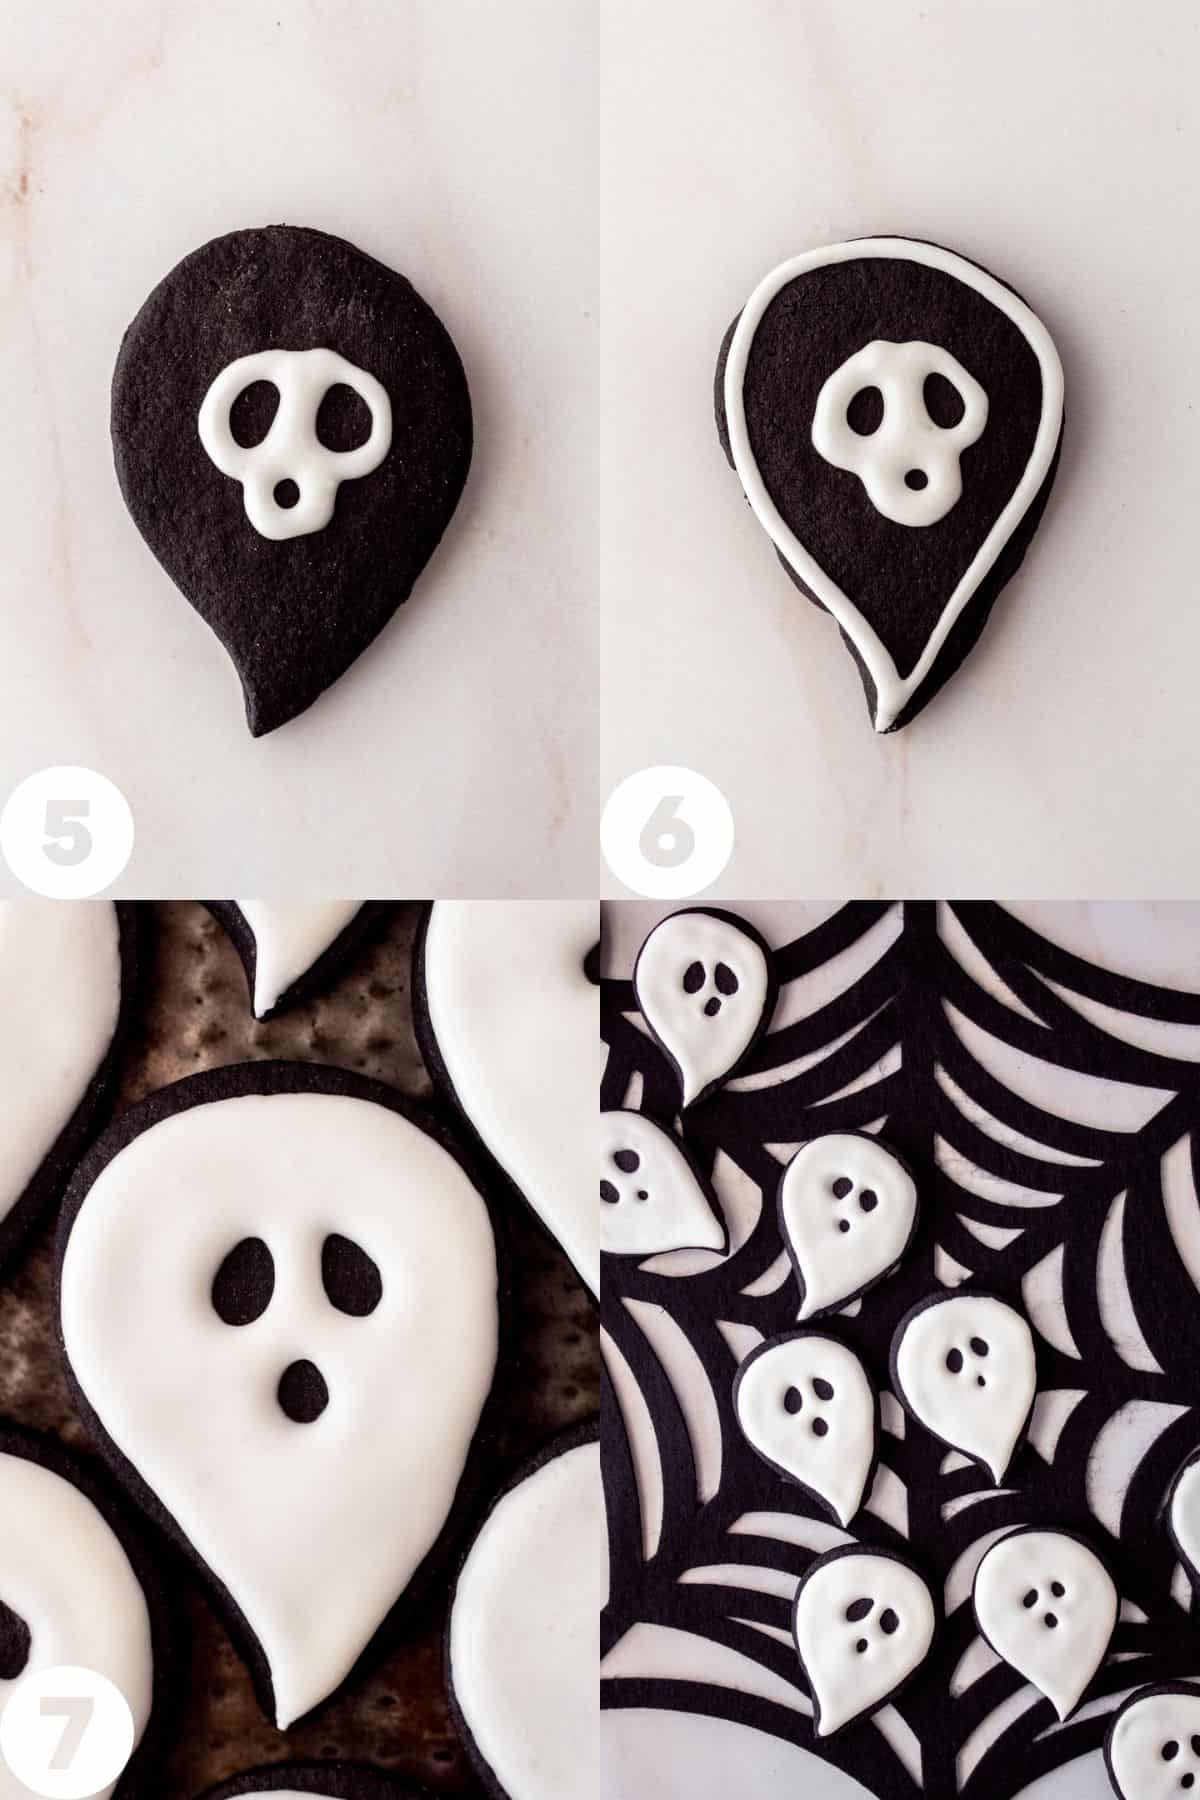
- First outline the shape of the eyes and mouth. I chose to do more oval shaped eyes and a round mouth. If it's easier for you to have a guide to pipe your eyes and mouth, use a scribe tool or toothpick, and lightly etch the shapes onto the cookie before piping.
- Pipe a border around the perimeter of the cookies.
- Fill in the cookie with the icing. Use a toothpick to even out the icing and pop any air bubbles. Additionally, wiggle the cookie back and forth so that the icing evens out. Let the cookies dry completely before serving and storing.
Cookie Decorating Tips
- There’s no need to be perfect with these cookies, but if you make a mistake, you can scrape off wet/semi-wet royal icing and start over.
- Let the icing dry completely before storing.
- For an easier clean up, especially for kids, squeeze bottles made for icing and chocolate can be used in place of piping bags.
Storage and Freezing
Baked and unfrosted cookies can be frozen for up to three months.
For the most part it is safe to freeze iced cookies, but the defrosting process, in some cases, can cause the colors to bleed and cause imperfections in the icing. If you freeze them, make sure they are completely dry and individually wrapped. You can put them in individual zip top bags. Store them in an airtight container for up to 3 months. Defrost in the refrigerater and keep them away from moisture and humidity.
Frosted cookies can be left at room temperature for up to 2-3 weeks. These cookies are perfect for bagging individually once iced, for party favors or gifts.
Decorating FAQs
Drying time can be anywhere from 8-24 hours, depending on the drying conditions. More humid environments can take longer to dry. To speed up the process, you can place a fan in the room.
The icing dries hard, but not rock hard. The corn syrup in the icing prevents it from being too hard and gives it a bit of a softer consistency.
Did you make these cookies? Share it with us! Tag @littlevintagebaking on Instagram and leave a star rating below if you LOVED this recipe. For more baking and decorating ideas follow me on Pinterest.
Sweet E's Bake Shop says
Wow, these ghost cookies are a hauntingly beautiful treat! Perfect for Halloween!