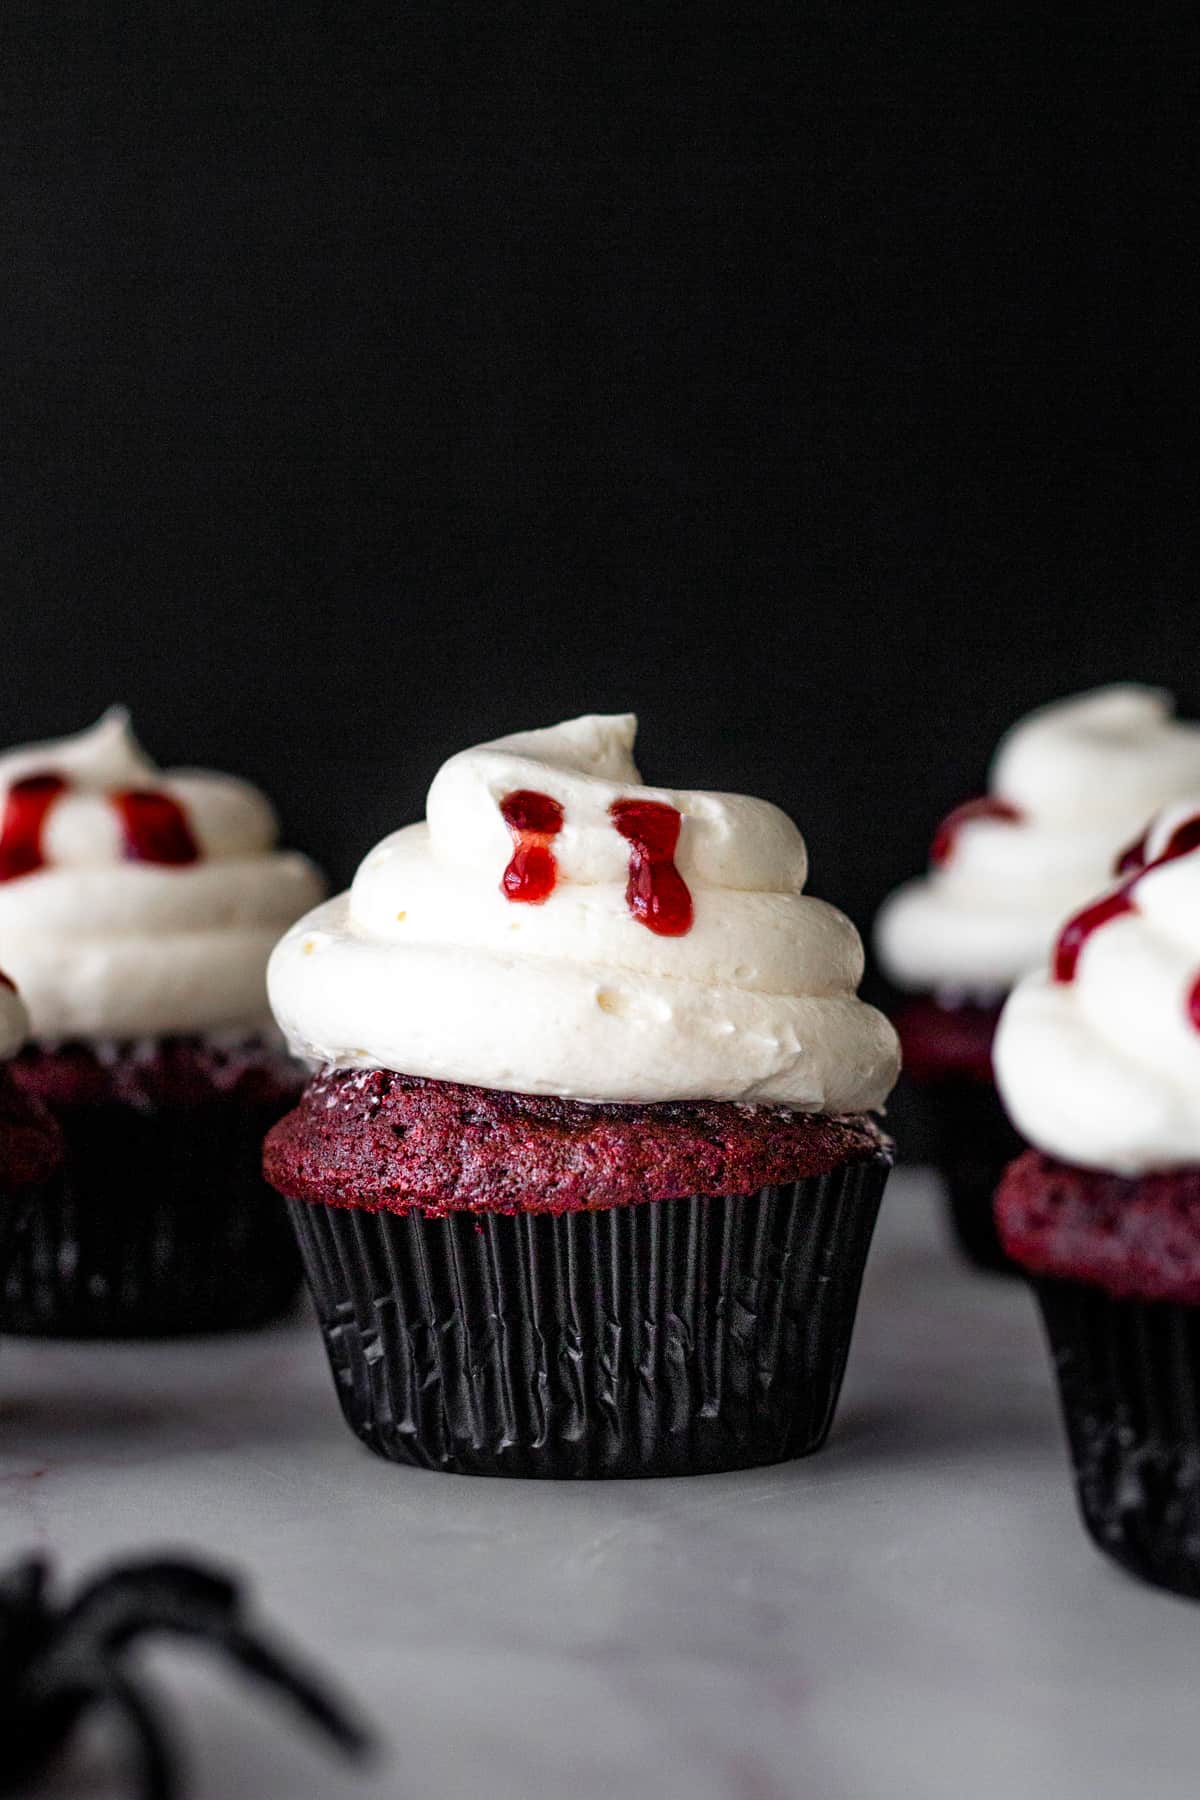
Spooky season is in full swing, and today I'm sharing with you these cute Halloween red velvet cupcakes with vanilla ermine frosting. These cupcakes are everything a red velvet cupcake should be - moist, fluffy, with a light cocoa flavor and a slight tang from the buttermilk. The ermine frosting is the perfect accompaniment to the cupcakes. It's light and fluffy, like a combination of whipped cream frosting and meringue style buttercream. They're incredibly delicious and fun to make with the kiddos.

What is Ermine Frosting?
Ermine frosting, or boiled frosting, or flour frosting is unique in the sense that the base of the frosting is made from a flour based, almost custard-like paste. Don't worry, it doesn't taste like flour, nor can you tell it's even in there.
- Cook milk, sugar, flour and salt over medium heat until it starts to boil and is thickened and glossy.
- Let the paste cool room temperature, then add to whipped, room temperature butter, a little bit at a time. If you add all the paste at once, it could curdle, or break.
- Beat in any flavorings and the frosting is ready to use.
Ermine frosting is light and similar in consistency to a mix of whipped cream frosting and a meringue style buttercream. Ermine frosting doesn't taste too buttery like a meringue buttercream, but tastes more like a less sweet American buttercream. This frosting does not crust and must be refrigerated.
Check out my post on Ermine Frosting for all the details on how to make it.

Red Velvet Cupcake Ingredients:
Flour - Cake flour is used in this recipe to keep the cupcakes fluffier and lighter in texture.
Dutch processed cocoa powder - Not only does Dutch process provide a smoother chocolate flavor, it helps neutralize the tang from the buttermilk and vinegar for a more balanced flavor. It also contributes to a darker colored cupcake.
Fine sea salt - enhances and balances flavors
Canola oil - keeps the cake moist and tender
Sugar - granulated sugar
Egg and egg white - adds structure and helps the cupcakes rise
Vanilla - for flavor
Red food color - I like to use liquid red food coloring for red velvet, but you can also use red gel color if you wish. I've provided the amounts below in the recipe.
Buttermilk - tenderizes the cupcake and contributes a slight tang for that classic red velvet flavor
Baking soda and vinegar - chemical process that helps the cupcakes rise
How to Make Halloween Red Velvet Cupcakes
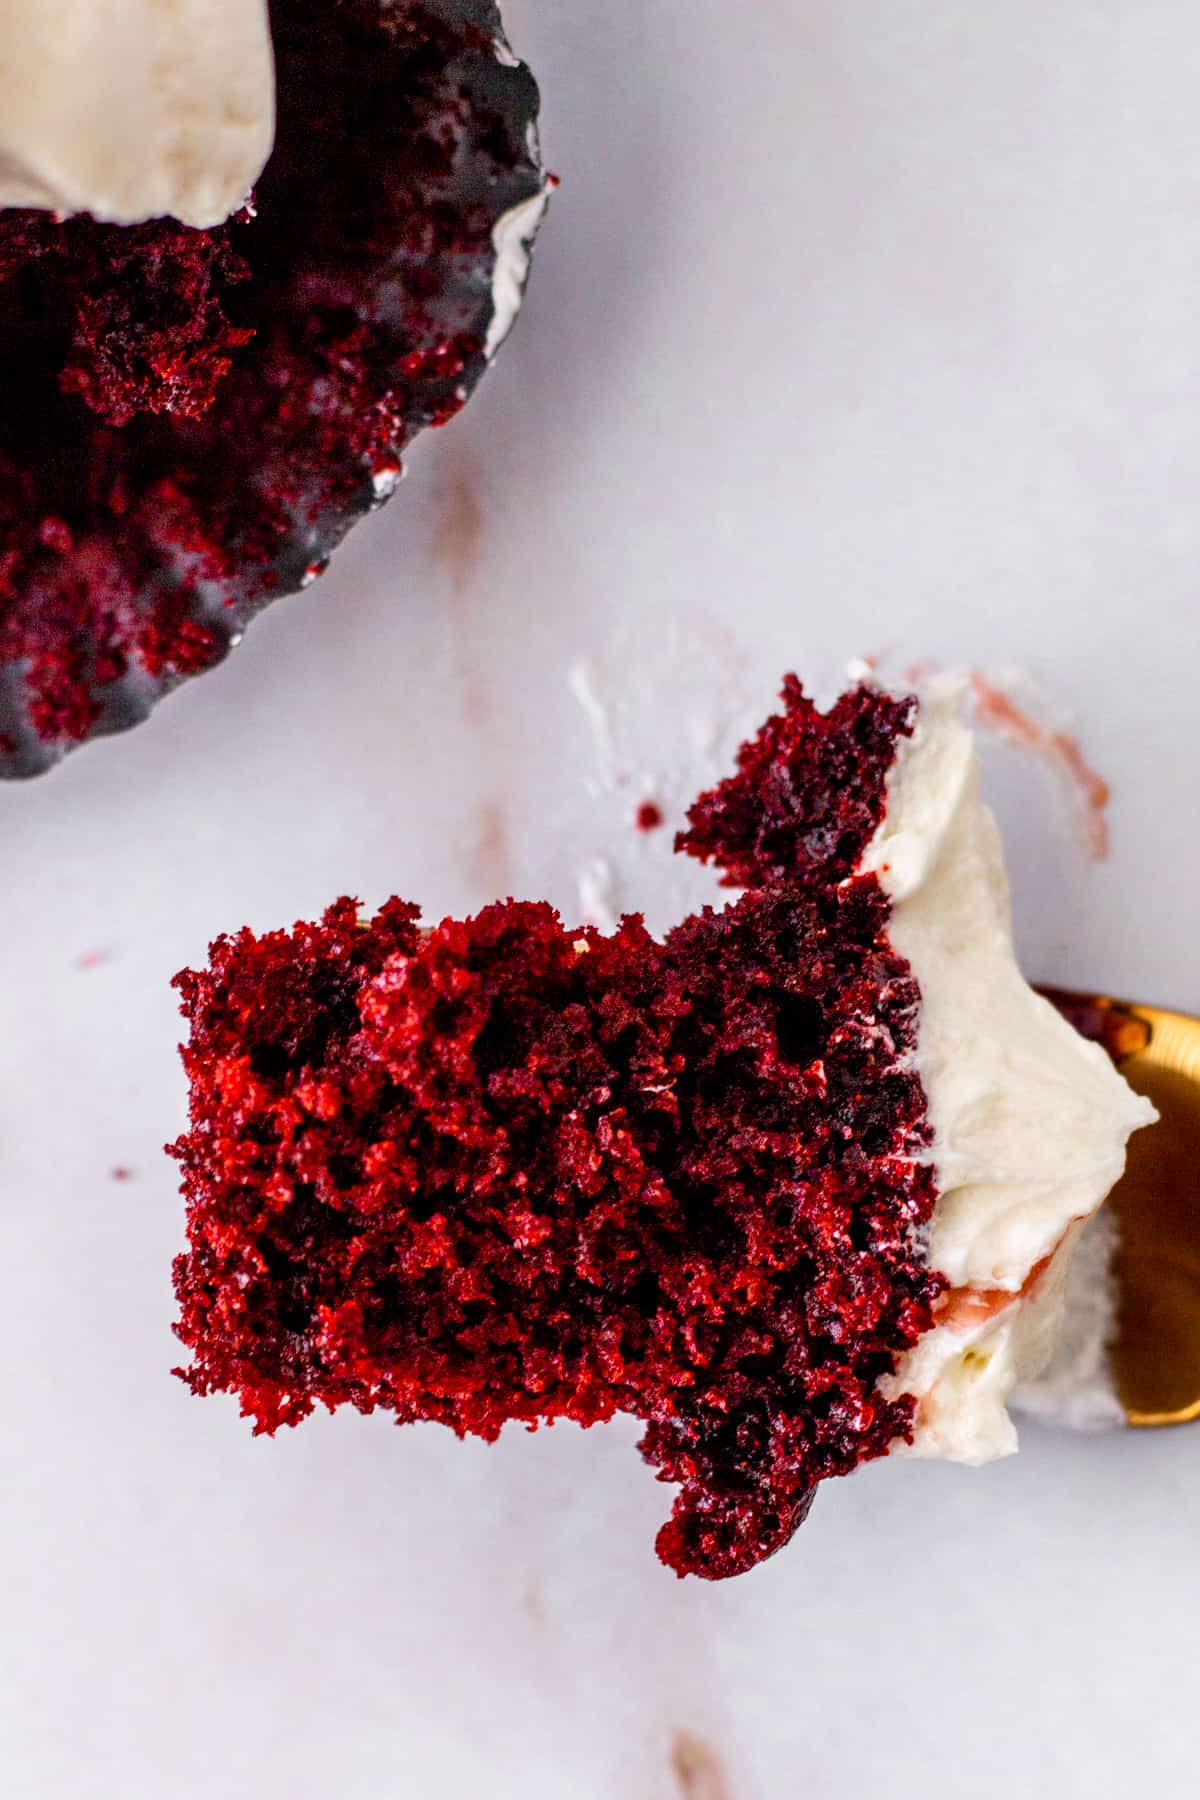
This is the best red velvet cake. It's so delicious, and because it is oil based, stays super moist and even tastes better the second day. The hint of cocoa and the tang from the buttermilk and vinegar are what gives red velvet cake it's signature flavor. And, they couldn't be easier to make.
- Beat oil and sugar until they are well combined, followed by the egg, egg white, vanilla and red food color. It should have a paste-like consistency at this point.
- Add in the flour, alternating with the buttermilk.
- Baking soda and vinegar are whisked together and beaten in to the batter. This is to help the cake rise while baking and kickstarts the bubbly/carbon dioxide reaction right away. I use this same technique in my stout cake and my chocolate cake recipes. Don't worry you won't taste the vinegar in the finished cupcakes.
Double this recipe if using this batter to make a cake. This recipe makes 3 - 8" or 9" pans.
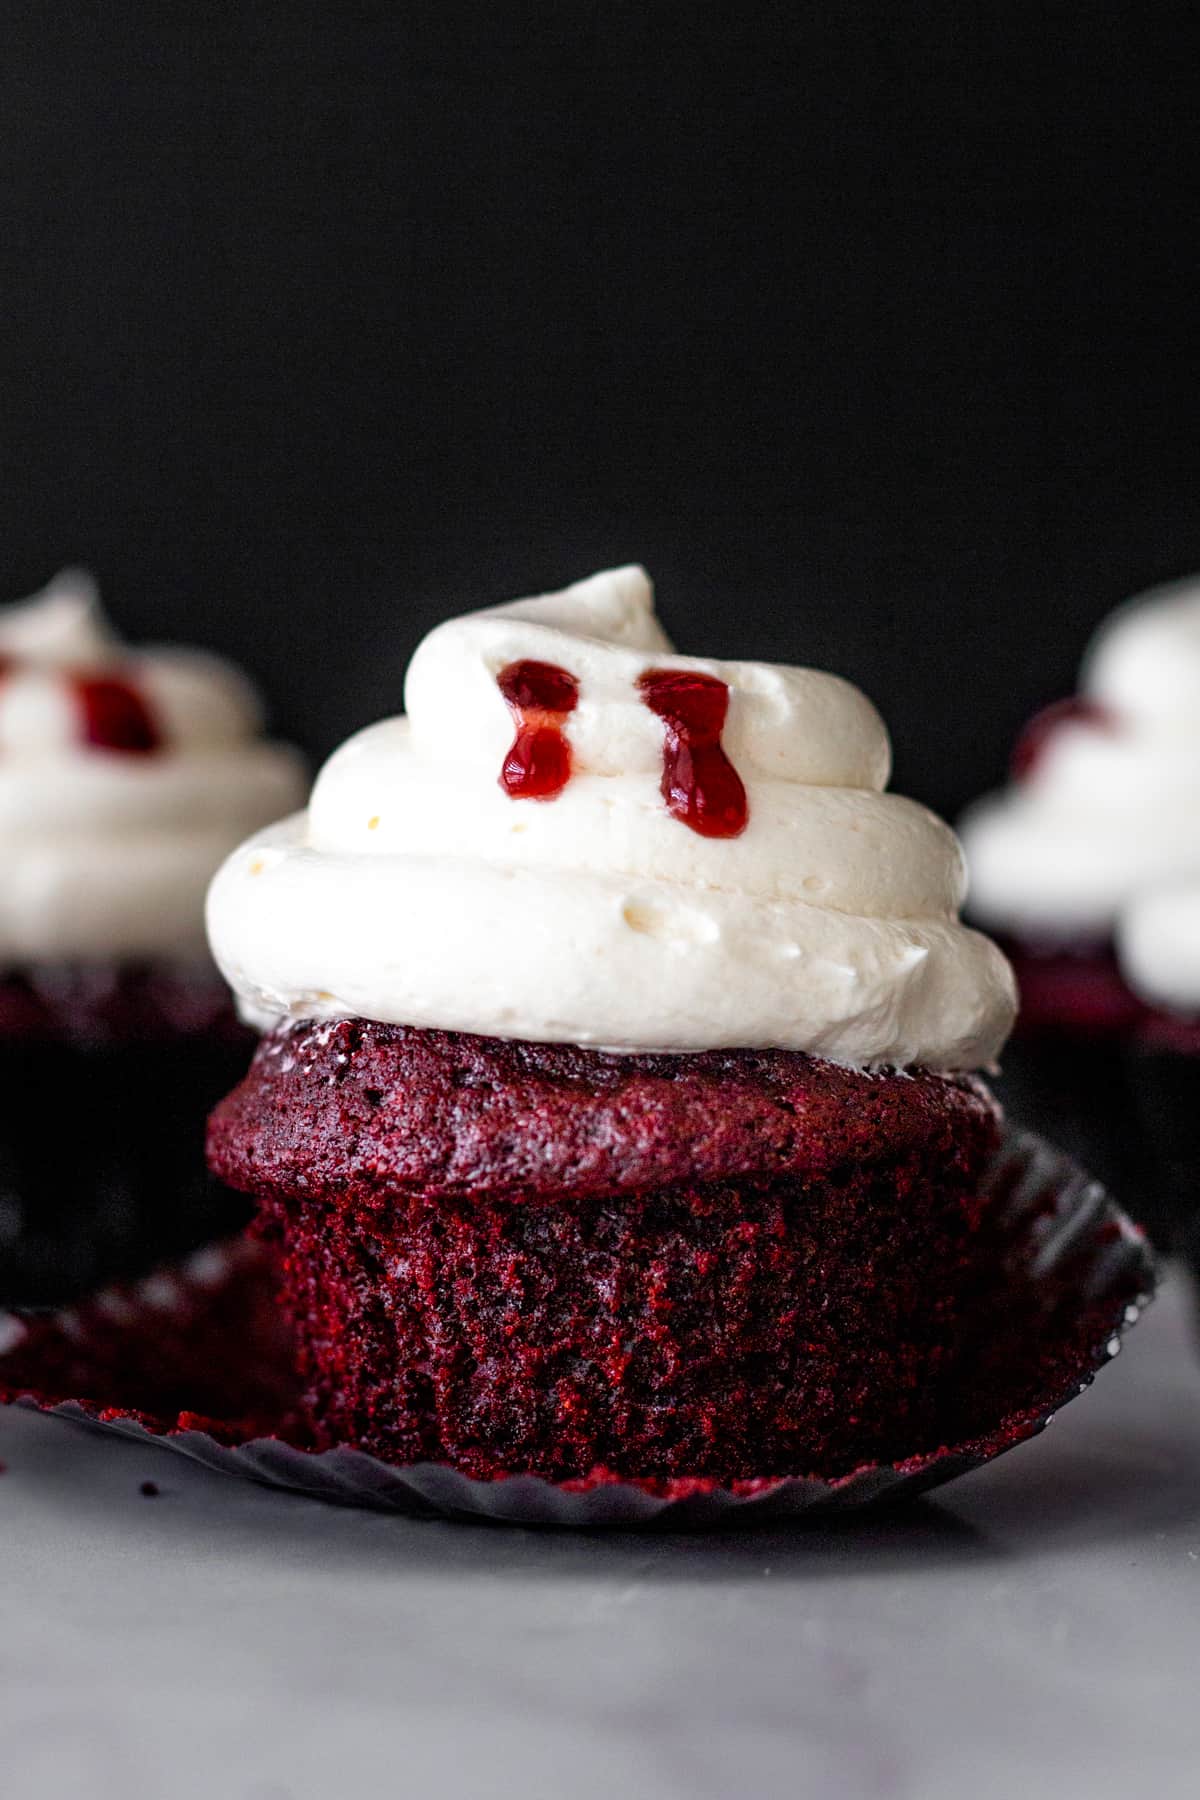
Vampire Bite Decoration
I used raspberry jam, about 2 tablespoons or so, for my vampire bite decorations. I warmed up the jam in the microwave for 8-10 seconds just a bit to loosen it up.
To get the jam specifically to look like little bite marks, you will want to use a piping bag with the tip cut off, just enough to for the jam to come out just a bit. The bite marks only need a little bit of jam.
Insert the tip of bag about ¼" into the frosting and pipe in the jam, letting it ooze and spill. Repeat the same for the second bite mark.
Storage
These cupcakes will last up to 4 days in an airtight container in the refrigerator. Let the cupcakes come to room temperature before serving. Cupcakes, unfrosted, can be frozen for up to 3 months. Ermine frosting needs to be refrigerated after 6 hours. Ermine frosting can be made and stored in the refrigerator for a week, or frozen up to 4 months.
If you make these Halloween red velvet cupcakes with ermine frosting, let me know! Drop a comment or tag me on Instagram. I love seeing your bakes and creations.
Enjoy!
Ash xx
For more cupcake recipes, check out these posts:
Funfetti Vanilla Cupcakes with Chocolate Fudge Frosting
Maple Bacon Blueberry French Toast Cupcakes
Recipe
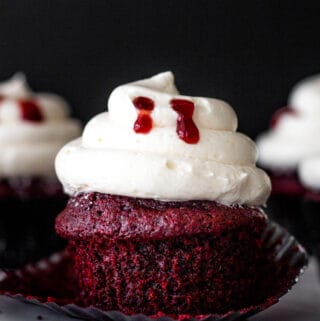
Halloween Red Velvet Cupcakes with Ermine Frosting
Equipment
Ingredients
Red Velvet Cupcakes
- 1 ¾ cups (199g) cake flour
- ¼ cup (22g) unsweetened cocoa powder, Dutch processed
- 1 teaspoon fine sea salt
- 1 cup (198g) canola oil
- 1 cup + 2 tablespoons (223g) granulated sugar
- 1 large egg, room temperature
- 1 large egg white
- 2 teaspoons pure vanilla extract
- 2 tablespoons + 2 teaspoons red food color (or 2 teaspoons red gel food color)
- ½ cup + 2 tablespoons (142gl) buttermilk, room temperature
- 1 teaspoon baking soda
- 1 ¼ teaspoons apple cider vinegar
Vanilla Ermine frosting
- 1 batch vanilla ermine frosting
- 2 tablespoons raspberry or strawberry jam
Instructions
Red Velvet Cupcakes
- Preheat the oven to 350F. Line 2 cupcake tins with paper liners.
- In a medium bowl, whisk together the cake flour, cocoa powder, and salt.
- In the bowl of a stand mixer fitted with the paddle attachment, combine the oil and sugar.
- Beat on medium speed until well combined.
- Add the egg and white and beat until the mixture is well combined.
- Add the vanilla extract and red food color.
- Add the flour mixture in three batches, alternating with the buttermilk, mixing only until just combined after each addition.
- In a small bowl, whisk together the baking soda and vinegar. Immediately add the mixture the batter and beat for another minute.
- Remove the bowl from the mixer and give it a final scrape to make sure all the ingredients are incorporated.
- Divide the batter among the cupcake liners, filling them about ⅔ full.
- Bake the cupcakes for 17-19 minutes or until a toothpick comes out with a few stray crumbs.
- Cool for 10 minutes in the pan. Transfer the cupcakes to a cooling rack to cool completely.
- Pipe the ermine frosting onto the cupcakes.
- Warm up the jam in the microwave for 8-10 seconds just a bit to loosen it up and make it more liquid.
- Fill a small piping bag with the jam and cut just the tip of the bag off, just enough to for the jam to come out just a bit. The bite marks only need a little bit of jam.
- Insert the tip of bag about ¼" into the frosting and pipe in the jam, letting it ooze and spill over the side of the hole. Repeat the same for the second bite mark.
Comments
No Comments