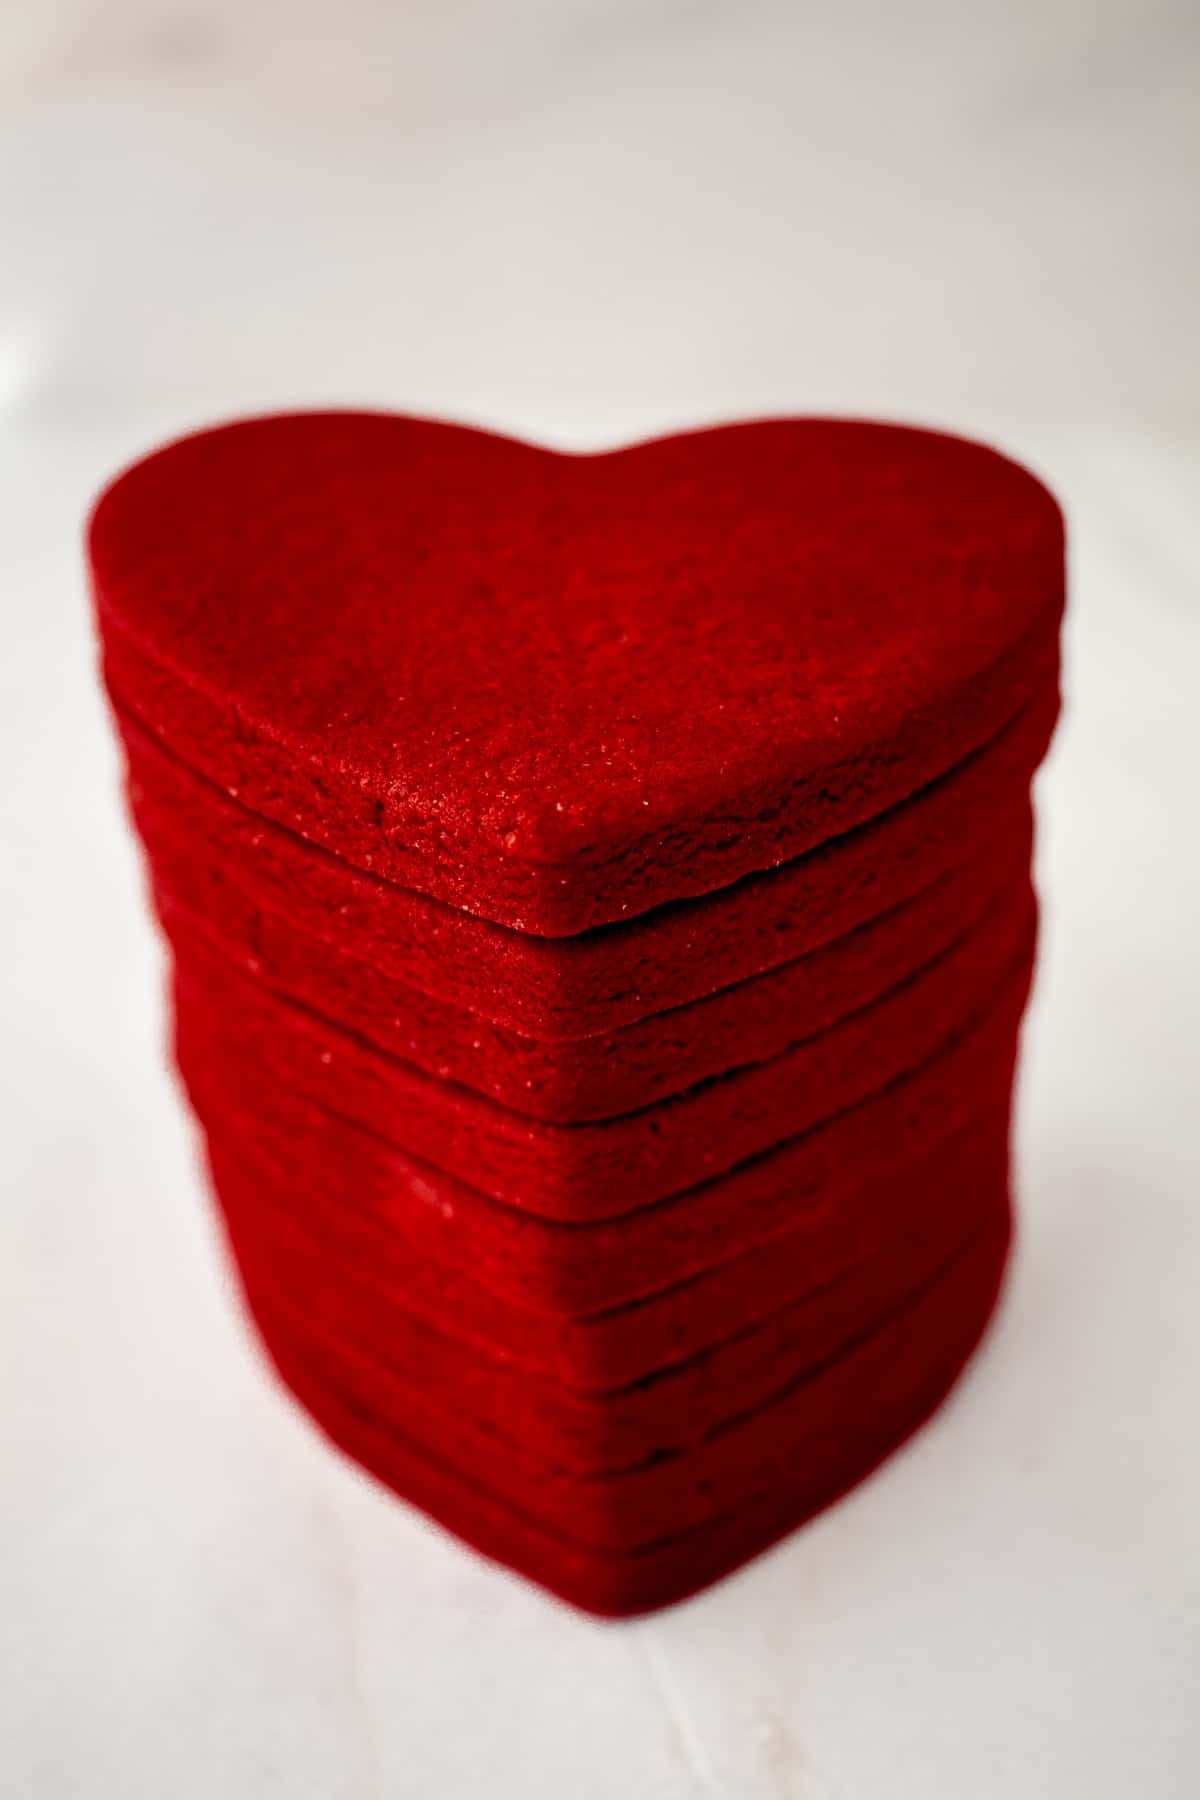
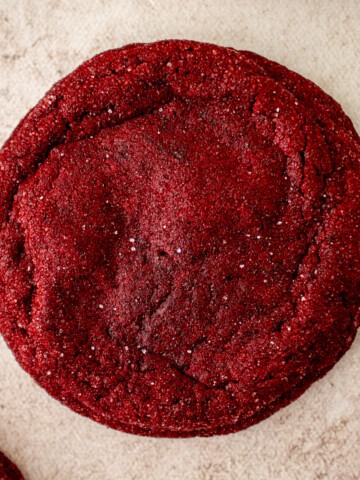
These red velvet sugar cookies have all the classic flavors of red velvet cake. Tender and buttery, these cookies have a pop of cocoa flavor and tangy cream cheese incorporated in the dough. They are super easy to roll out and are the perfect cookie for decorating for Valentine's Day, Christmas and more.

Decorated cookies can be stunning and creative, so why not make the cookies anything but ordinary? If you love sugar cookies as much as much as I do, try these vanilla bean no spread sugar cookies, my matcha sugar cookies, and black cocoa sugar cookies.
Jump to:
Why You Will Love These Cookies
- These red velvet sugar cookies roll out like a dream and keep their shape when baking.
- Like red velvet cake, these cookies are buttery, moist and have a mild cocoa flavor and a subtle tang from cream cheese.
- These cookies can be made in advance and last for days.
- Easy to follow recipe with step-by-step photo instructions for perfect cookies every time.
Recipe Ingredient Notes
(See recipe card for a full list of ingredients and amounts.)
Cocoa powder - natural, not Dutch processed
Unsalted butter - flavor, tenderness and structure
Cream cheese - tenderizes the cookies and provides a subtle tang
Red gel food color - Any brand you like but be sure to use gel food color and not liquid. I use Chefmaster Red.
Recipe Instructions
(Full recipe instructions can be found in the recipe card at the bottom of the page.)
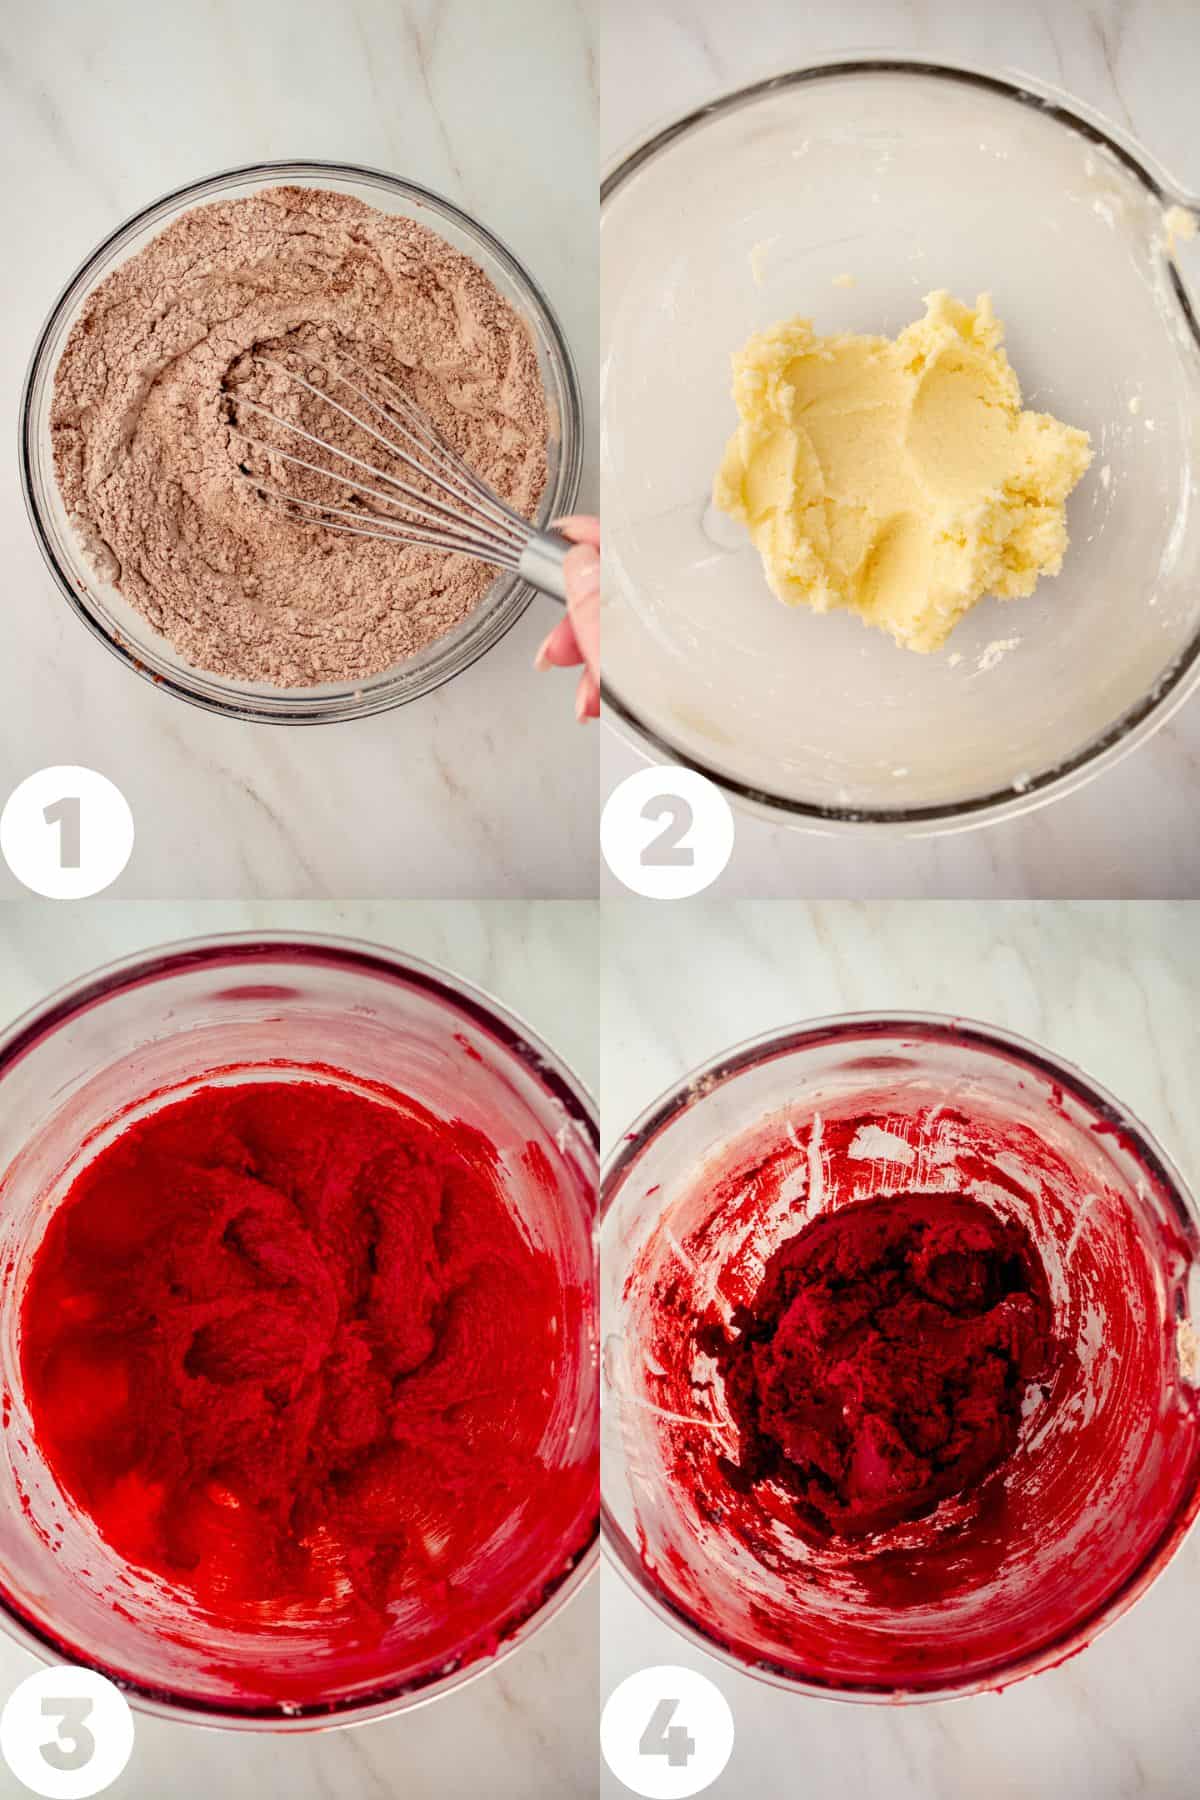
- Whisk together the flour, cocoa and salt.
- Beat together the butter, cream cheese and sugar until just combined.
- Beat in the egg, vanilla and red gel color.
- Beat in the flour mixture. Chill for 30 minutes.
- Roll out the dough and cut out desired shapes with a cookie cutter. Chill for an additional 30 minutes.
- Bake 16-18 minutes. Cool completely before icing.
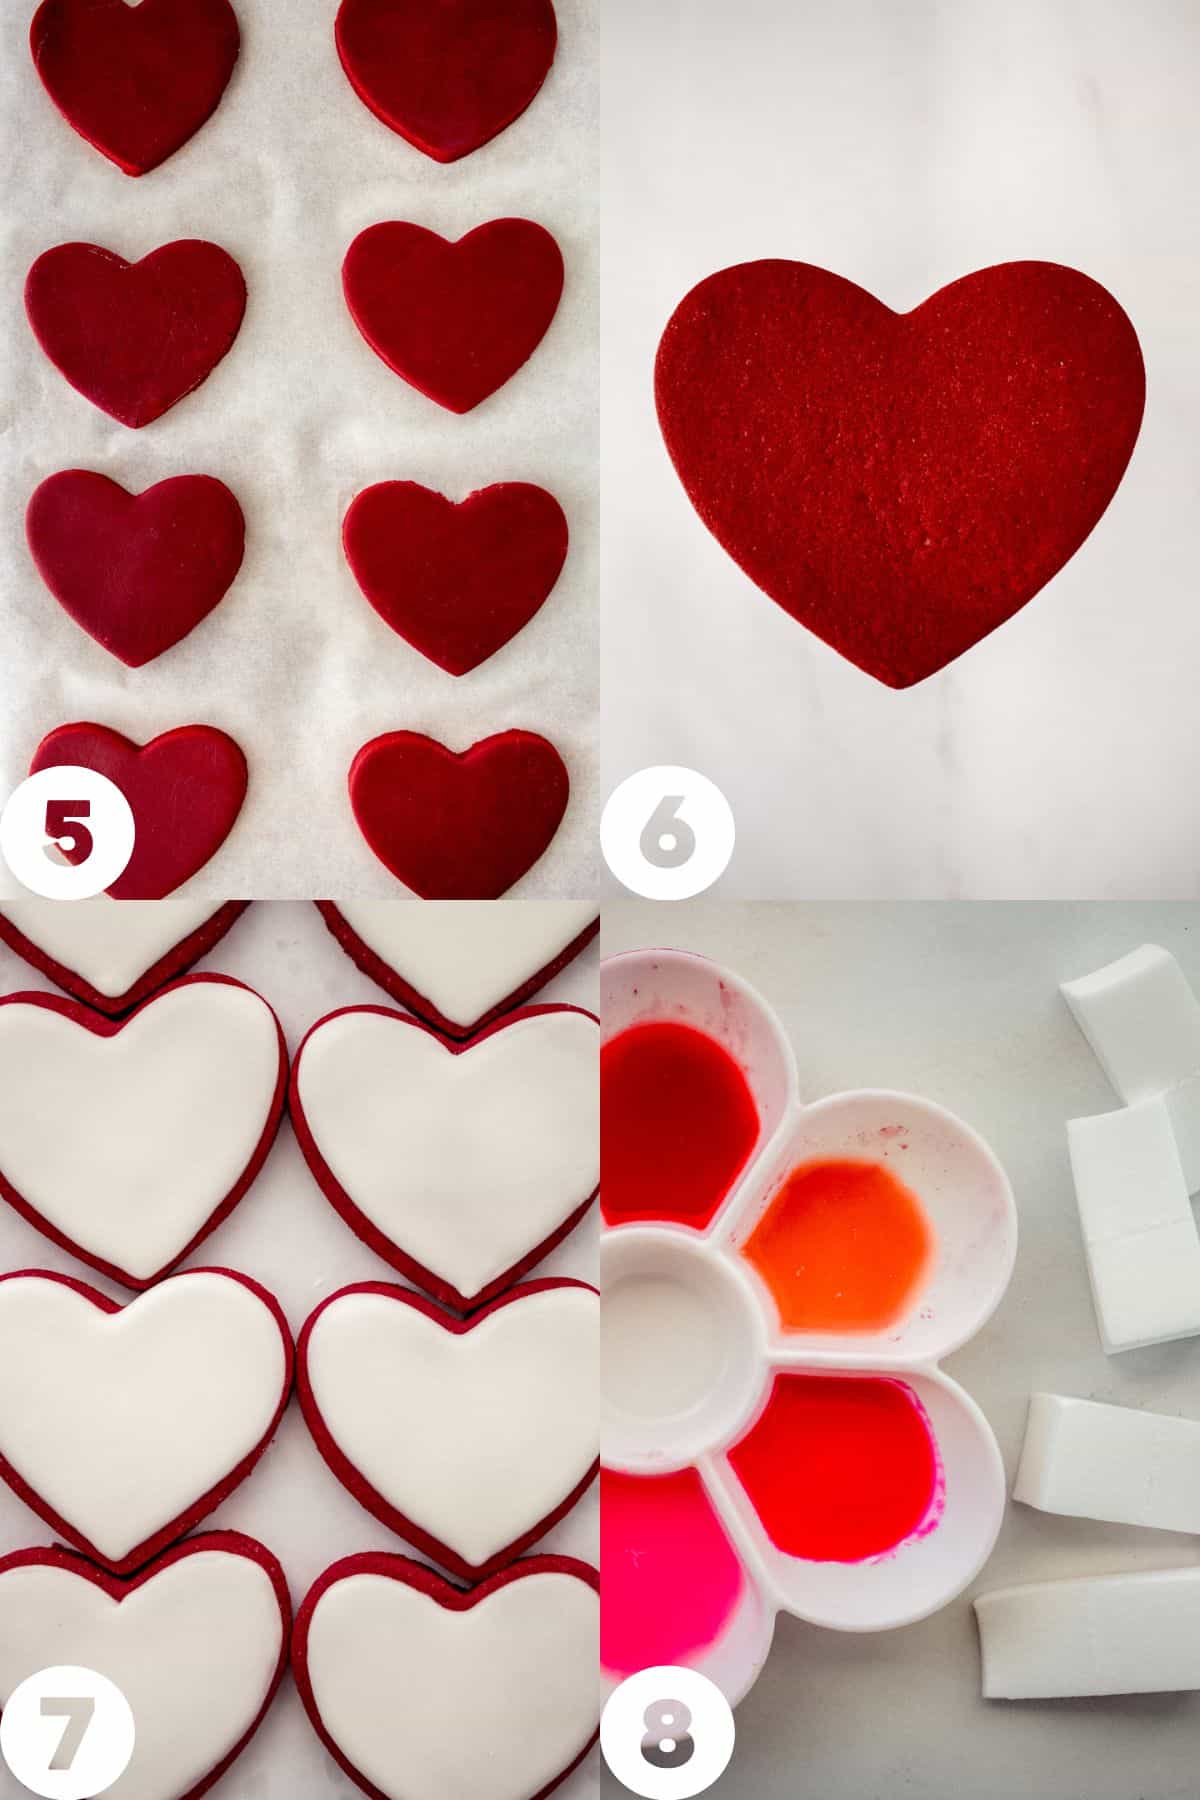
- Decorate the cookies. I used my go-to meringue powder royal icing, 20 second consistency. Outline and fill the cookies. Dry completely.
- Mix food color powders or gels with a bit of clear alcohol or extract.
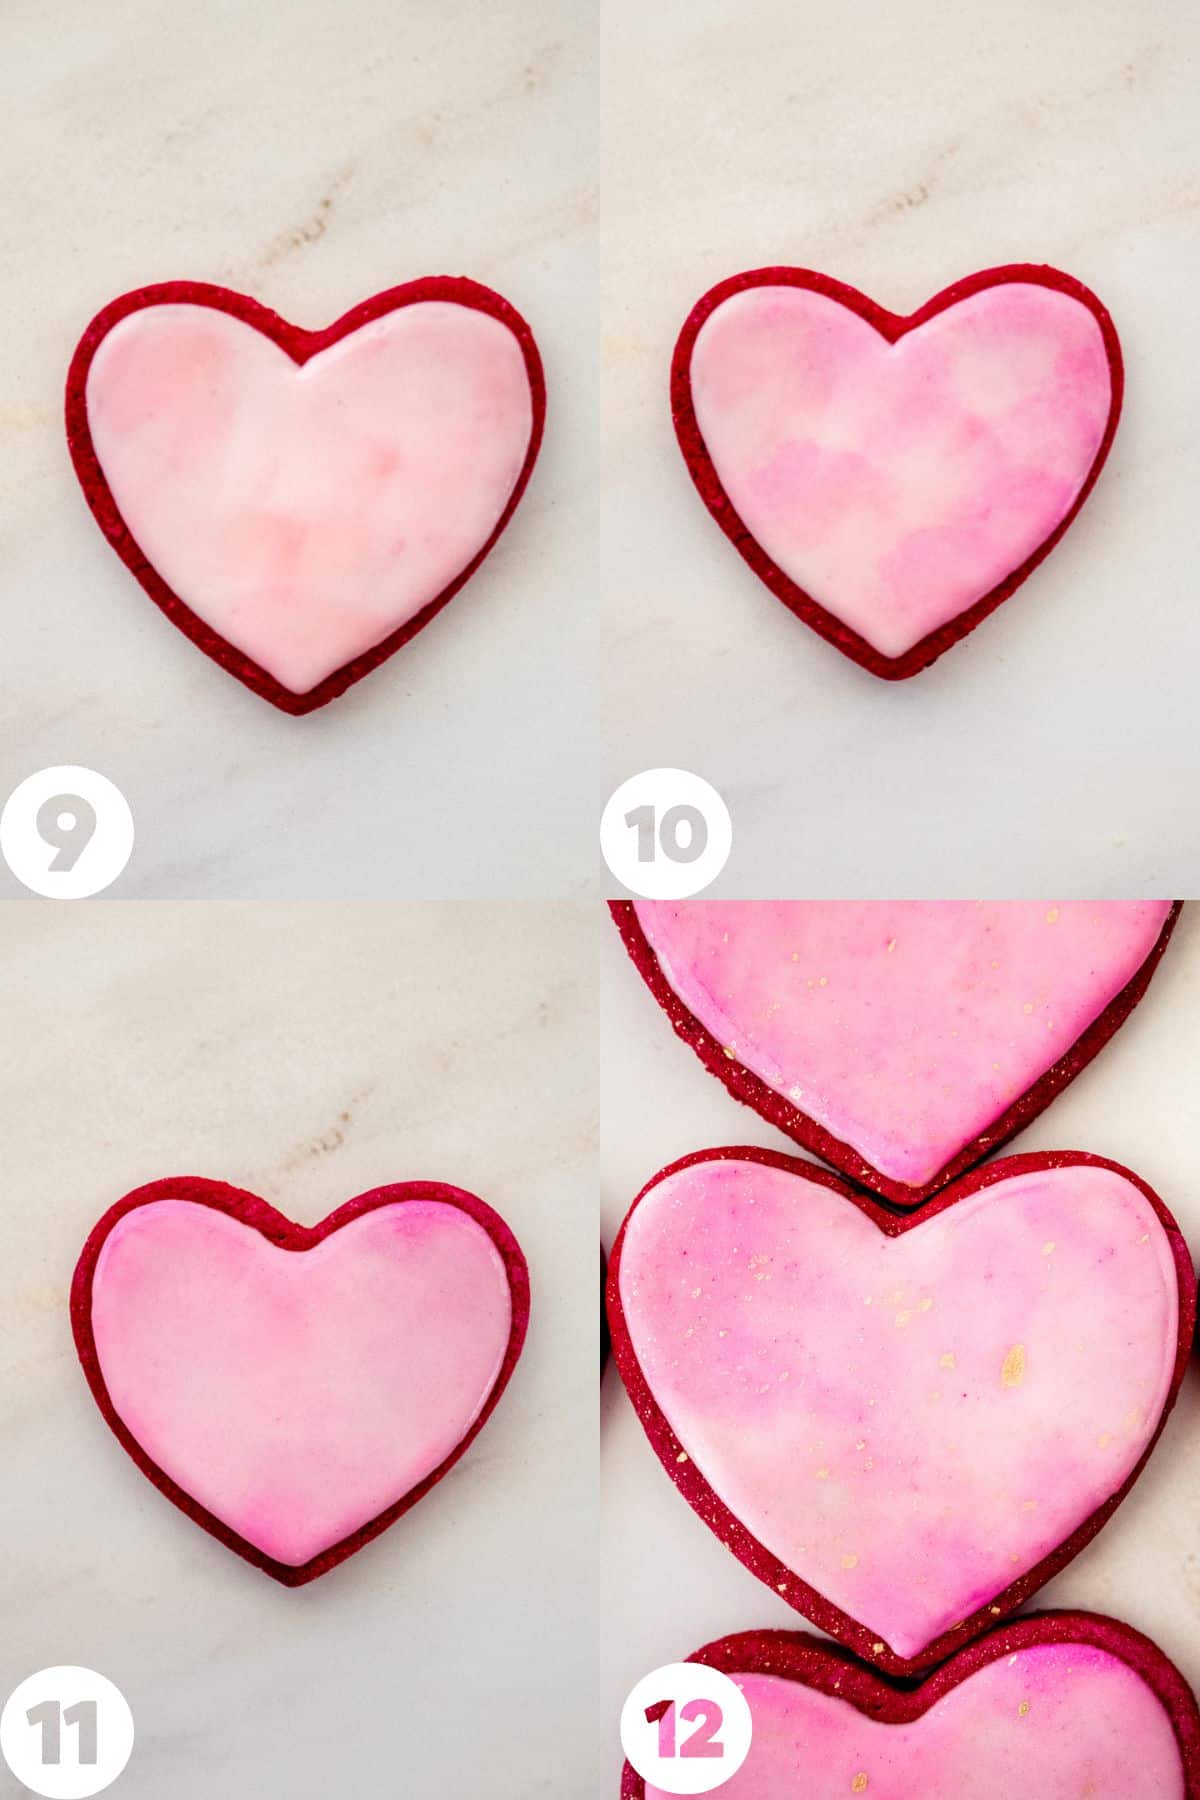
- With a makeup sponge, wiping off an excess color, apply the lightest color onto the icing by dabbing randomly. Be sure to not soak the sponge and wipe off any excess liquid. Too much liquid will cause the icing to melt. The idea is to apply light, even color onto the cookies, with out adding too much moisture. Let it dry a few seconds.
- Repeat step 9 with remaining colors. Build color, applying lightest to darkest and only using a little bit of color at a time.
- With a clean sponge, buff out the colors so that they look more blended by gently dabbing to remove excess color and blend the colors. Dry for 15 minutes.
- For the gold splatter, measure out a 4 teaspoon of edible gold dust powder. Add 1-3 drops of vodka and mix until you have a liquid paint, similar in consistency to heavy cream. Saturate a clean paintbrush (used for food only) and pull the bristles back with your thumb, release the bristles and flick the paint onto the cookies. Repeat a couple times until you like the way the gold splatter looks. You can totally use gloves for this step. I like to do this step on paper towels so that the gold doesn't splatter all over my work surface.
Baking Tips
- How thick you roll out the cookies will determine their texture. For thicker and softer cookies, roll the dough to roughly ¼" inch thick. For thinner and crispier cookies, roll the dough out to ⅛" inch thick.
- Keep cookie cut outs as close together as possible to get as many cookies out of the first roll of dough as possible. Re-roll any leftover dough. With each re-roll, flour is being incorporated into the dough, so the more cookies you can get out of the first roll, will help limit how many times the dough needs to be rerolled.
- Rolling the cookies between two pieces of parchment paper makes for less mess, easier clean up easier and helps keep the dough from sticking.
- Because of their bright red color, it can be hard to see when the cookies are done. The edges should look cooked and the centers should look set, not glossy or wet looking.

Storage
These red velvet sugar cookies can be kept in the fridge for up to two days. Dough and unbaked cookie cut outs can also be frozen for up to three months.
Unfrosted, baked cookies can be frozen for up to three months.
Frosted cookies can be left at room temperature for up to 2-3 weeks stored in an airtight container. These cookies are perfect for bagging individually once iced, for events and gifts.
I do not recommend freezing iced and decorated cookies.

Recipe FAQs
You can absolutely use a natural red food color instead. Note that the color may be different than the bright red ones in my photo. I recommend Chefmaster Natural Red.
10-12 large 3"- 4" cookies or 25 - small 2"-2.5" cookies
For smaller cookies, reduce the baking time to 10 minutes.
Chilling relaxes the gluten so that it is easier to roll out which also makes them more tender. It improves the texture and flavor. It also keeps the cookies firm as they go into the oven so they keep their crisp cut edges and won't spread.
Did you make this recipe? Share it with us! Tag @littlevintagebaking on Instagram and leave a star rating below if you LOVED this recipe. For more baking and decorating ideas follow me on Pinterest.
More Recipes to Try


Recipe

Red Velvet Sugar Cookies
Equipment
Ingredients
- 2 ¾ cups all purpose flour
- ¼ cup cocoa powder, natural
- ½ teaspoon fine sea salt
- ¾ cup unsalted butter, room temperature
- ½ cup cream cheese
- 1 cup granulated sugar
- 1 large egg, room temperature
- 1 teaspoon pure vanilla extract
- 2 teaspoons red gel food color
Instructions
- In a medium bowl, whisk together the flour, cocoa and salt. Set aside.2 ¾ cups all purpose flour, ¼ cup cocoa powder, natural, ½ teaspoon fine sea salt
- In the bowl of a stand mixer fitted with the paddle attachment, beat together the butter, cream cheese and sugar until thoroughly combined.¾ cup unsalted butter, room temperature, ½ cup cream cheese, 1 cup granulated sugar
- Beat in the egg, followed by the vanilla extract and red gel color, beating until just combined.1 large egg, room temperature, 1 teaspoon pure vanilla extract, 2 teaspoons red gel food color
- Scrape down the sides and bottom of the bowl. Beat for 30 more seconds.
- With the mixer on low speed, gradually add the flour/cocoa mixture and beat until just combined.
- Turn the dough out onto a work surface sprinkled lightly with flour. Pat the dough into a disc shape.
- Wrap tightly with plastic wrap and place in the refrigerator for at least 30 minutes.
- Preheat the oven to 350F. Line two cookie sheets with parchment paper.
- Place the chilled dough on a work surface that has been sprinkled with flour. Sprinkle the top of the dough and the rolling pin lightly with flour to prevent any sticking.
- Roll out the dough to ⅛-3/8" thick, depending on your preference, rotating the dough as you roll to prevent the dough from sticking. If the dough is sticking, you can roll the dough between 2 pieces of parchment or wax paper.
- Cut out desired shapes and place the cookies 2" apart on the cookie sheets.
- Place the cookie sheets into the refrigerator for 30 minutes to chill.
- Bake the cookies for 16-18 minutes. Rotate the cookie sheets, halfway through baking. You're looking for the cookies to be soft when touched in the center, but fully cooked. Baking the cookies longer will result in a crispier cookie while baking them to just cooked will keep them soft.
- Let the cookies cool on the cookie sheets for 10 minutes, before transferring them to a cooling rack to cool completely.
Comments
No Comments